
Today's tutorial proves that elegant wedding invitations...
-
- ... can be made at home
-
- ... can be quick and easy
- ... can save you a ton of money!
Phew. That's a lot of cans. So for anyone saying they can't DIY their wedding invitations, (first thanks for even opening this tutorial), and second I believe you CAN!
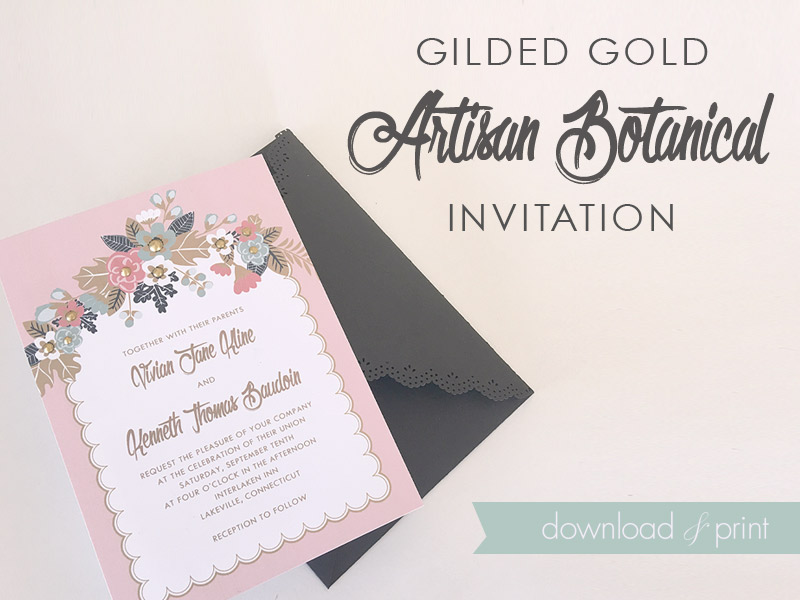
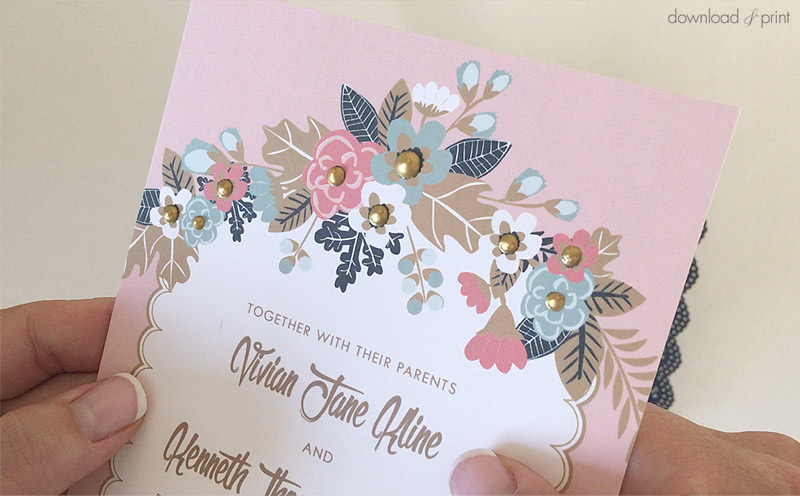
Today I'm working with our Artisan Botanical invitation collection. This design would fit right into a vintage or garden wedding theme. The scalloped edging is reminiscent of a vintage hanky, and the pretty blooms would be at home in any country garden.
The simple gilding that I'm going to show you will work on any invitation, so if vintage flowers aren't your thing browse our collections for the invitation that does make your heart flutter.
And when I say simple, I seriously couldn't put together a tutorial any simpler than this. One bottle of metallic beads and all your invitations will have a stand-out, shiny, custom embellishment that will leave your guests wondering can you... did you... my oh my you. And you can say, "Yes I can!"
- White card stock
- Paper trimmer or scissors
- Printer - I like Epson printers
- Gold Beads-in-a-Bottle
Step 1: customize, save, Download & Print
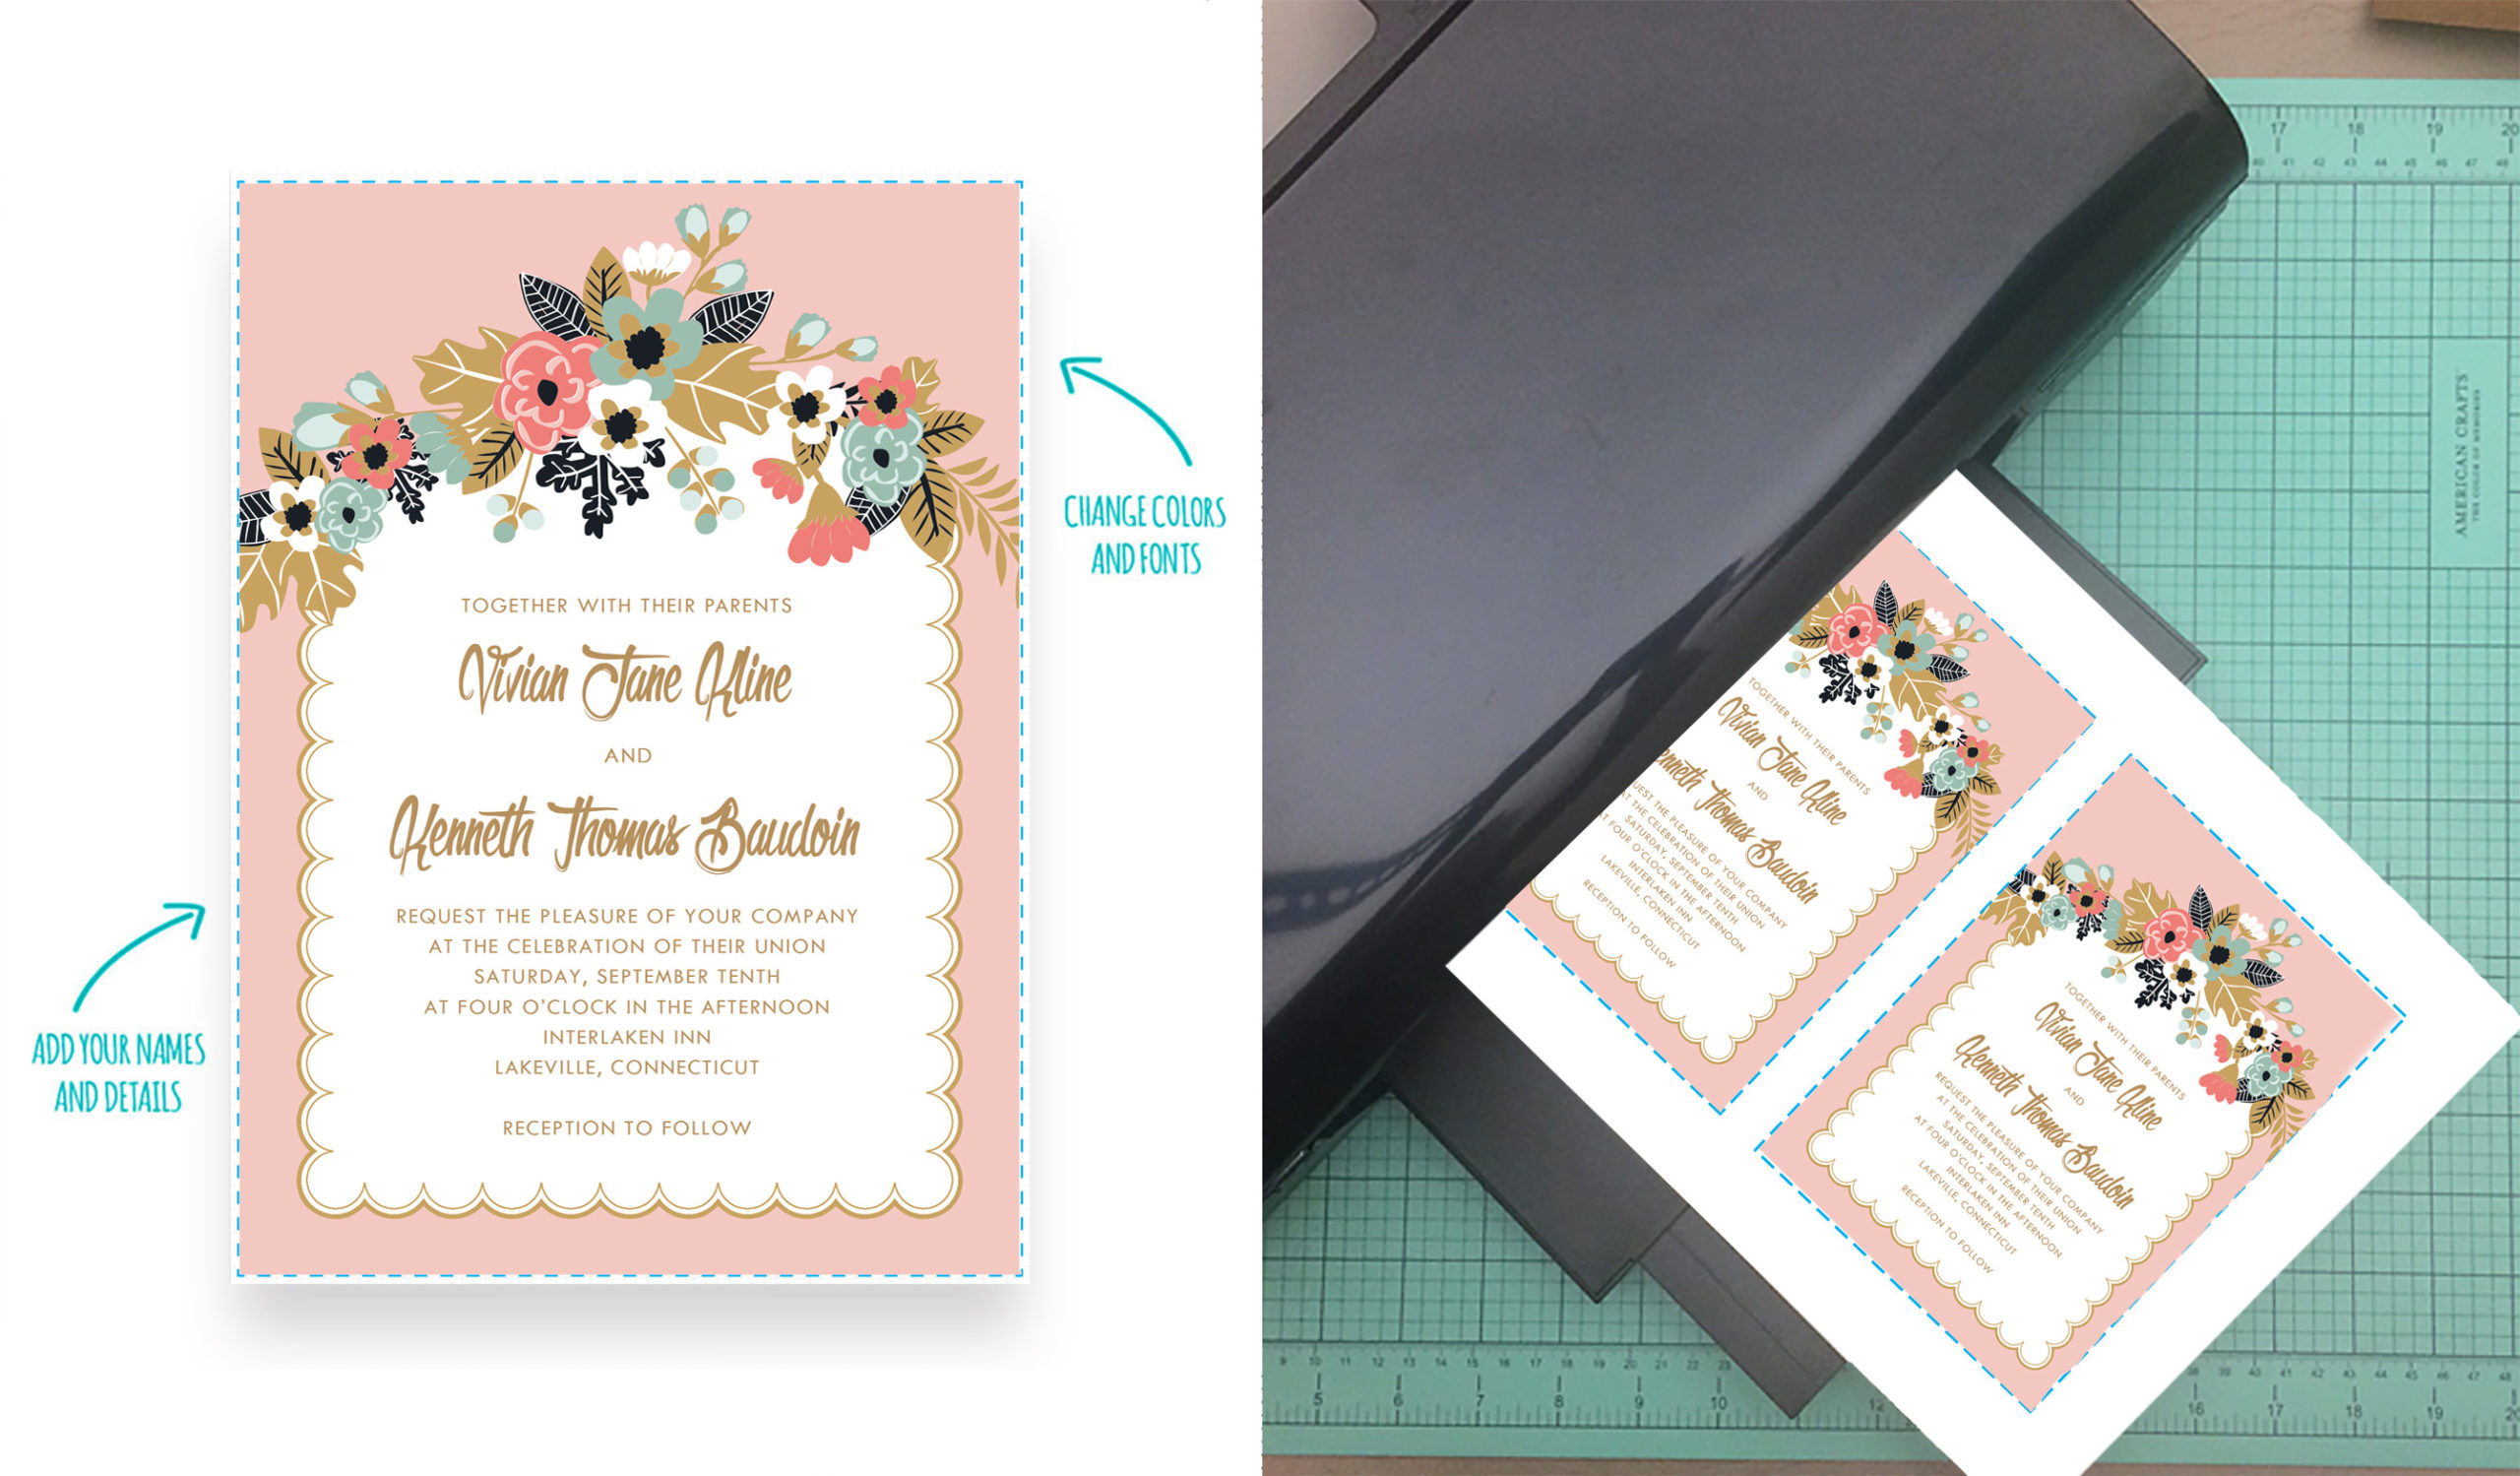
It's easy to customize the invitation online and change the colors, fonts and text. Once you save the file, you can download it on to your computer and print away!
I'm using the invitation from our Artisan Botanical collection in blush (#f4c8c1). I think this pairs nicely with gold beads. The purple (#dedce9) looks equally lovely with silver beads. You can choose any color to match your wedding color palette!
Print the file on card stock. I like paper between 65 lbs and 90 lbs. This is heavier than regular copy paper, but not so thick that it will jam your printer.
View Artisan Botanical Invitation Collection
Step 2: Trim
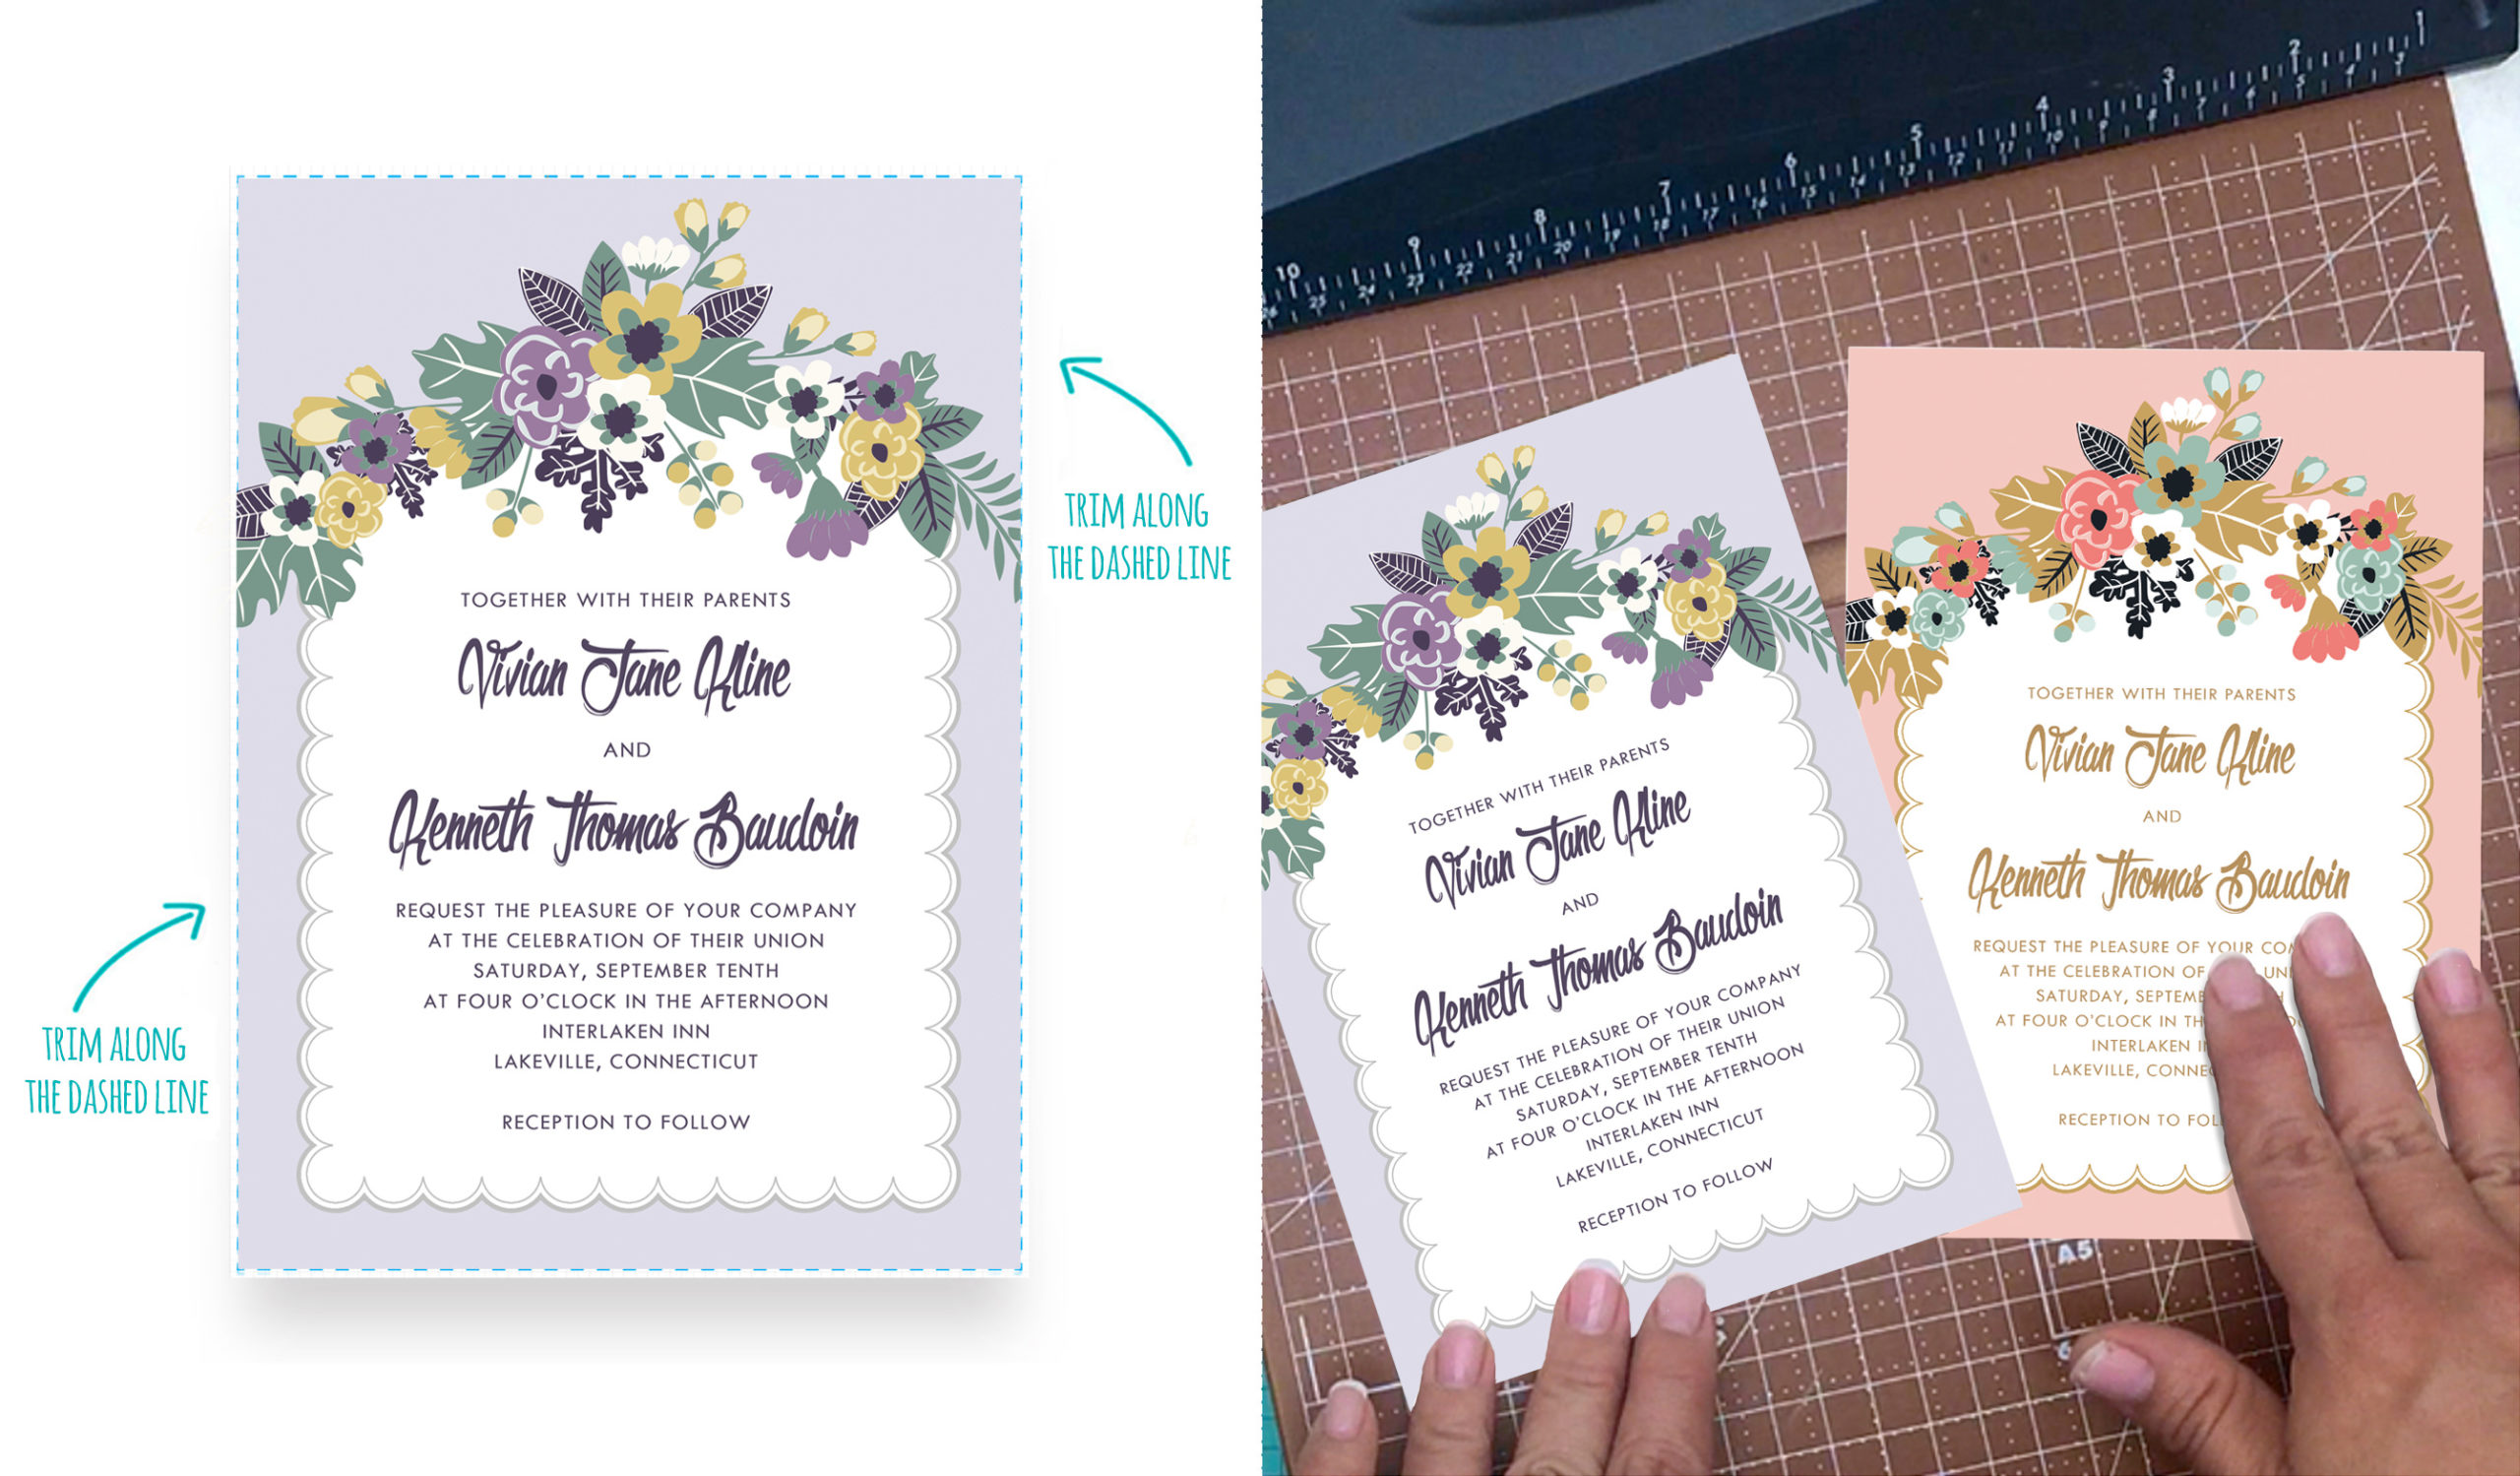
Trim the invitations along the dotted lines using a paper cutter or scissors.
A paper cutter will give you straighter cuts and allows you to cut more than one sheet at once. The template yields two invitations per sheet.
Step 3: Add Gold
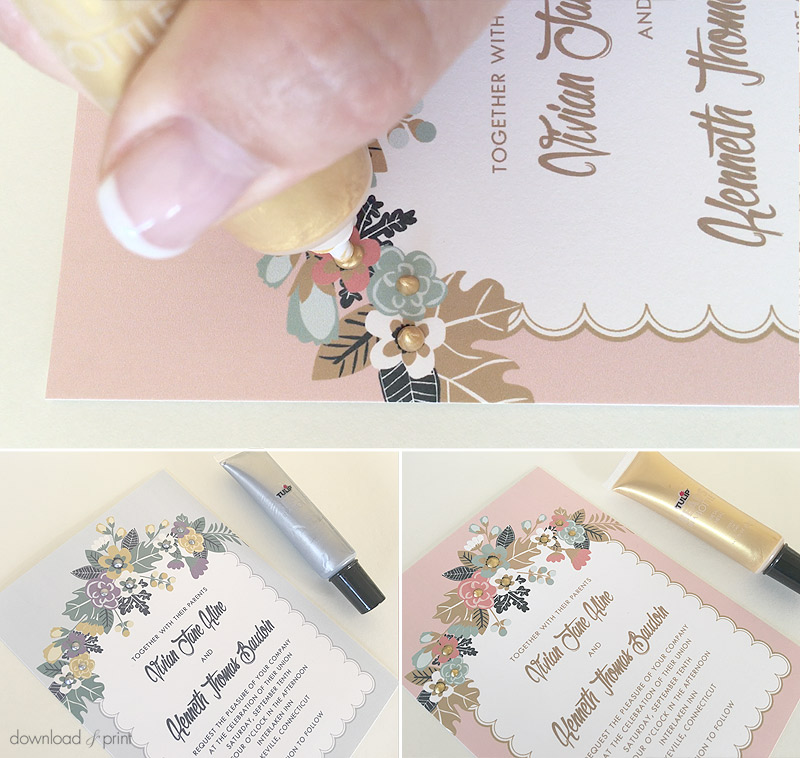
Gently squeeze a dot of gold bead into the center of each flower.
I find the easiest way to get neat dots is to squeeze a drop straight down until you get the desired circumference, push down ever so slightly with the bottle and stop squeezing, then lift up to finish the neat circle.
If you try to draw a circle with the bottle things can get messy. Slow and stead is best here.
Leave the invitations laying flat for 24 hours after apply the gold to let them dry completely. Then stuff into your envelopes along with your RSVP and enclosure cards.
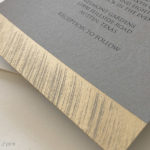
If you love the fancy black envelope, check out how to make the lace-edged envelope to complete your invitation mailing.
YOU MAY ALSO LIKE:
Brushed Gold Invitation
View Tutorial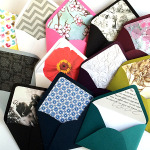
Wrapping Paper Liners
View Tutorial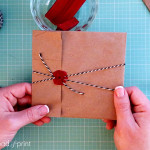
Vintage Parcel Invitation wrap
View Tutorial
With template love,

(Although all the products listed in this tutorial are products I personally use, I will be compensated just a tiny bit if you make a purchase through some of the links provided. Thanks for supporting small biz!)