
Did everyone have a LOVE-ly day yesterday? Whether you hung out with your partner, kids, family, friends, dog, cat, gerbil or Netflix, I hope you felt loved. I'm sending out some extra love to anyone that needs it, just in case.
If you were given a little surprise from a loved one did you like the paper it was wrapped in? Did you notice the paper it was wrapped in?? Was it even wrapped in paper???
I love pretty gifts, the packaging is half the fun for me, and consequently I have a stash of wrapping paper that I will probably never get around to using and that takes up far too much space in my closet. Let's not mention my Pinterest board showing creative and tidy ways to store wrapping paper. Turns out it's a pipe dream.
But... today I am getting creative with wrapping paper and getting some of it out of my jumbled pile in the closet!
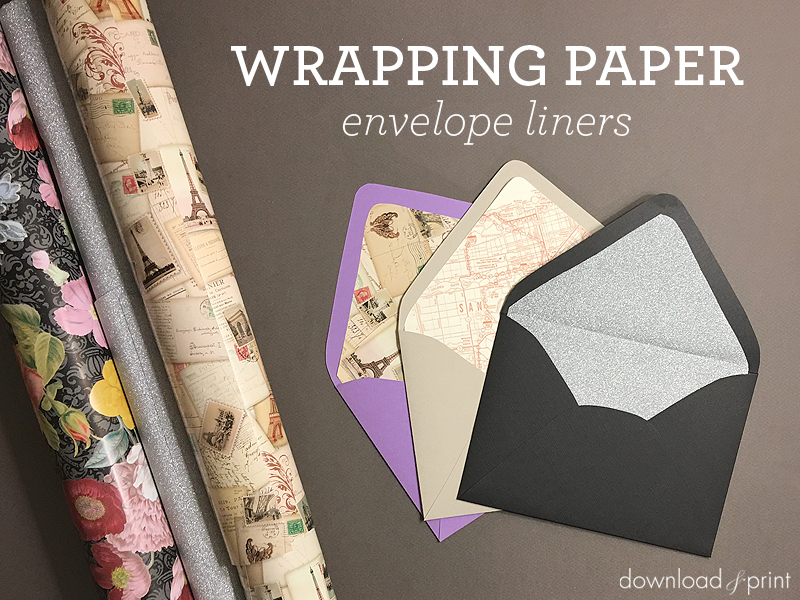
Lets talk envelope liners to go with your DIY wedding invitations. These take a regular old envelope and turn it into something custom and luxurious. You can fancy up any of the designs in our Download & Print invitation collection. Making envelope liners is quick, easy, and definitely worth the effort.
In this tutorial I'm making envelope liners out of wrapping paper as it's inexpensive, comes in large rolls, and can be found in every color and pattern under the sun. You can really have fun with it. However any paper as large as your envelopes will work. Sheet music, book pages, scrapbook paper, maps, photocopied pictures... if it can be printed on a sheet of paper you can use it.
SUPPLIES:
- Wrapping paper
- Envelopes
- Double sided tape
- Pen and ruler
- Scissors
Step 1: Draw Out Template
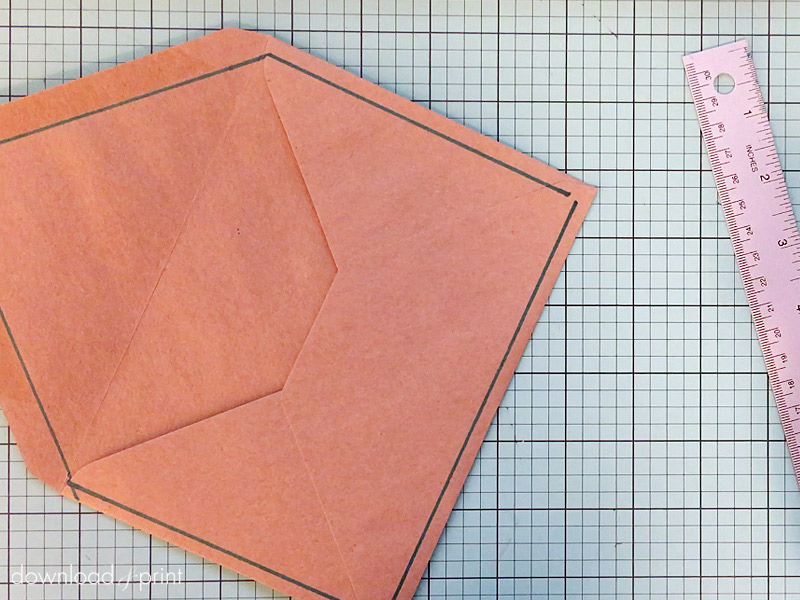
The first step is to turn one of your envelopes into a template. Mark along the flap on the inside edge of the adhesive. Continue to mark down around the pocket of the envelope, staying about half an inch in from the edge of the envelope.
You are aiming to end up with a template that is the same shape as your envelope, just slightly smaller.
You can do this with any size and shape envelope. If your envelopes have square flaps, the same steps apply, you’ll still draw your line on the inside edge of the adhesive.
Step 2: Cut Out Template
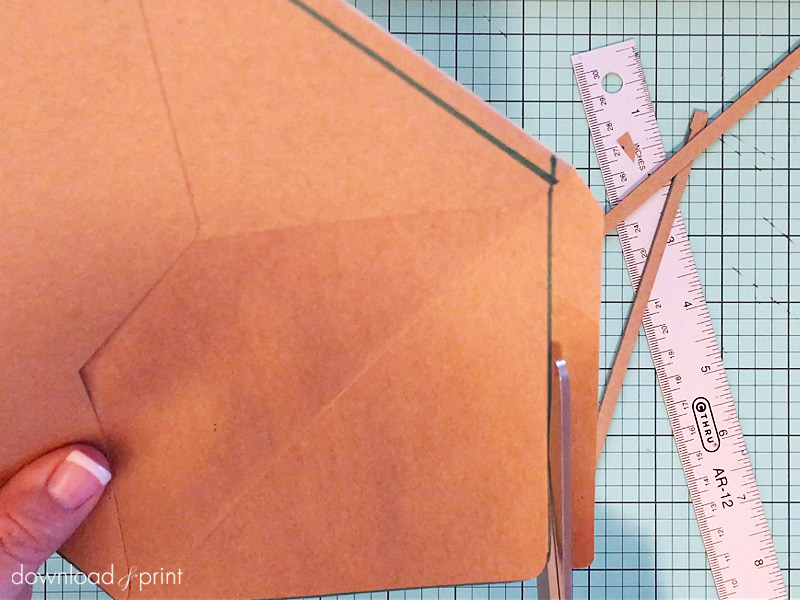
Cut along the lines you just marked. The front of the envelope will fall away, discard this.
You will be left with a single thickness envelope template.
Step 3: Trace Onto Wrapping Paper
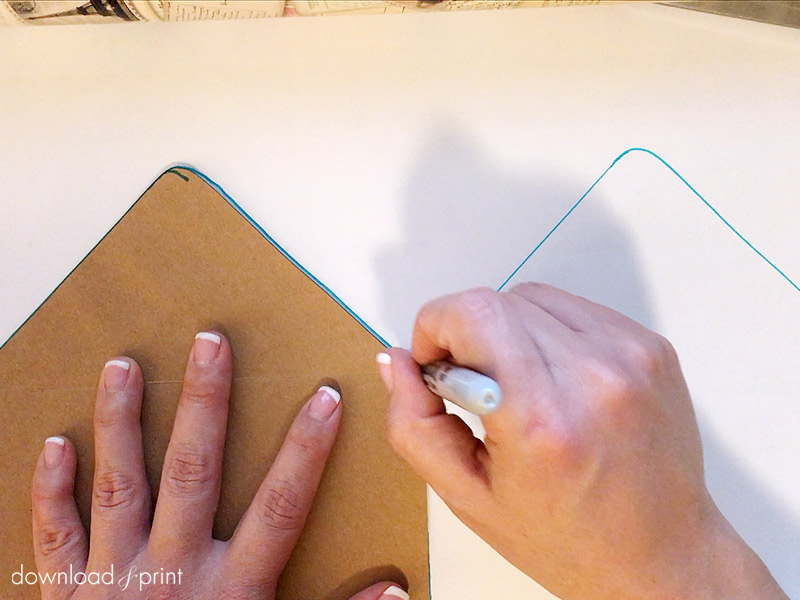
Use your template to trace onto wrapping paper. Butt the right and lower edges up to the corner of your wrapping paper and trace. Start tracing the next liner by butting your template up against your first tracing and the lower edge of your wrapping paper. This will limit wasted paper.
I like to draw out an entire row, then trim. Cut around the templates you traced.
Step 4: Attach Liner
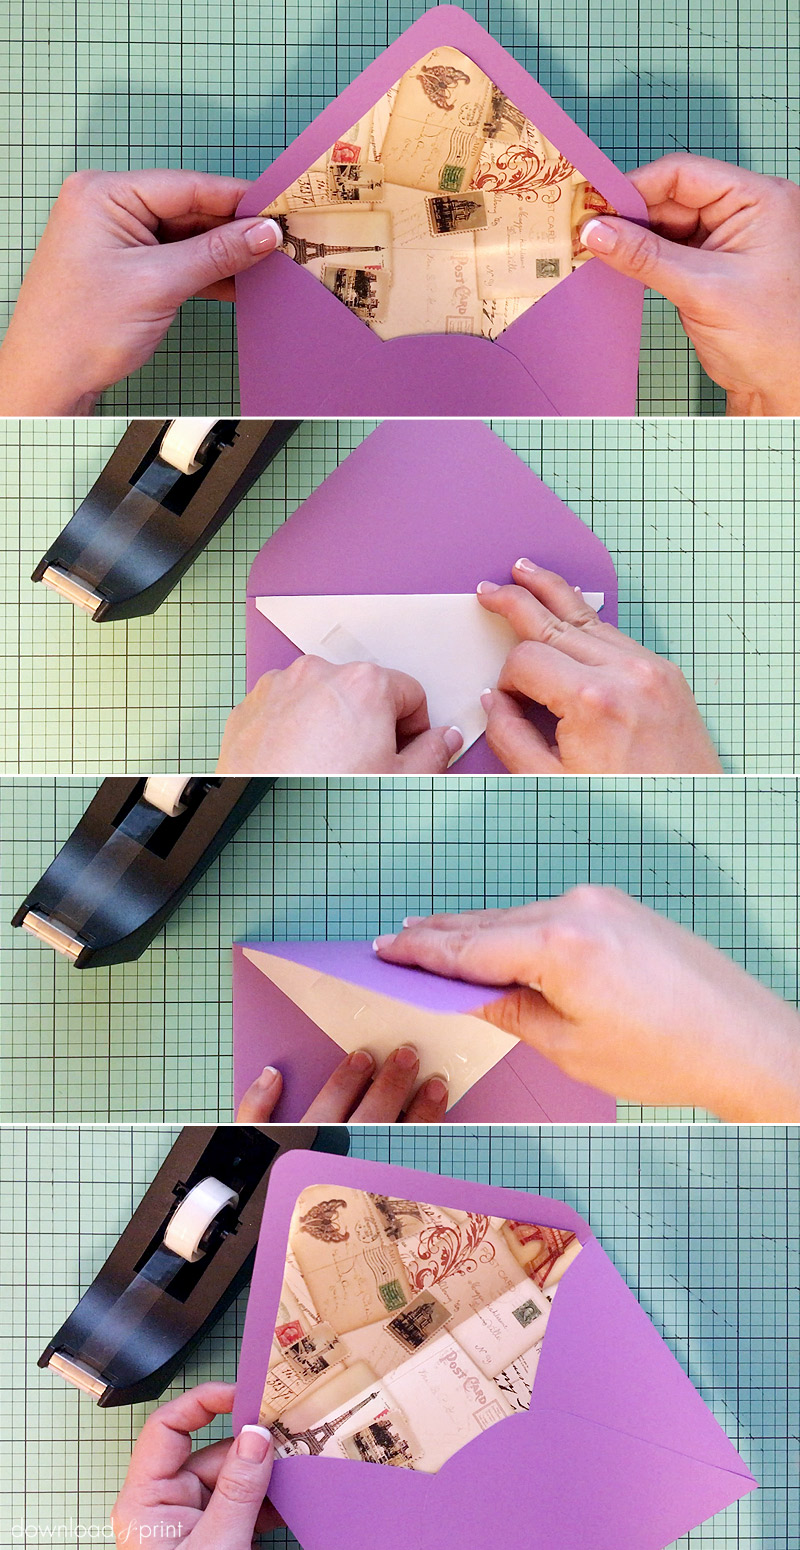
Slide your liner into an envelope. Push it all the way down, the top edge should finish just below the adhesive if you traced your template accurately.
Fold over the flap of your liner, matching the fold up with the fold on the envelope.
Stick double sided tape to the back of the liner flap. I find tape is the best option for adhering liners, a glue stick will wrinkle the paper.
Fold the envelope flap down and push firmly onto the liner. There is no need to adhere the lower section of the envelope liner to the envelope. Stuff in your DIY wedding invitations and that's it!
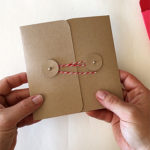
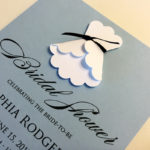
MORE DIY WEDDING INSPIRATION FOR YOU:

With template love,

(Although all the products listed in this tutorial are products I personally use, I will be compensated just a tiny bit if you make a purchase through some of the links provided. Thanks for supporting small biz!)