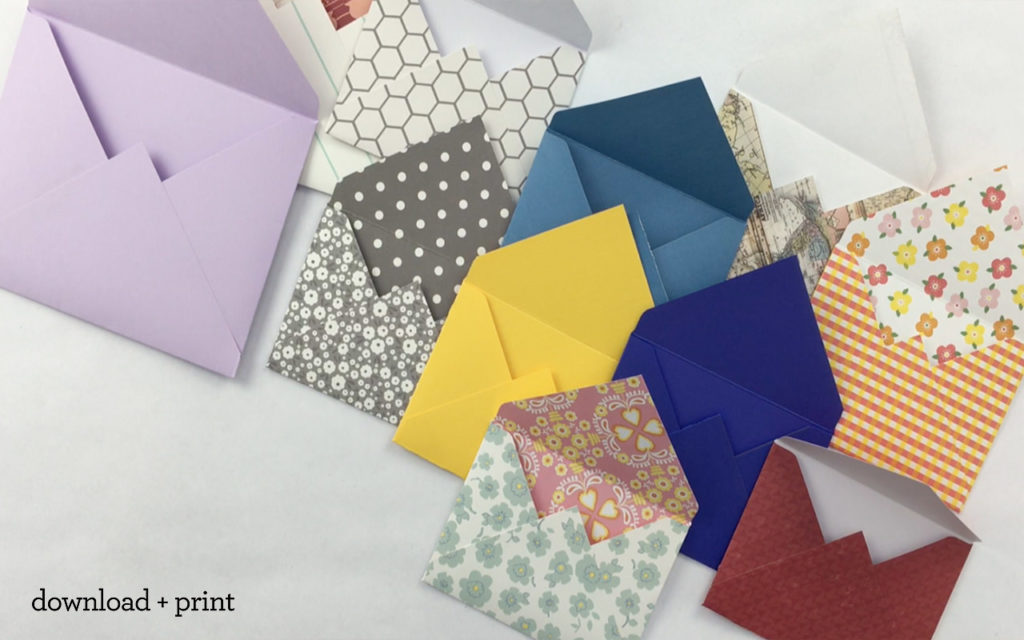
Ready to get crafty today? Our DIY Envelopes project is exactly what you need.
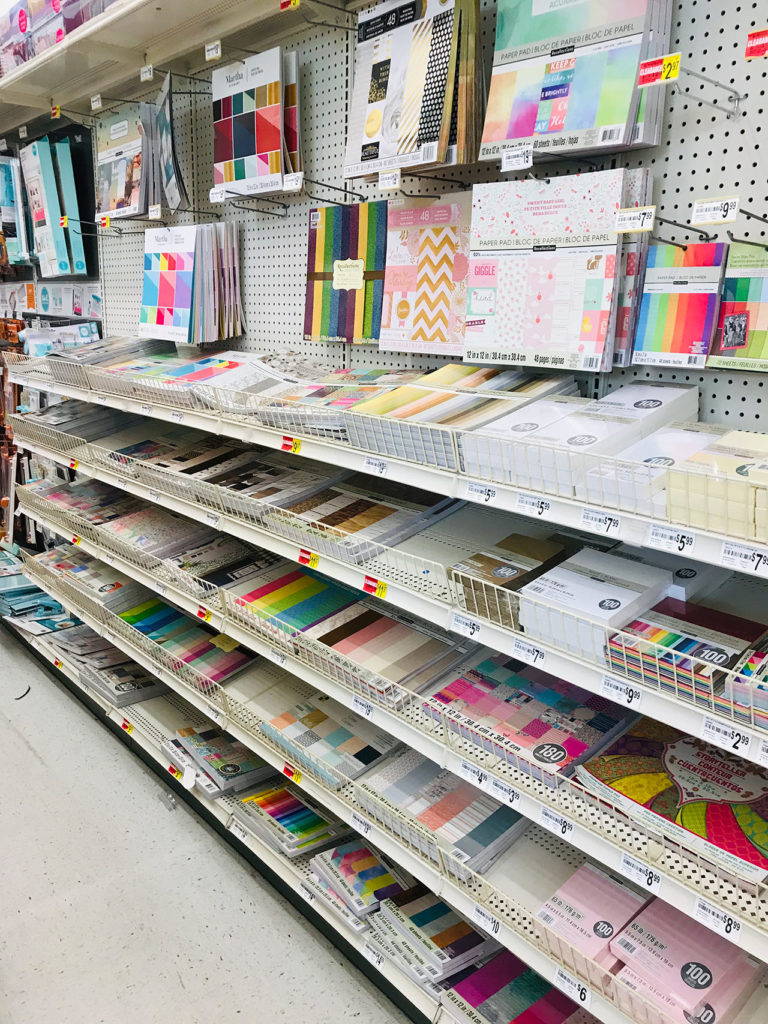
Take a stroll down your favorite craft store’s scrapbook aisle and browse the unlimited possibilities. You’ll see a variety of designs, colors, and themes to compliment your project.
Or maybe you already have a stack of scrapbook paper just waiting to be transformed into beautiful and uniquely crafted envelopes.
Making your own envelope takes your wedding invitations to the next level. It can also be that personal touch for a special card you want to send to that special someone. Or maybe you’re planning a special event or party and want that “wow factor”.
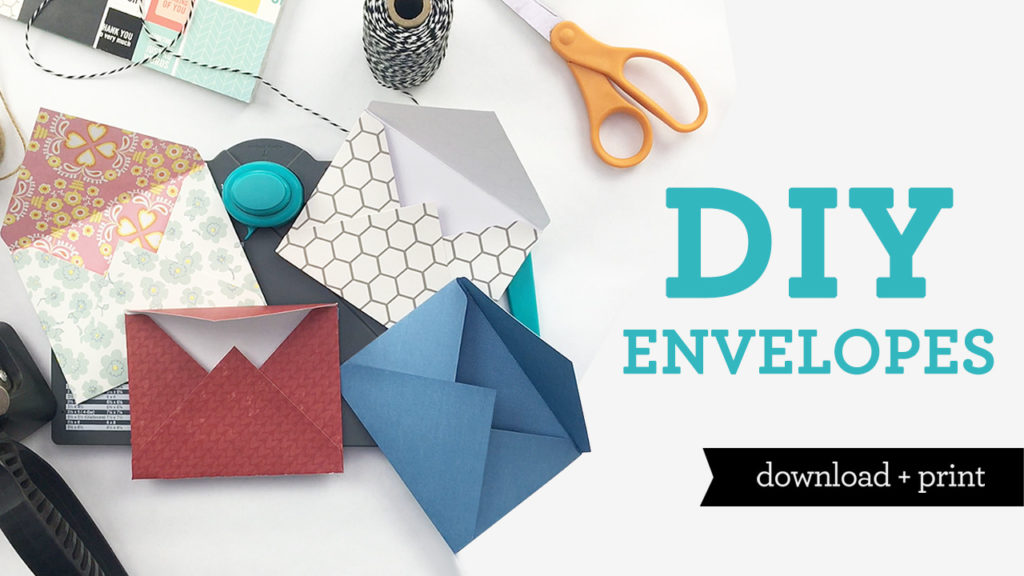
Look no further my crafting crusaders! Download + Print has your DIY back. I’ll show you just how easy it is to make your own envelopes. Any size, any pattern.
Supplies:
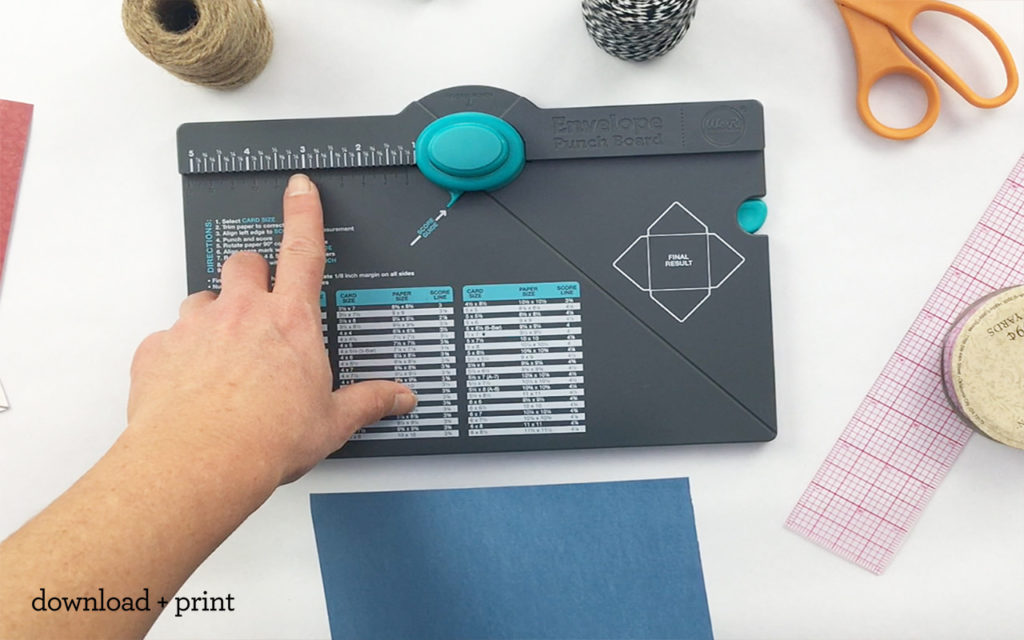
- Envelope Punch Board
- Paper Cutter
- Scrapbook Paper
- Glue Stick
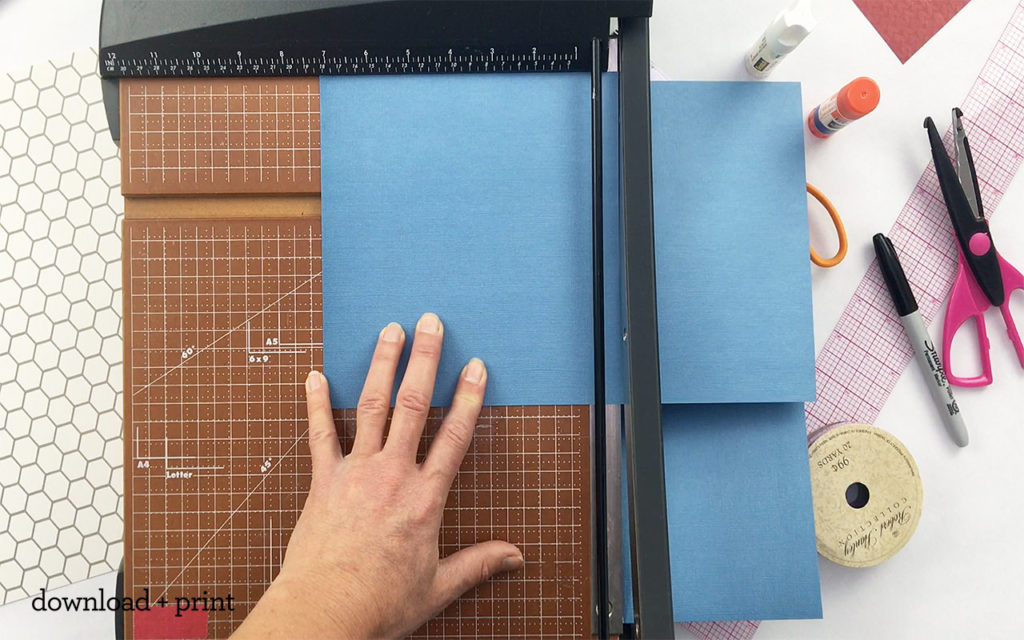
Pick envelope size from the envelope punch board. Here I’m cutting for a 4-bar (3 ½ x 5 card) sized envelope.
Cut your scrapbook paper with your paper cutter to 7¼ x 7¼. Make sure to be precise with your meaurements before cutting, it will make the difference with everything lining up properly when making your envelope. The pattern you want on the outside of the envelope should be facing up.
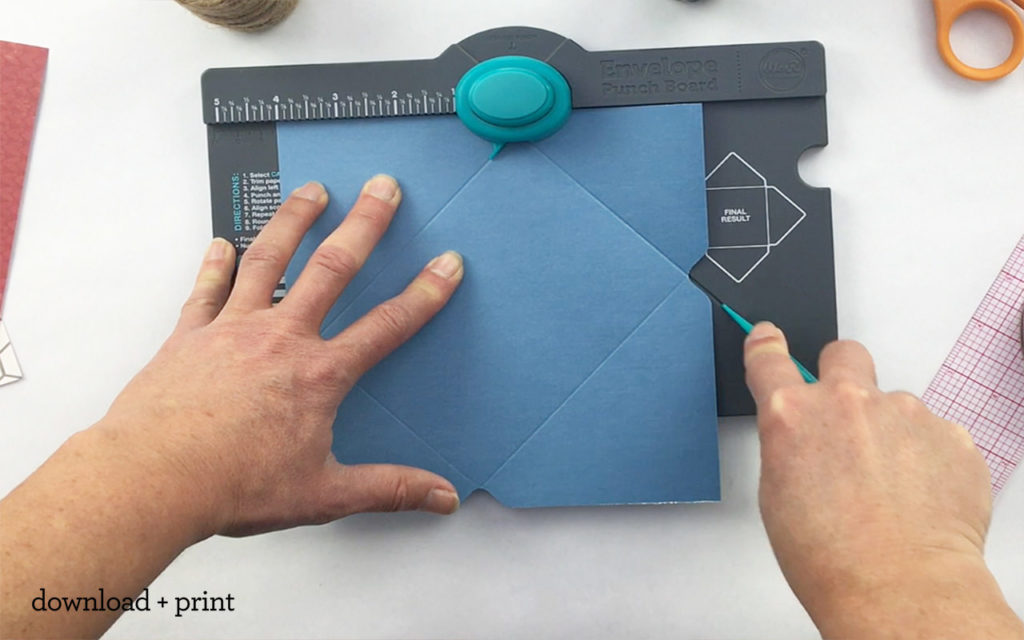
Your first score line will be 3⅛. To accomplish this, line up the edge of your paper with the 3⅛ score line measurement. Score your paper with moderate pressure starting at the notch at the top of the board using your scoring tool. Follow the groove until you clear the paper. Don’t forget to punch your paper before moving on to the next side.
Rotate paper 90 degrees counter-clockwise and align your score mark from your last step with the score guide. Score your paper again with the scoring tool and press firmly down to notch your card.
You can repeat these steps for the remaining corners.
Now it’s time to fold and glue!
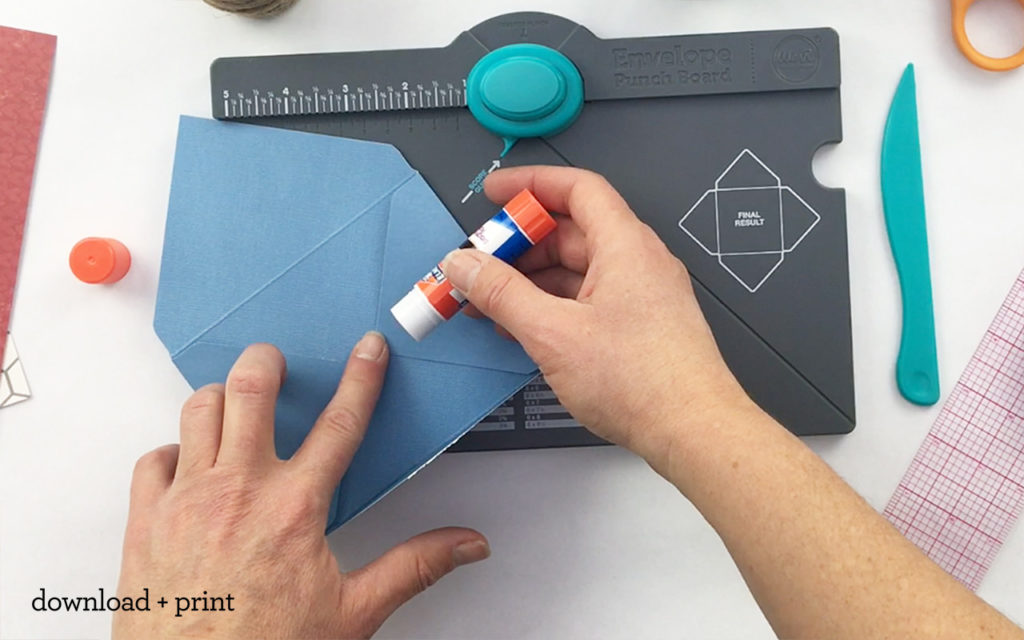
Flip your scored and notched paper over. Doing this will ensure that you achieve a crack-free, crisp fold every time! Fold the outside triangle flaps inward and the bottom flap upward. You can cut the point of the bottom flap if you desire.
With your glue stick, glue the bottom edge of each side flap and press bottom flap onto them to create a seal, hold for a few seconds.
Congrats! You just made an envelope. YOU ROCK!