Knock, knock,
(Did I just age myself???)
Who’s there?
Jig.
Jig who?
Let’s get jiggy wit it!
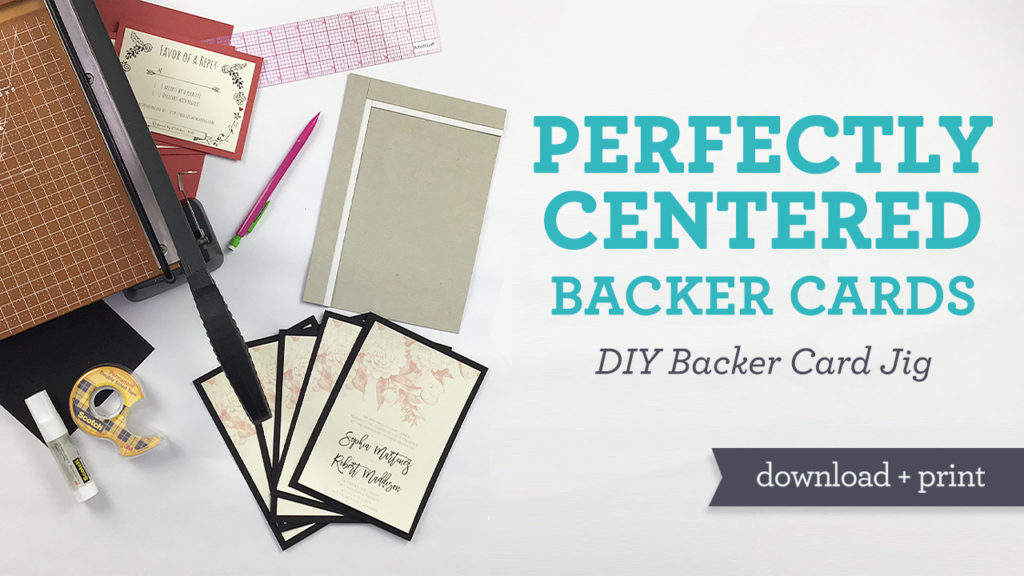
I absolutely adore things that make my crafty projects easier. After hours of trying to “eye-ball” the perfect placement of my cute invitations on coordinating backer card paper, I came up with a jig that is going to blow your creative mind.
In this tutorial, I had an old photo mailer just waiting to be repurposed, so I used that. Plus, I just tossed out all of my recycled stuff, so I had no cereals boxes laying around. Nada darn one!
Supplies:
- Photo Mailer Envelope or Cereal Box
- Paper Cutter
- Pencil
- Ruler (Use one with a squared edge)
- Double-sided tape
- Glue Stick
Tutorial:
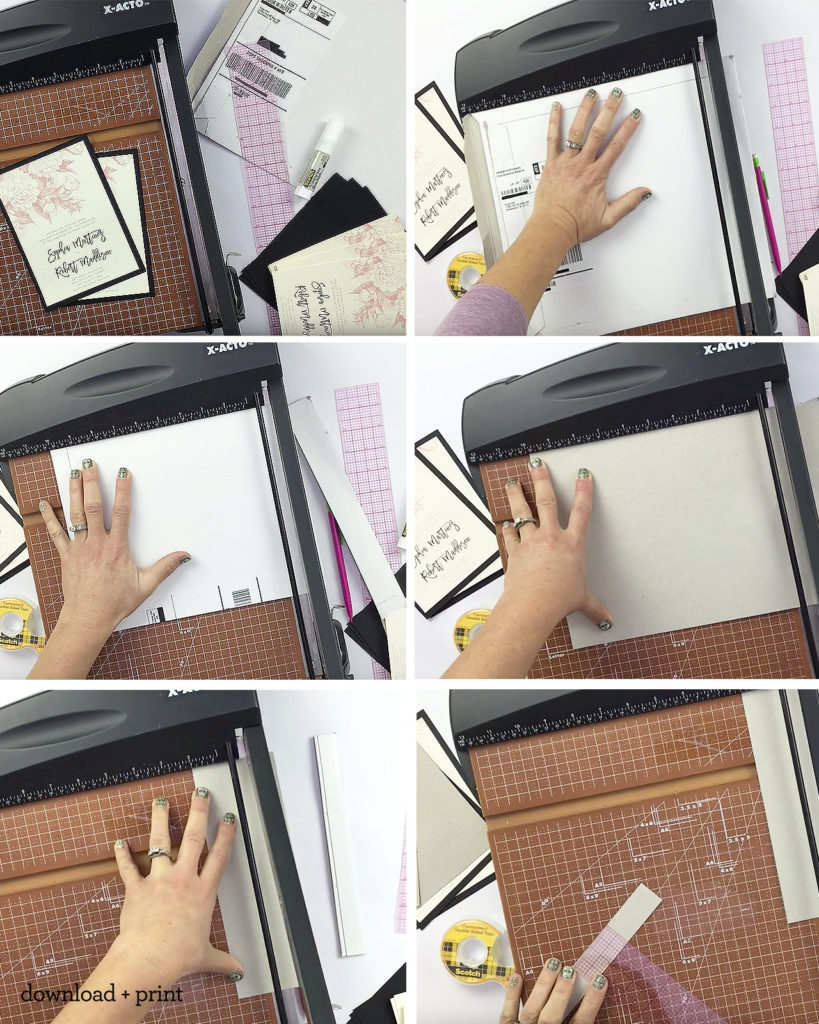
I started with an 8 ½” x 10” piece of cardboard. From that piece, I cut a 6” x 8 ½” piece for the back of my jig. The piece leftover from that cut will be for the four strips that will be attached to the back of the jig to make your 2 trays.
Cut (2) 1” strips and (2) ¾” strips from the remaining cardboard. Using these measurements will give you a ¼” margin around your custom invitations. ¼ “ and ⅛” margins seem to be the most popular, so plan ahead and make adjustments as needed. It’s your party, you make it the way you want. Some people like big margins, some like their margins smaller. There’s no right or wrong with this, just personal preference.
Ok, back to your regularly scheduled program...
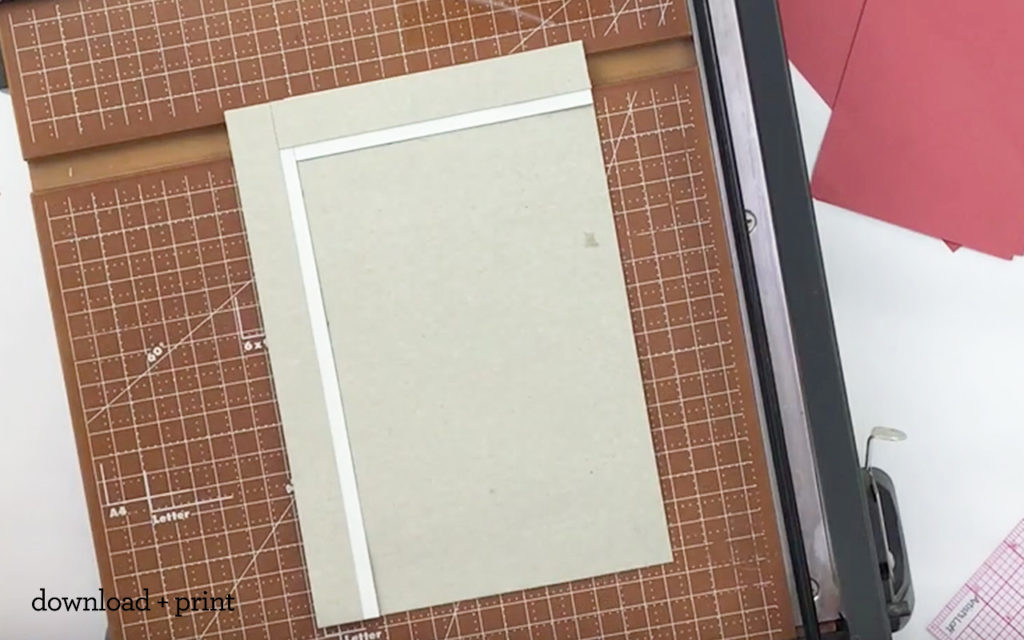
With your ruler, mark 1” from the top edge and 1” from the left edge of your cardboard. With the same ruler or something with a 90-degree angle, pencil in your perfect corner. The goal with this is to make your invitation end up squared and centered EVERY SINGLE TIME! If your strips aren’t squared on your jig, you’re not going to get that perfect placement you’re looking for.
Now attach your 1” strips using double-sided tape to the left side and top of your jig back. Use your square edge of your ruler to make sure they are at a 90-degree angle. Cut any excess cardboard strip with a paper cutter.
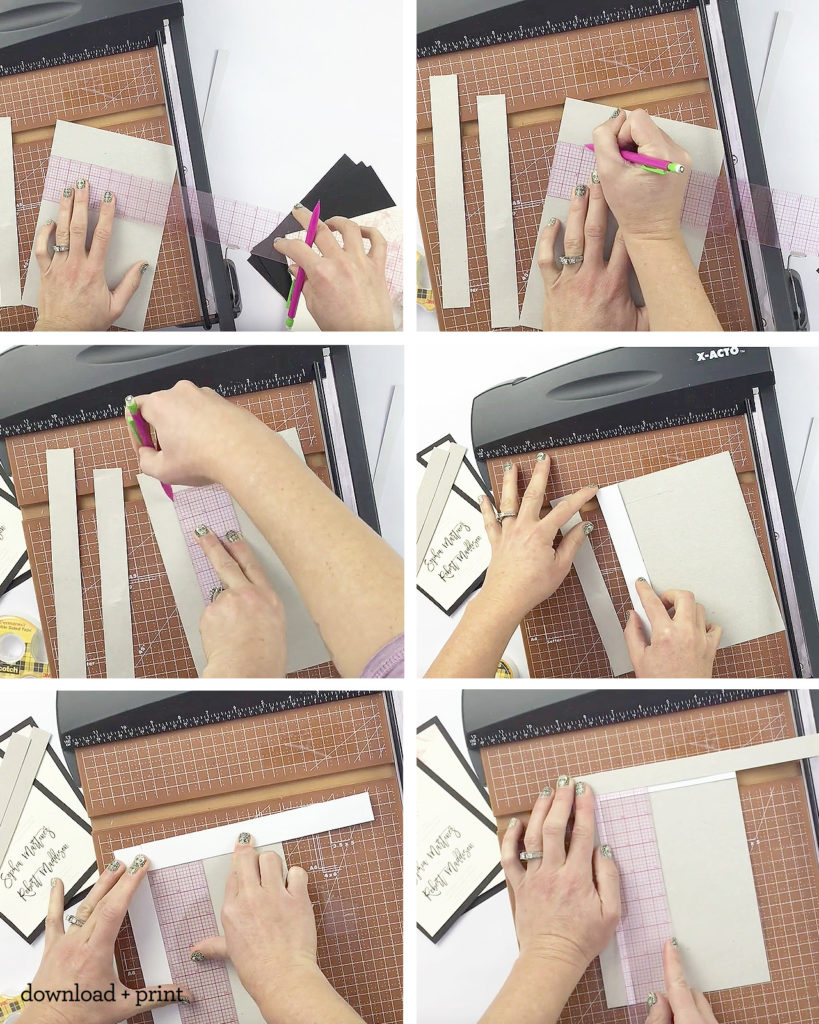
Next, you need to tape the ¾” strips on top of the strips you just attached. This is the most important step of all. This will make or break your jig. All hopes for perfectly centered backer cards will be lost forever if you mess this step up. Just kidding, it’s no big deal if you mess up. Just don’t press down that second strip until you’ve double-checked it with your ruler. Even if you accidentally stick the strip to the jig incorrectly, you can always gently tear it off and reposition it. Boom, crisis averted!