
Gold foil. And now I shall visit my happy place. I have come to embrace all things metallic and shiny. It wasn't always this way... but with two four-year old princesses running around my house we have a lot of sparkly things, and I have a lot of sparkly things to clean up. So I suppose loving the shine causes less tension in my life.
You can add metallic accents to about anything with a bit of paint or even gold leaf, think furniture, clothing, kitchen wares, shoes, bags, accessories, pictures. The list goes on.
But adding gold foil to invitations always seemed a little daunting. I know it can be done. Pre-made gold foil invitations are drop dead gorgeous. But also pricey. And since we are in the business of DIY around here not an option.
There's toner reactive foil which will give you a result just like bought foiled invitations, but you'll need a laminator and laser printer and I don't have either on hand.
The trick for us was to get a flawless foil finish using tools you already have, or that are inexpensive.
And boy did Anna deliver. The metallic accent is added with a paint pen. That's it. I used this technique on some star sign prints I have hanging in my living room and they are one of my favorite DIY projects of all time. They are shiny, customized to my family, and I couldn't be happier with the way they compliment my gallery wall.
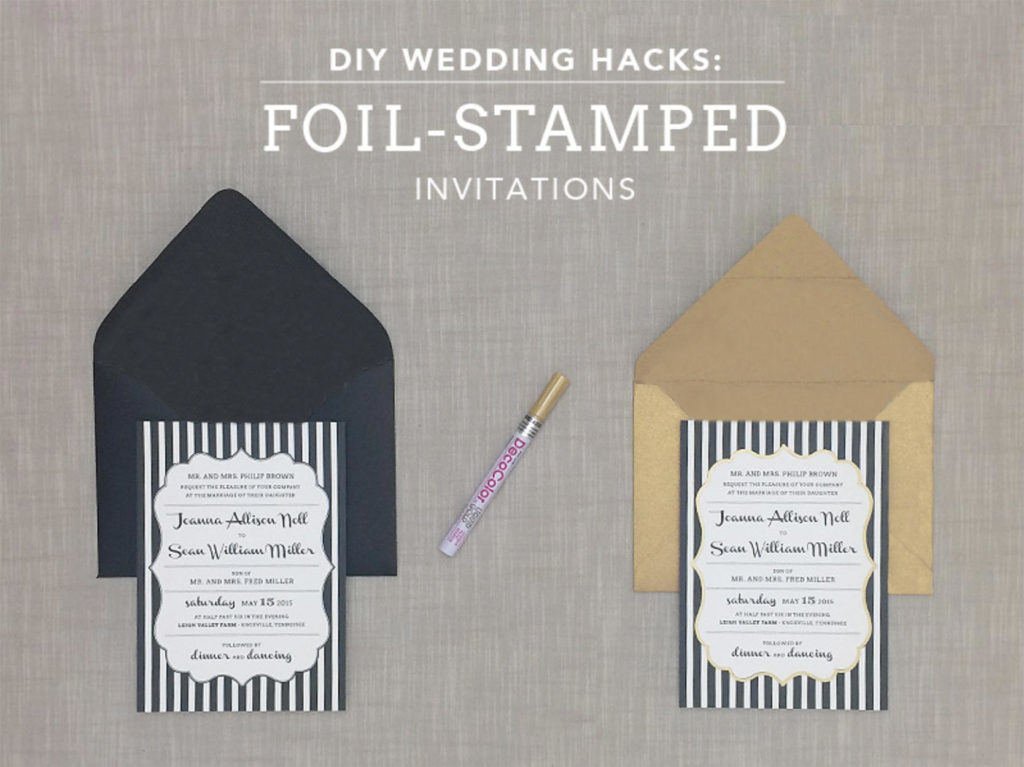
In this tutorial Anna has added a gold border to the bold stripes of the Joanna collection. Black and white stripes will never go out of style. Pair them with gold accents and you have a stylish, modern combination.
As we are just using a paint pen today you can highlight any invitation, so don't worry if stripes aren't your thing. Follow along and accent the invitation that you fall in love with. Metallic accents would also look lovely on a floral design, perhaps highlight the flower centers which will be a much softer pairing than the bold, modern stripes.
SUPPLIES:View the Template Collection
- Change the Colors,Text and Fonts directly online
- Save Changes and Download on to your computer
- Deco Color fine tip liquid gold paint pen
- A7 antique gold stardream envelopes
- 8.5 x 11" white card stock
- Paper cutter or scissors
Step 1: Customize Online • save & Download
Step 2: Print & Trim
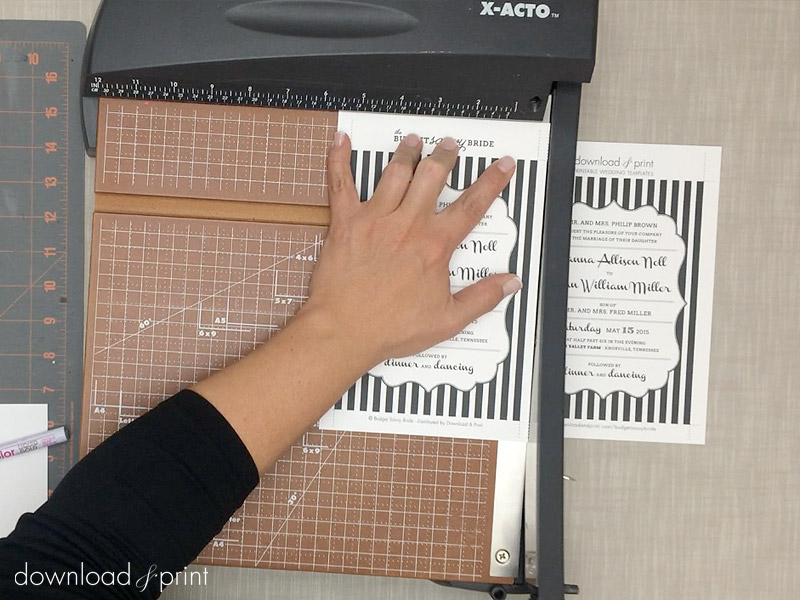
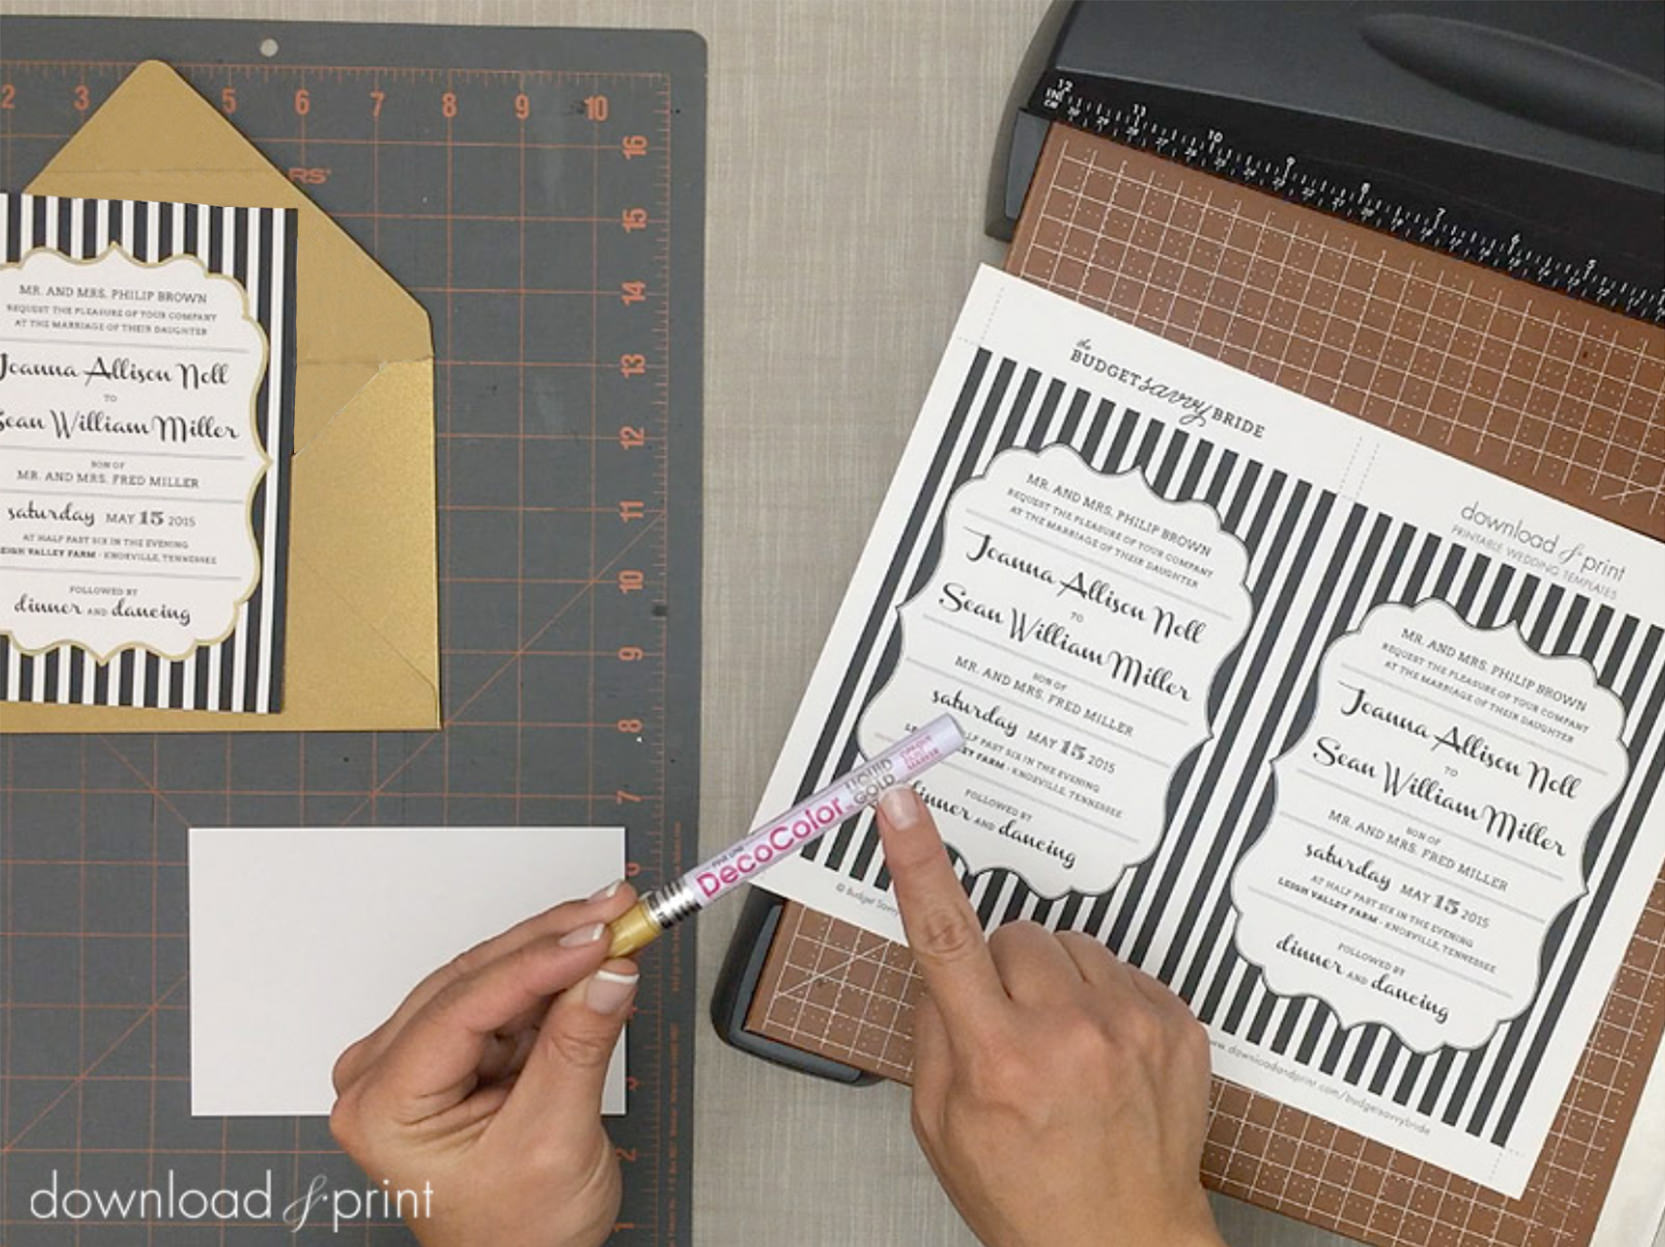
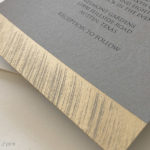
Print the invitation on 8.5" x 11” card stock. We like paper between 65 lbs and 90 lbs as most home printers can handle this paper weight. If you want to use heavier paper do a test print first.
The invitation prints two per page. Trim the invitations along the dotted lines using a paper cutter or scissors.
Step 3: Test the Paint Pen
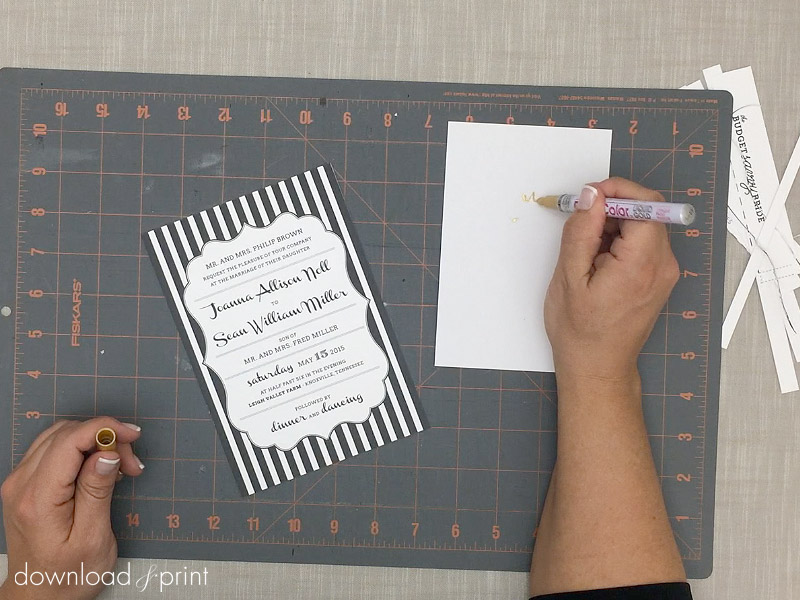
If you are using a brand new paint pen or the pen hasn’t been used in a while, get the paint flowing by dabbing the tip a few times on a scrap sheet of paper.
Step 4: Add Faux Foil
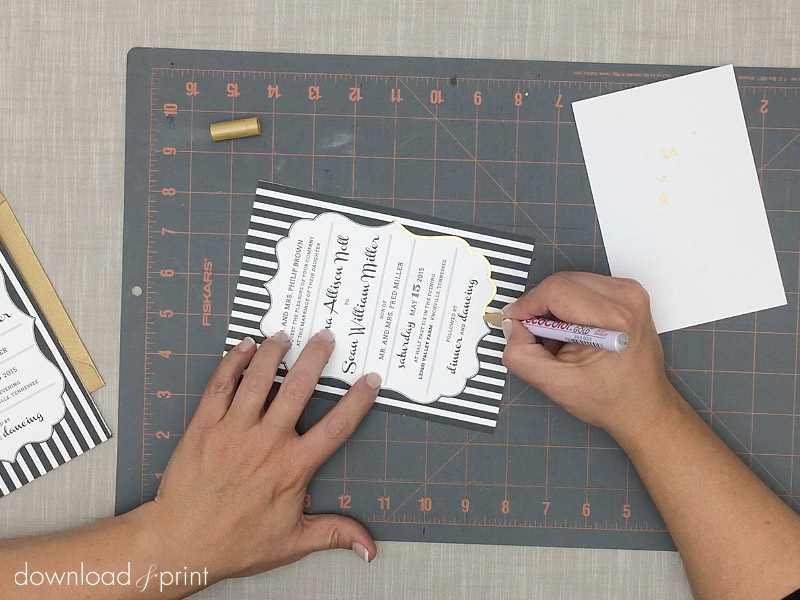
Decide where you want the gold accents and start tracing. If you are using our Joanna invitation trace along the scalloped border using the gold paint pen. Don’t be daunted by this, it’s easier than you think. Paint small sections at a time. On the Joanna invitation it’s best to trace from one point to the next, lift the pen up before moving on to the next small section. This doesn’t have to be perfect. Your guests will focus on the overall look and feel of the invitation and will hardly notice that your were a little wobbly in the lower left corner!
Step 5: Stuff & Send
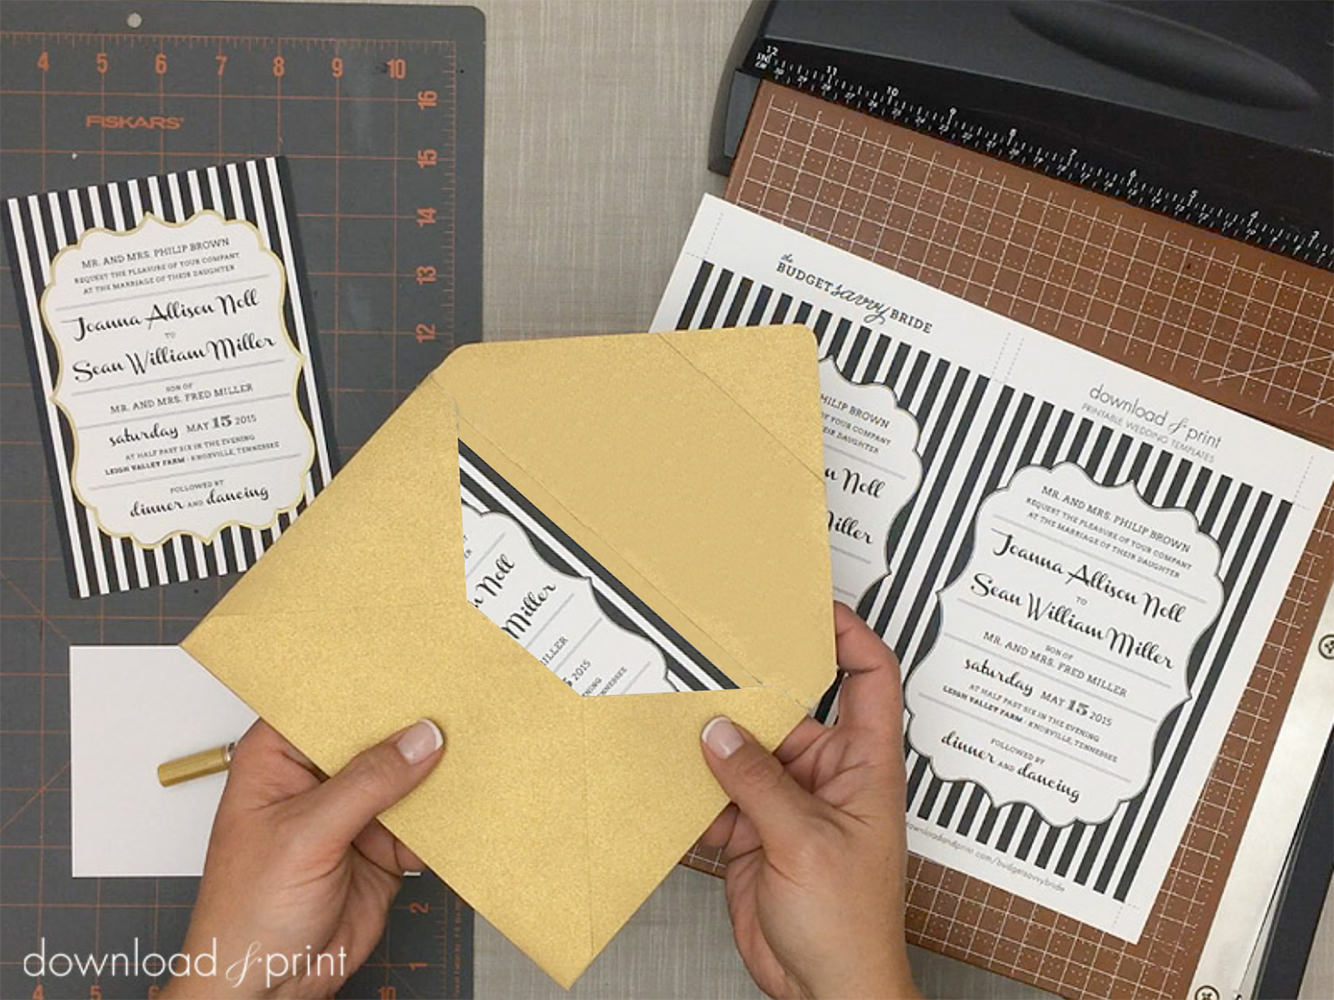
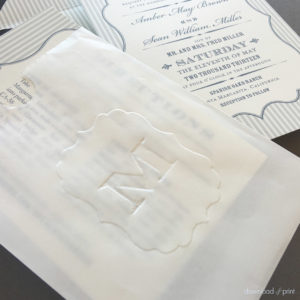
Let the faux foil dry for 24 hours. It’s dry to the touch after about 5 minutes, but I feel comfortable giving your gorgeous invitations ample drying time before sending through the rigors of the mail system. Stuff the invitation into an A7 envelope and say bon voyage.
Anna paired the black and white stripes with an antique gold envelope to coordinate with the gold faux foil. I find it so modern yet classy. To finish it off, stuff in the matching Joanna enclosure card and RSVP.
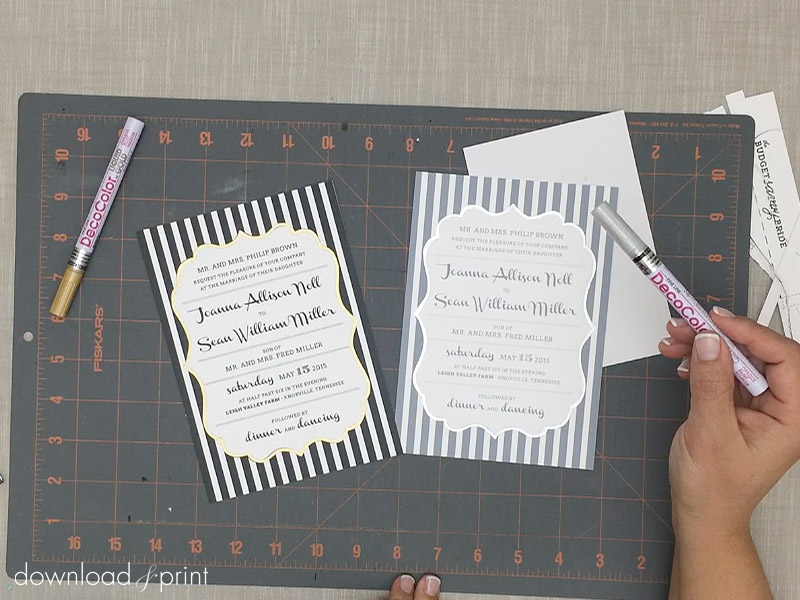
If gold doesn’t coordinate with your wedding color palette the paint pen also comes in silver.
Now you can have your cake and eat it too. Or at least love luscious metallic accents and not have to spend the Earth to get them!
YOU MAY ALSO LIKE:
Brushed Gold Invitation
View Tutorial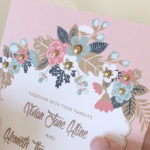
Gilded Gold Invitation
View Tutorial
(Although all the products listed in this tutorial are products we personally use, Download & Print will be compensated if you make a purchase through some of the links provided.)