
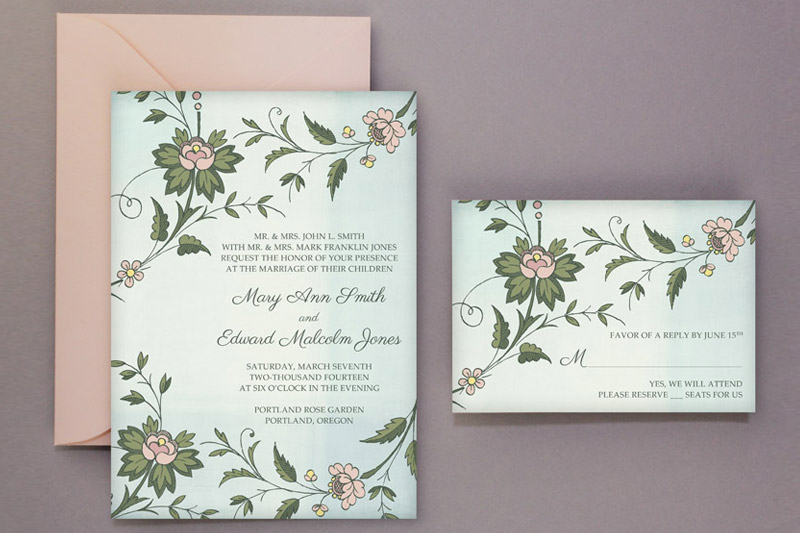
The Watercolor Flowers wedding invitation set is proving very popular with Spring 2014 brides, so I thought I'd throw together a quick tutorial to demonstrate just how easily this gorgeous set comes together. The design is styled around a 16th century opaque watercolor technique. Included in the Watercolor Flowers set is 11 stationery pieces, including two styles of invitation, two ceremony programs, an RSVP, thank you card, and other day of pieces. I'm giving you the quick and easy version here which will still produce professional results, but feel free to go to town and embellish the set to your taste. Subtle rhinestones around the curved edges would look lovely, a coordinating backing card, seal with a luscious ribbon... there are as many options as your imagination allows. If pink and mint aren't your wedding colors, let us customize the set to tie in with your theme.
Supplies:
- Template Files
- White card stock
- A7 Envelope for Invitation
- 4-bar envelope for RSVP
- Printer
- Microsoft Word
- Scissors or paper cutter
Step 1: Download and Print
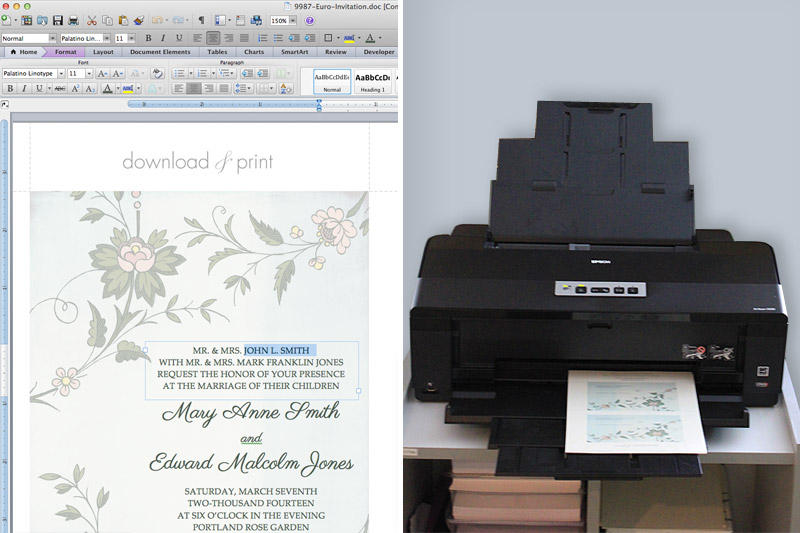
Download the template files and open in MS Word. Add your wedding details and print with your home color printer. The script font used in the template sample is Parisienne, and the information text is Palatino Linotype Regular, both of which are available to download for free. If you do not have these fonts installed on your computer Word will substitute different fonts. You can pick any fonts that you like.
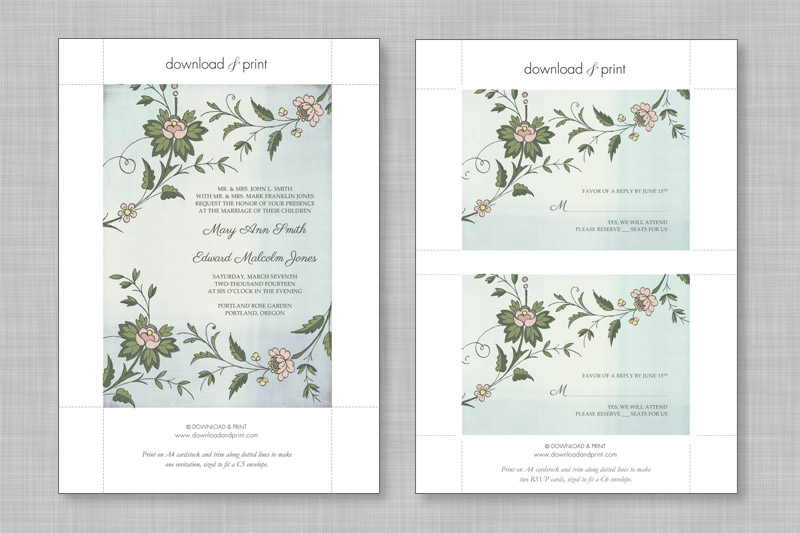
The invitation template yields one per page, and the RSVP yields two per page.
TIP: Print one copy and review your text to check for spacing, punctuation, and spelling errors. Get a second set of eyes to look at your draft as there is nothing worse than printing 100 invitations to find a spelling mistake!
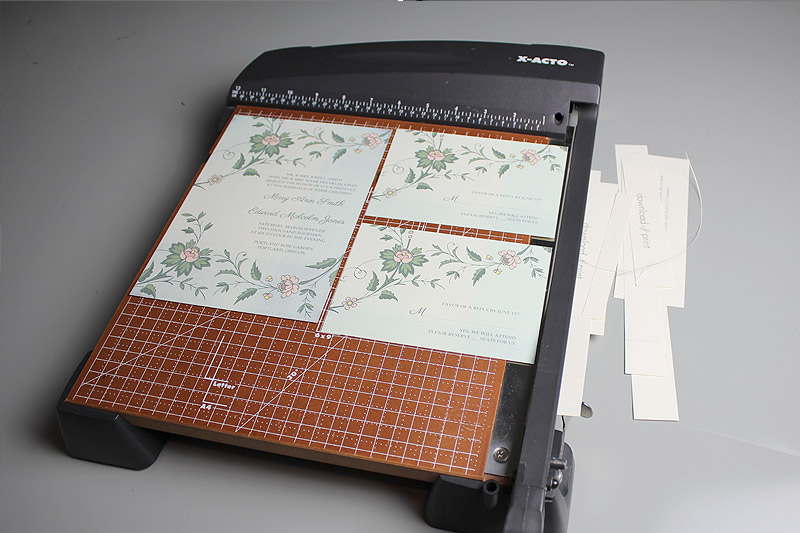
Step 2: Trim

Using your paper cutter or scissors, cut each invitation and RSVP along the trim lines. A paper cutter will give you straighter cuts and will save time, but scissors will work just fine.
TIP: If you are feeling crafty and have some extra time on your hands (a lot of extra time on your hands), these invitations can be embellished a number of ways. I think adding some flat-backed rhinestones to the round areas of the flowers would look quite lovely. Just be careful when gluing to avoid turning your invitations into one big, sticky mess.
Step 3: Stuff and Send
The invitation fits in a A7 envelope, and include a 4-bar envelope for guests to use when returning the RSVP. Step back and admire your work. It couldn’t be much simpler than that.