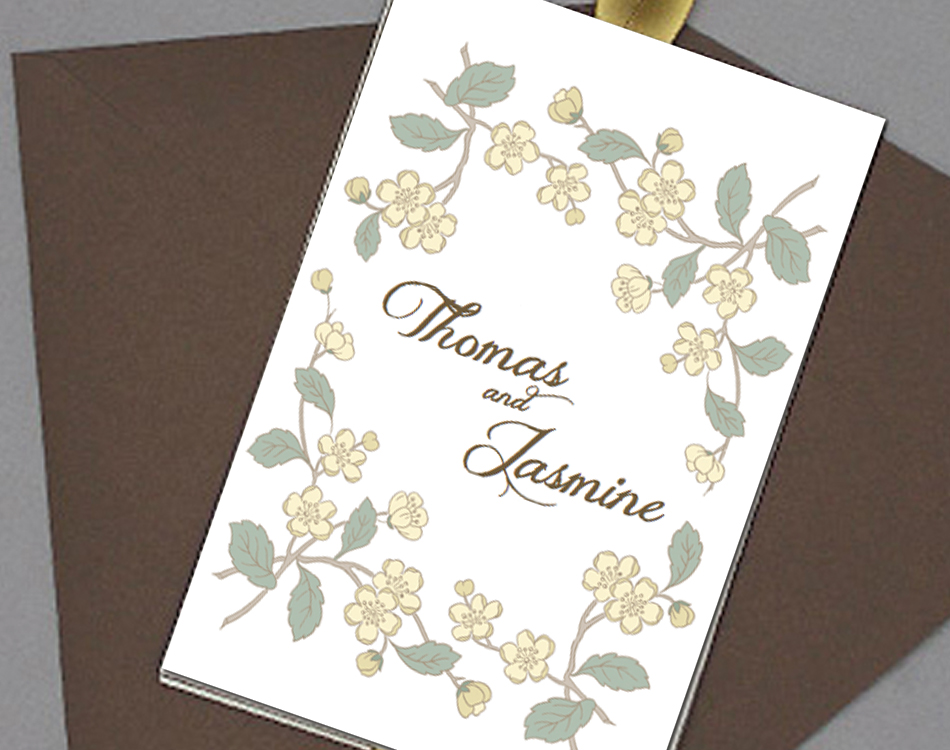
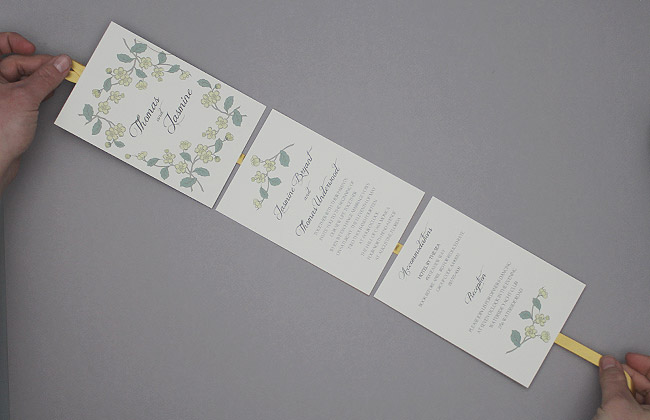
Hello lovely D&Pers! As Willy Wonka said, “Invention, my dear friends, is 93% perspiration, 6% electricity, 4% evaporation, and 2% butterscotch ripple”. I’m putting the design of this invitation down to butterscotch ripple as the inspiration suddenly hit me out of nowhere. It’s a three panel hanging invitation. I always hang invitations to upcoming events on a corkboard near my desk, and I do believe this would look just lovely hanging up there. It’s easy to put together and personalize with your choice of scrapbook paper on the back. Print off the downloads and follow along with the steps below.
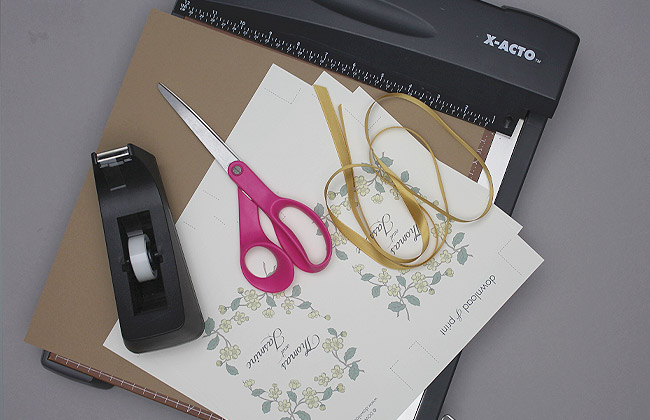
Supplies:
- Invitation templates
- White or creme card stock
- 12 x 12" scrapbook paper (I used a color called 'camel')
- A6 envelope
- Printer
- Scissors or paper cutter
- 3/8" ribbon
- Double sided tape or glue stick
Step 1: Print and Trim
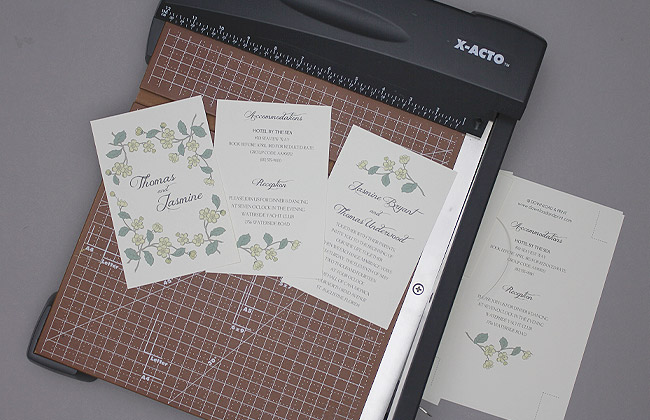
Download the template files and open in MS Word. Add your wedding details and print with your home color printer. The script font used in the template sample is Jellyka Delicious Cake and the information text is Lichtner, both of which are available to download for free. Each download yields two templates.
Before you go ahead and print 100 invitations and enclosure cards, print one copy and check for spelling mistakes, correct dates, times etc. Have someone else check your work. Check twice, print once!
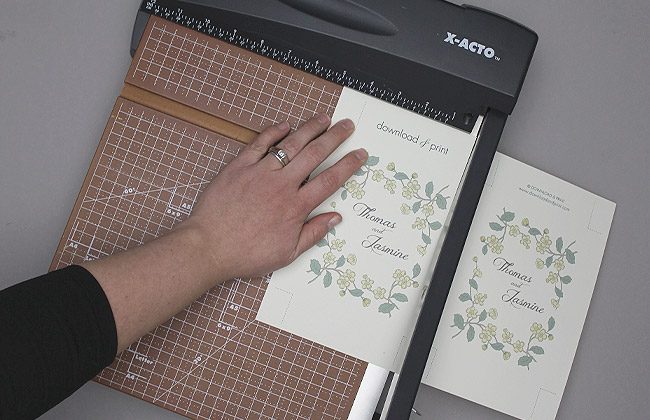
Trim the templates along the cut lines using scissors or a paper cutter. A paper cutter will be faster and will produce straighter cuts, but scissors will also get the job done.
Step 2: Trim the Backing card
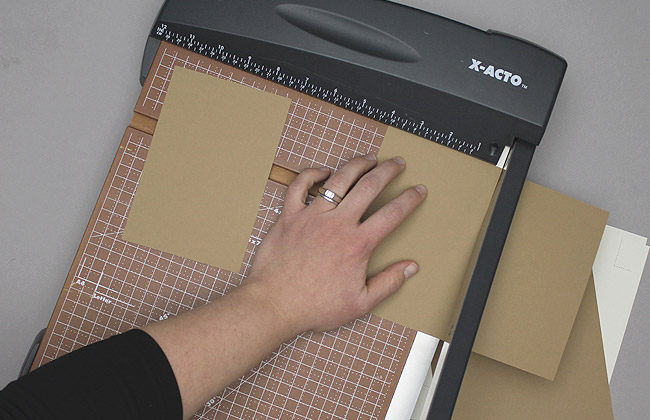
Cut your sheet of scrapbook paper into 4 x 6” rectangles. One sheet will produce six backing cards with no waste.
Step 3: Tape
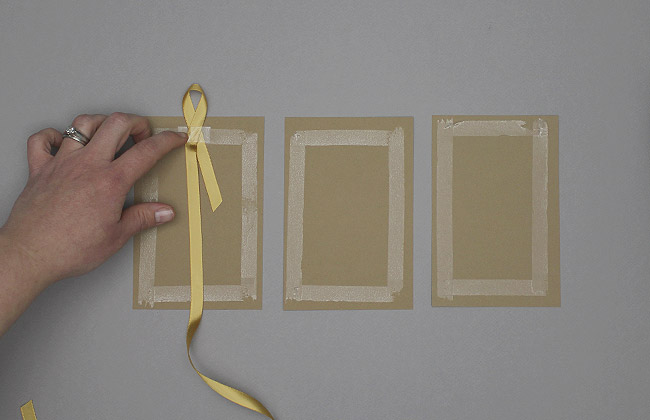
Cut a 30” length of ribbon.
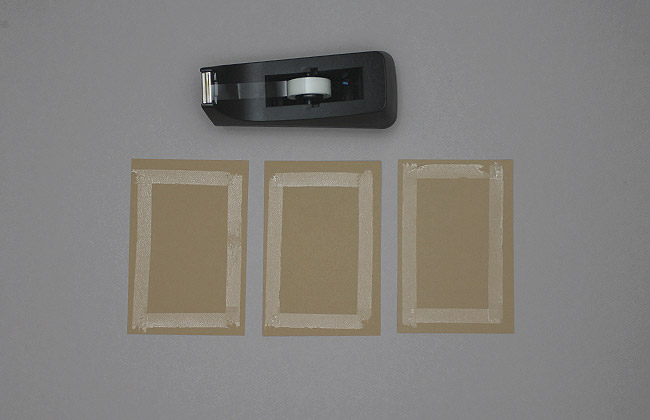
Border one side of your backing cards with double sided tape or glue. Tape is less messy so is my preference.
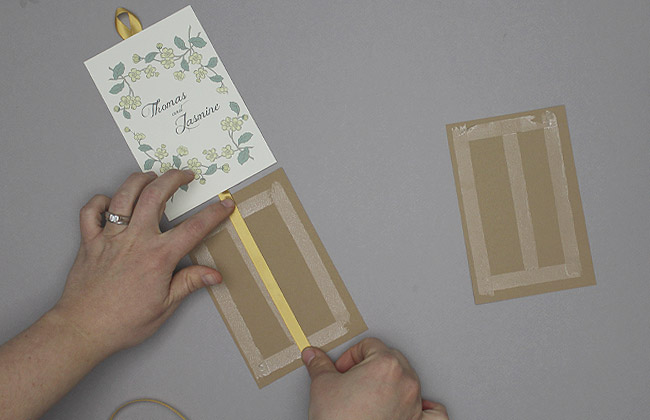
Lay a strip of tape or glue length ways down the center of your first backing card. Place your ribbon on the tape leaving about a 6” tail hanging off the top. Create a loop with the tail and place another short piece of tape over the ribbon to hold the loop in place.
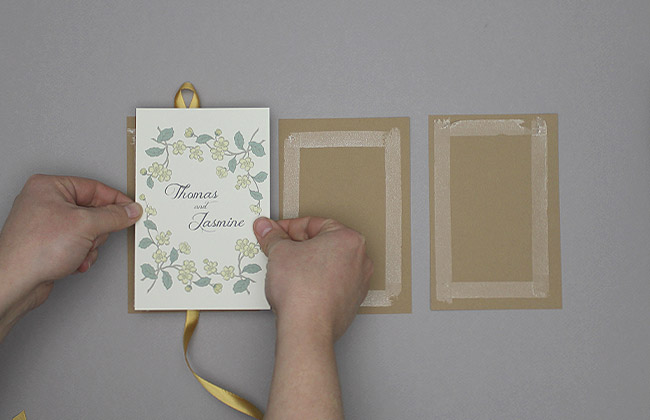
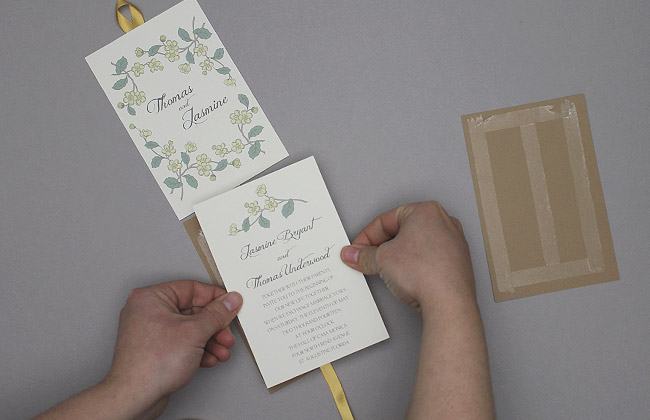
Attach the name card to the first backing card by lining up the top and one side, and pressing down each edge to secure firmly in place.
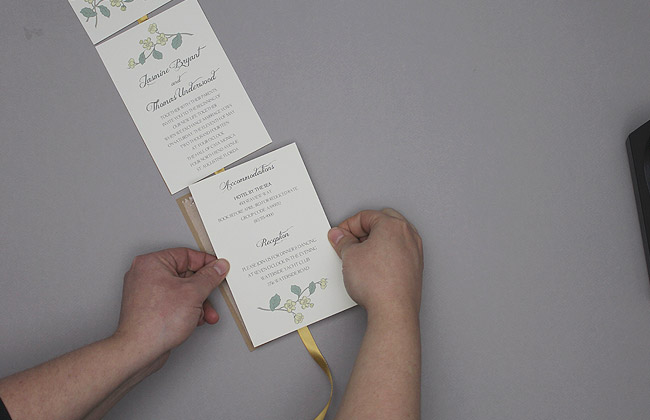
Repeat this process with the second and third cards, ending with a ribbon tail at the bottom.
Step 4: Stack and Finish
Fold the panels so that they stack on top of each other, with the name card on top. The bundle is now ready to be stuffed into an A6 envelope and mailed.

