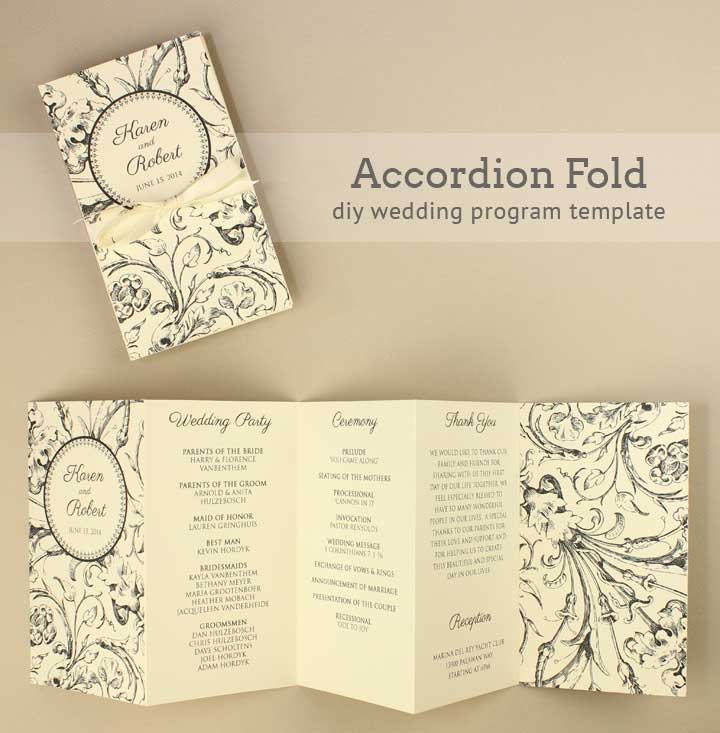
If accordions make you think of beer gardens and polka, please leave all preconceived notions at the door!
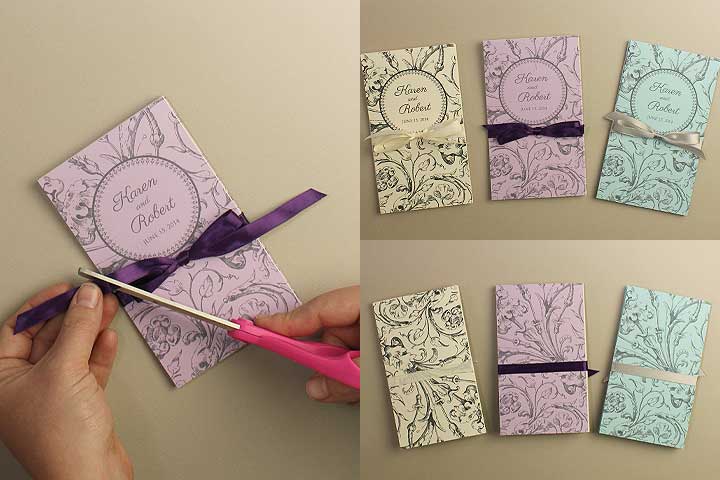
This is a really stylish DIY wedding program... lederhosen not required. The magic comes in the accordion fold which is created from two sheets of paper. Scroll to the bottom to see how great it looks with a colored cover and white paper inside.
Here's a few cool details to this program:
- The accordion fold. The trick is to tape two sheets of paper together to make the long accordion.
- Black + White. The program prints in black and white so it's hands down the cheapest printing you can do (plus see step 1 for even more excitement). You can choose to print in color of course, if you like.
- Small size. The program is small enough to fit into a ladies purse, but once unfolded has a ton of room for your ceremony details. Win/win!
SUPPLIES:
- Ceremony Program (customize online)
- Cream or white card stock, or see tip below
- Ruler
- Double-sided tape
- Scoring tool
- Paper cutter or scissors
- Satin ribbon
Step 1: customize online, save, Download & Print
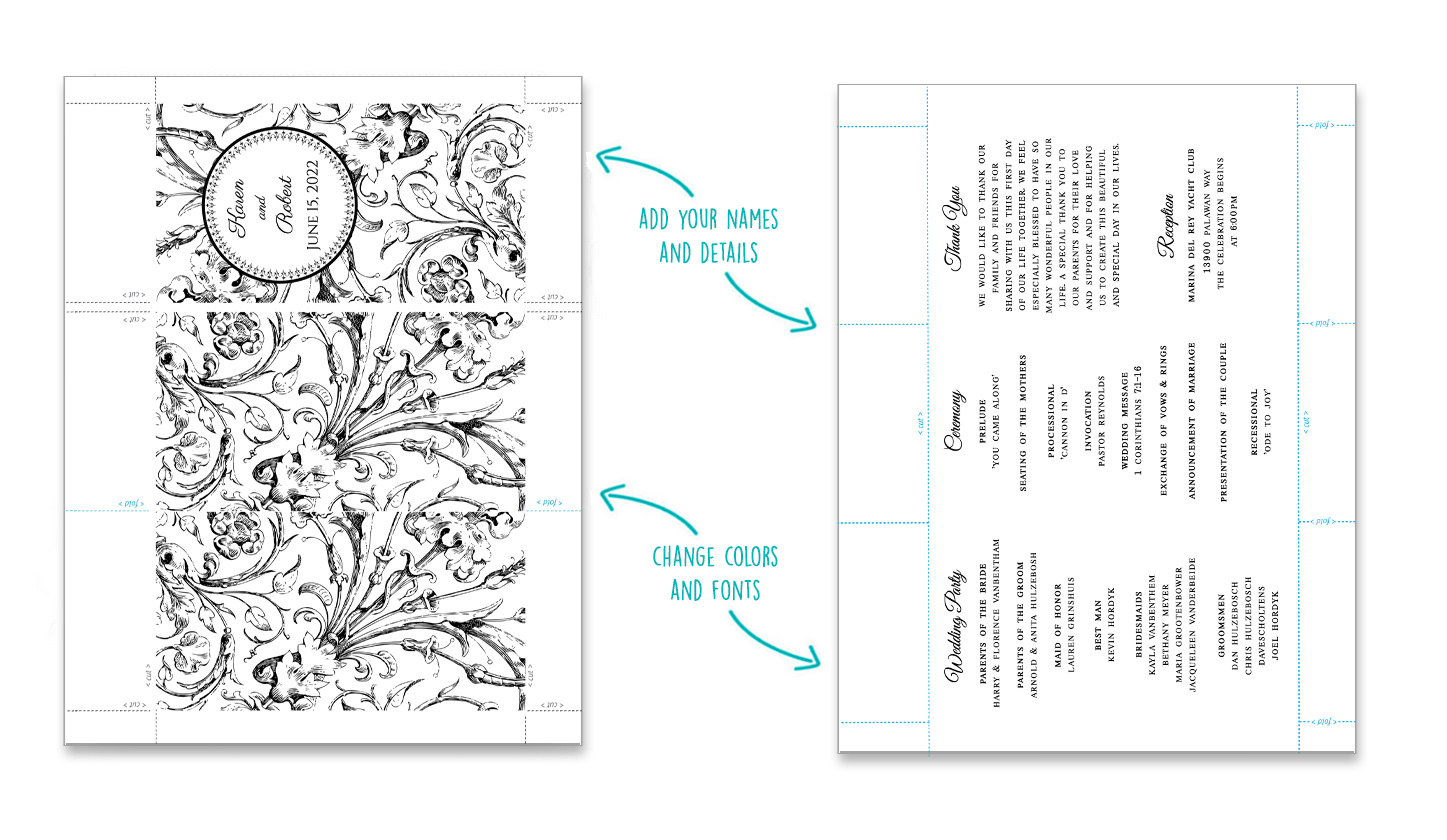
It's easy to customize the program and change the colors, fonts and text online. Hooray! Save your changes before downloading on to your computer and now you're ready to print!
Check and double check your spelling and formatting. I recommend printing one program first to check for typos and before printing all of the programs that you need.
TIP: If you use this black and white version, you can also print on colored card stock or match the card to your wedding colors for a completely unique program. Use all the same color card, or colored card for the front and back covers, and cream or white for the inside pages. Be creative!
Step 2: Score + Fold
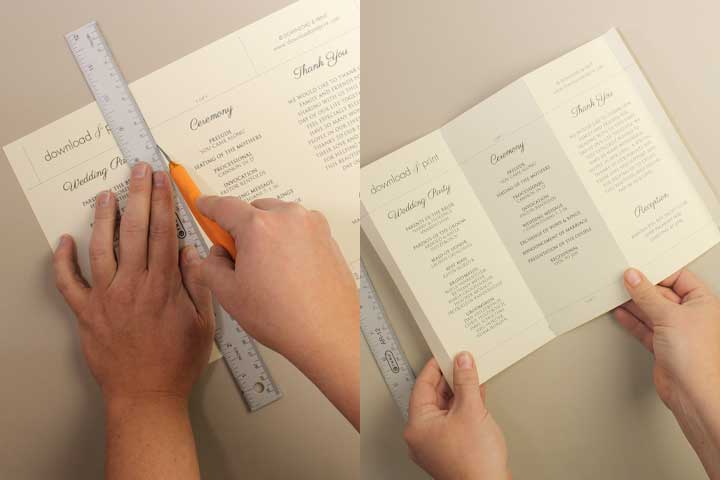
Score along the fold lines using your scoring tool or the back of your utility knife and a ruler. Do not cut! This will give you sharp creases and help the program fold flat.
Step 3: Fold + Trim Inside Pages
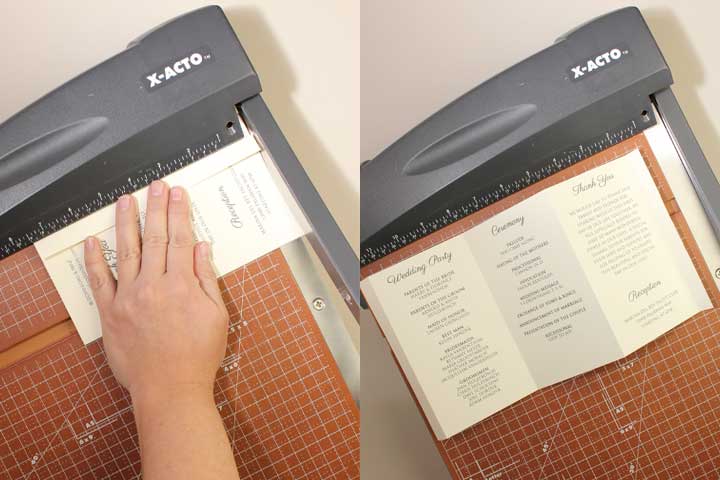
Accordion fold the inside pages and trim along the cut lines using your paper cutter or scissors. You will be able to work more quickly with a paper cutter and will get a straighter edge, but scissors will work fine if this is what you have on hand.
Step 4: Score + Trim Covers
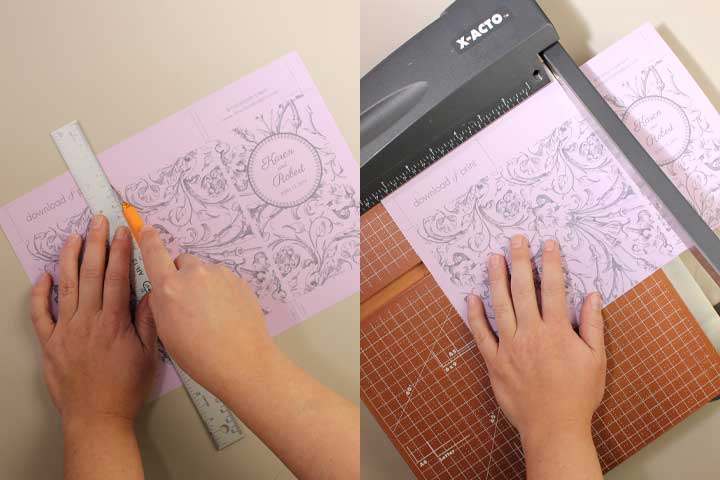
Again, using your scoring tool or the back of your utility knife, score the fold on the back cover to a sharp crease. Trim along the cut lines.
You should end up with two pieces, the front cover which is a single panel, and the back cover which is a double panel.
Step 5: Tape
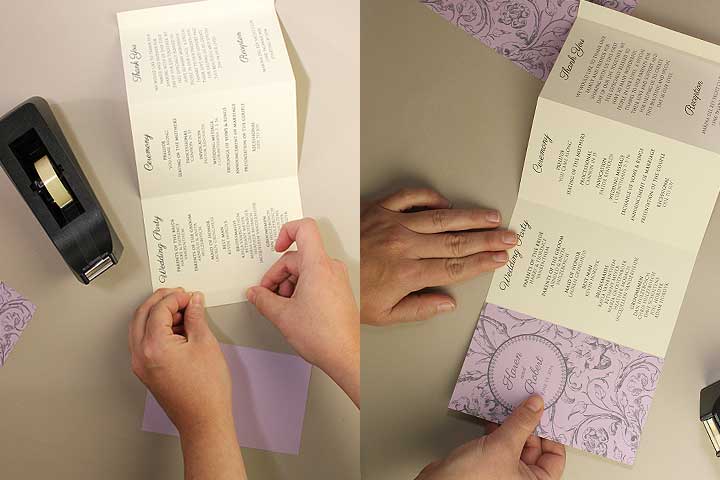
Attach the front and back covers to the inside pages using double sided tape. Tape works better than glue and is less messy!
TIP: Before committing the tape, lay out the program first and do a practice fold so that you can see which way the covers attach to the pages. All the printing should be on the same side.
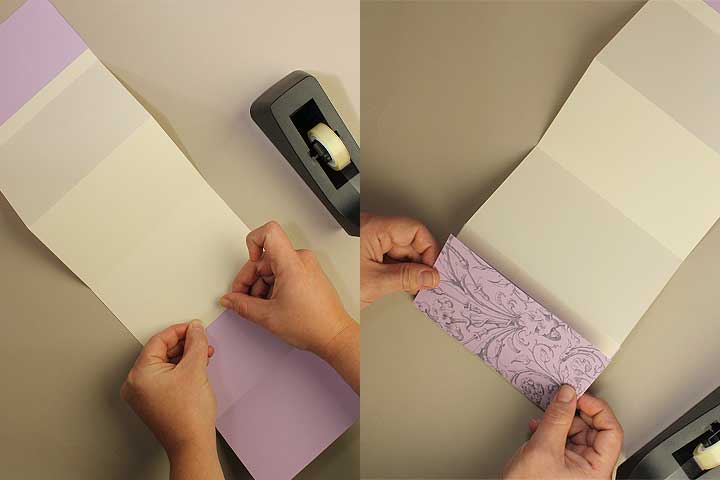
Step 6: Tie + Finish
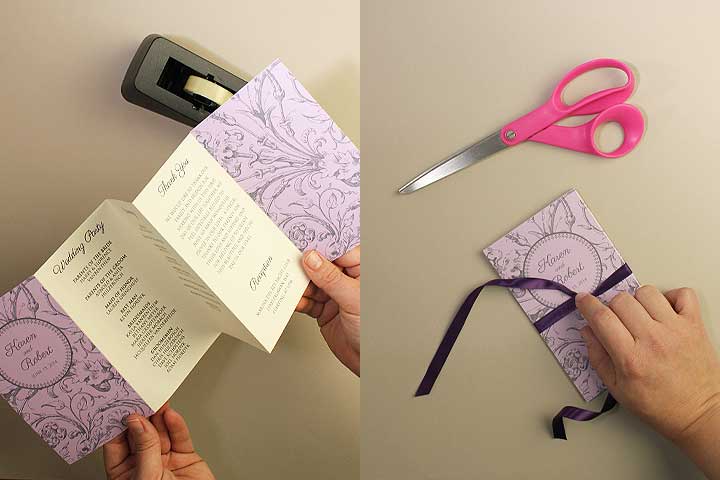
Close the program in an accordion fold. Tie ribbon in your accent color around the program and trim the bow tails to the same width as the program. Step back and admire your work.
TIP: The assembly process will go much faster if you recruit friends/family/fiancé to help and form a production line. Have someone score and fold, have someone tape, and have someone tie the ribbon.
With template love,
(Although all the products listed in this tutorial are products I personally use, I will be compensated just a tiny bit if you make a purchase through some of the links provided. Thanks for supporting small biz!)

