
I'm no stranger to paper flower crafts, having delved in with these giant paper roses which have proven to be quite a hit on YouTube.
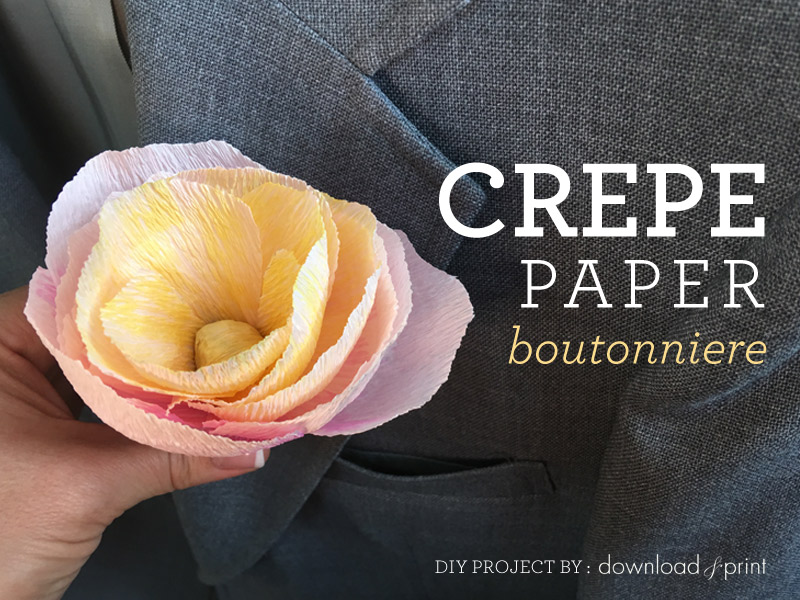
Today I'm back with another paper flower. It's much smaller, very pretty, and this time made from crepe paper.
The crepe paper is fun to work with as it stretches and curls to resemble real petals. It also comes in a rainbow of colors. In this tutorial I'm going to show you how to use light pink crepe paper and a pink and yellow highlighter to give the flowers some realistic depth and texture through shading. It's so simple, yet effective. Magical really.
The petal template is free to download, find the link below.
I'd love to see what you make with these flowers. One flower makes a stylish boutonniere. But don't stop there. Create an entire bunch and make a bouquet! Try different colors of crepe paper and markers to fit in with your wedding colors. Pastel crepe paper is going to work best so that the shading stands out. Be social and share your creations with me on Instagram - #downloadprint. You'll make my day.
SUPPLIES:Download Petal Template
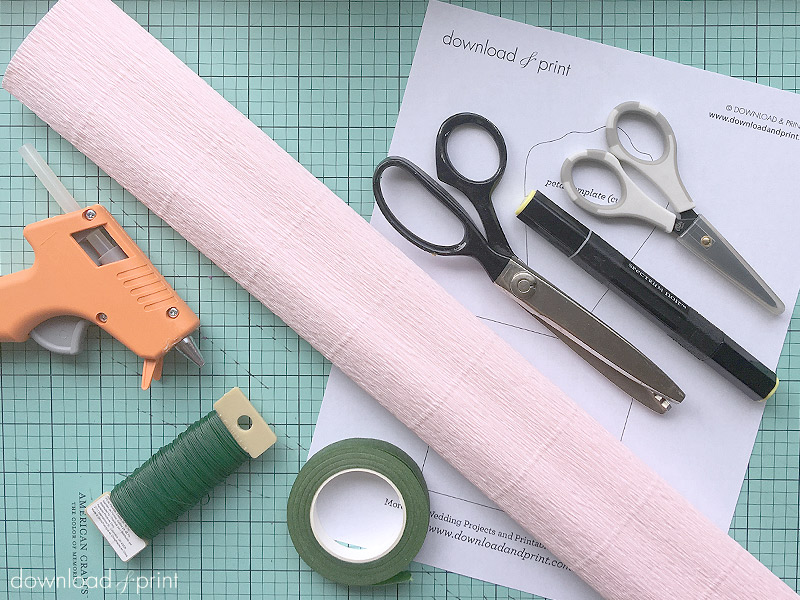
- Light pink crepe paper - I used Lt. Pink from the link provided
- 24 gauge floral wire
- Floral tape
- Wire cutters
- Low temperature glue gun and glue sticks
- Yellow and pink markers
- Petal template
Step 1: Download & Print
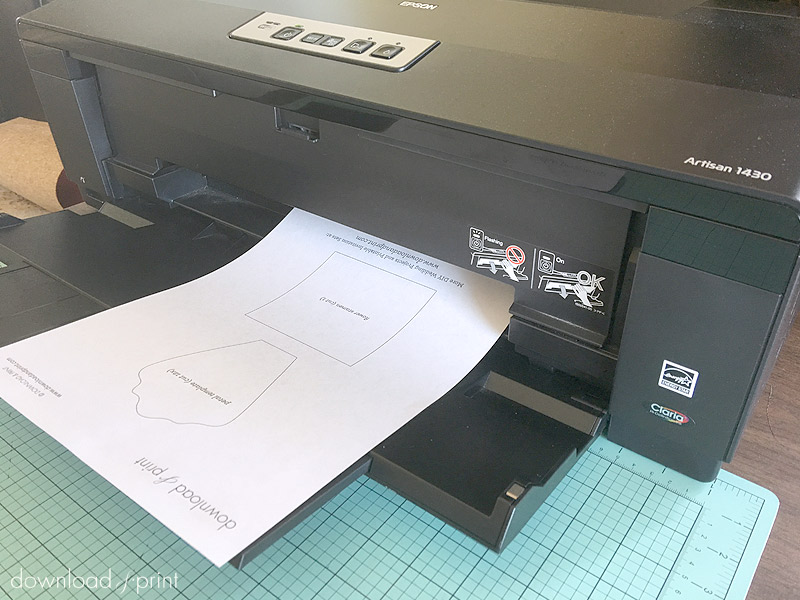
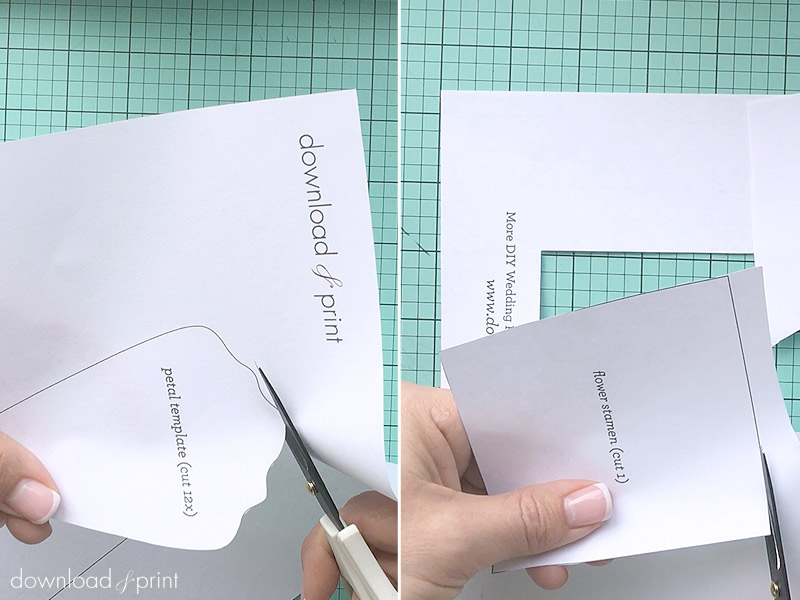
Download the petal template and print onto standard paper. Cut out the petal and center. A small pair of detail scissors works best.
Step 2: Trace & Trim
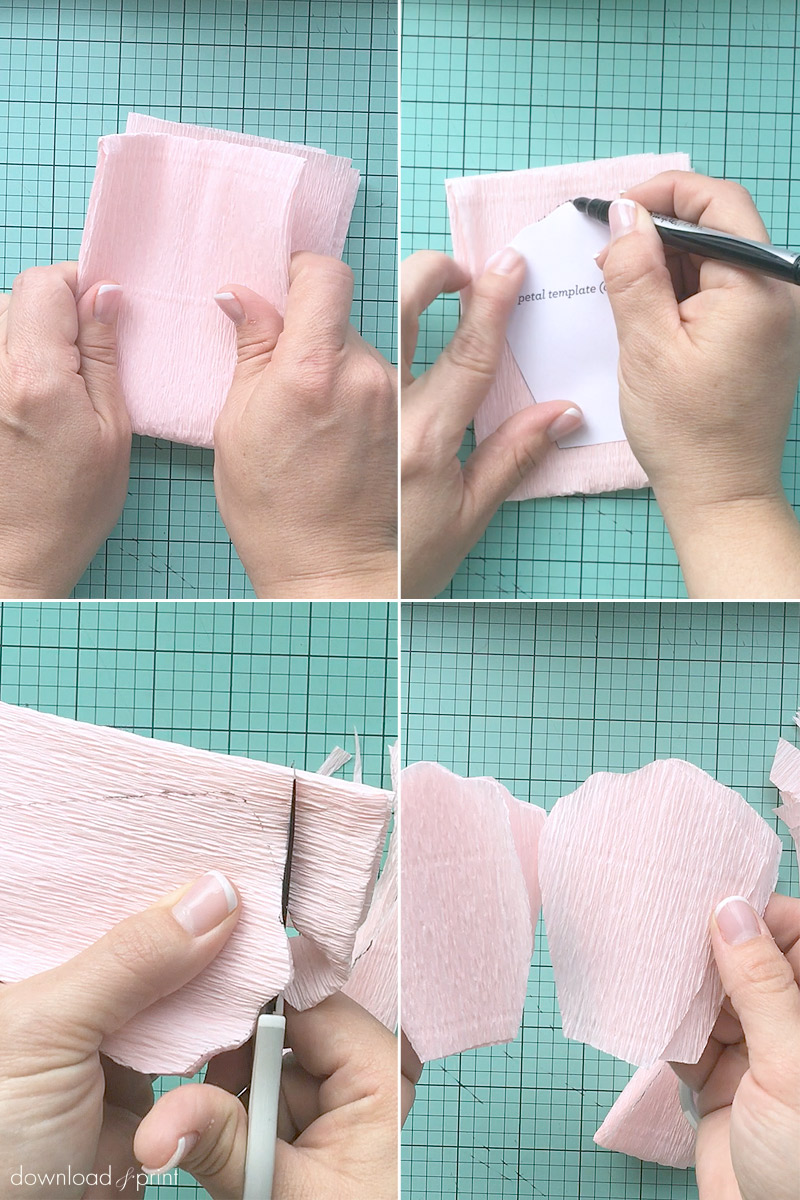
Cut a piece of pink crepe paper and fold it to make a 12 layer stack. This can be achieved by folding it lengthways, lengthways again, and then in thirds in the opposite direction. The final stack needs to be big enough to trace the petal template onto.
Trace the petal template and cut out. You'll end up with 12 petals.
Step 3: Make Stamen
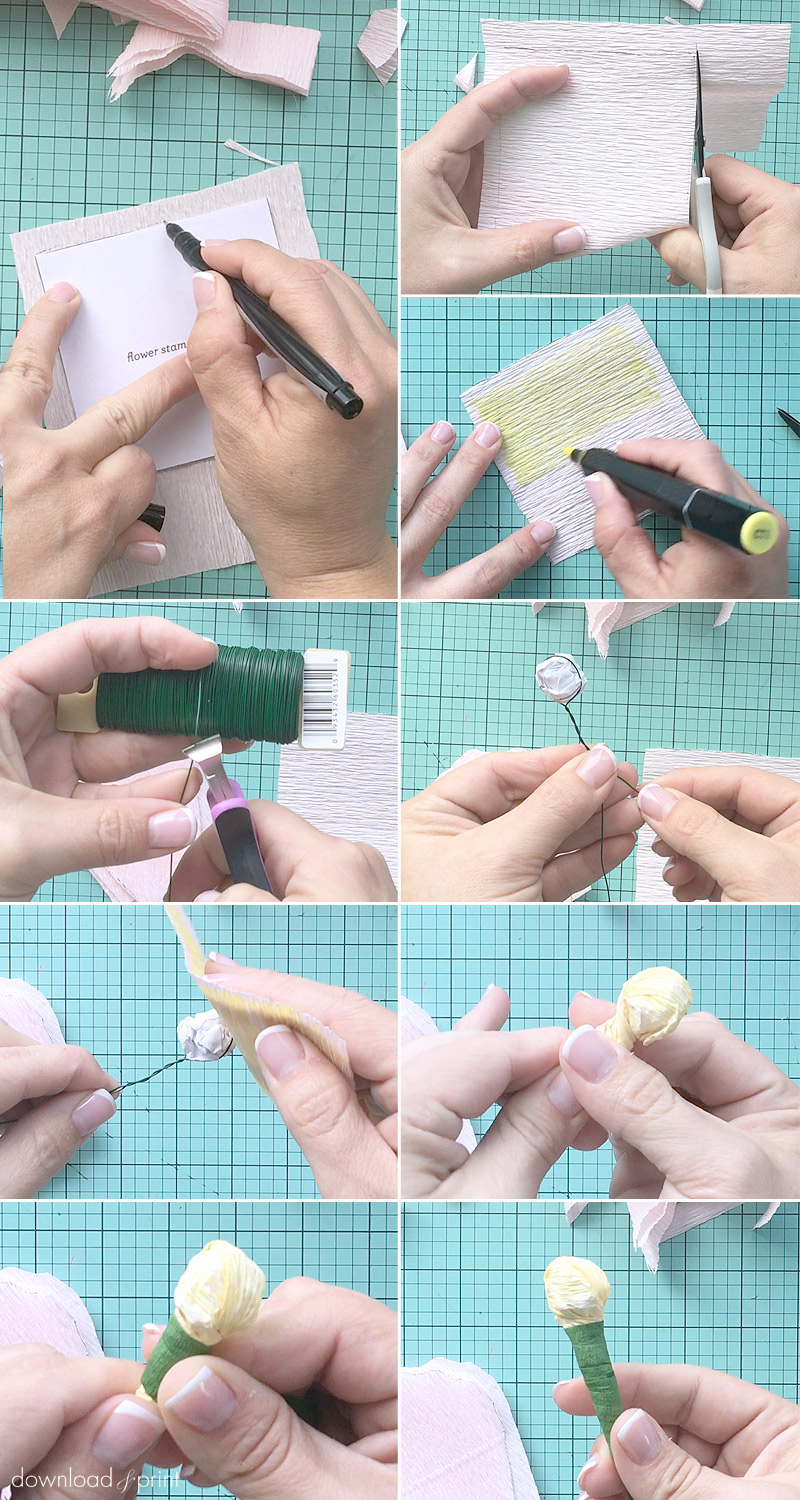
Cut out the square stamen from crepe paper, you just need one of these per flower.
Scrunch the paper stamen template into a ball.
Cut a 12" length of floral wire. Wrap it around the paper ball and twist a few times to secure. You should be left with the paper ball secured at the top of a floral wire stick.
Color the crepe paper square that you cut out for the stamen using the yellow highlighter. This is best done along the grain of the crepe paper. You don't need to color right to the edge, and your coloring doesn't need to be perfect. Imperfections will give your flowers a more authentic look!
Place the crepe paper stamen over the paper ball, yellow side up. Wrap it around and twist at the bottom around the floral wire.
Use floral tape to wrap around the flower stem and secure the crepe paper in place.
Step 4: Assemble Flower
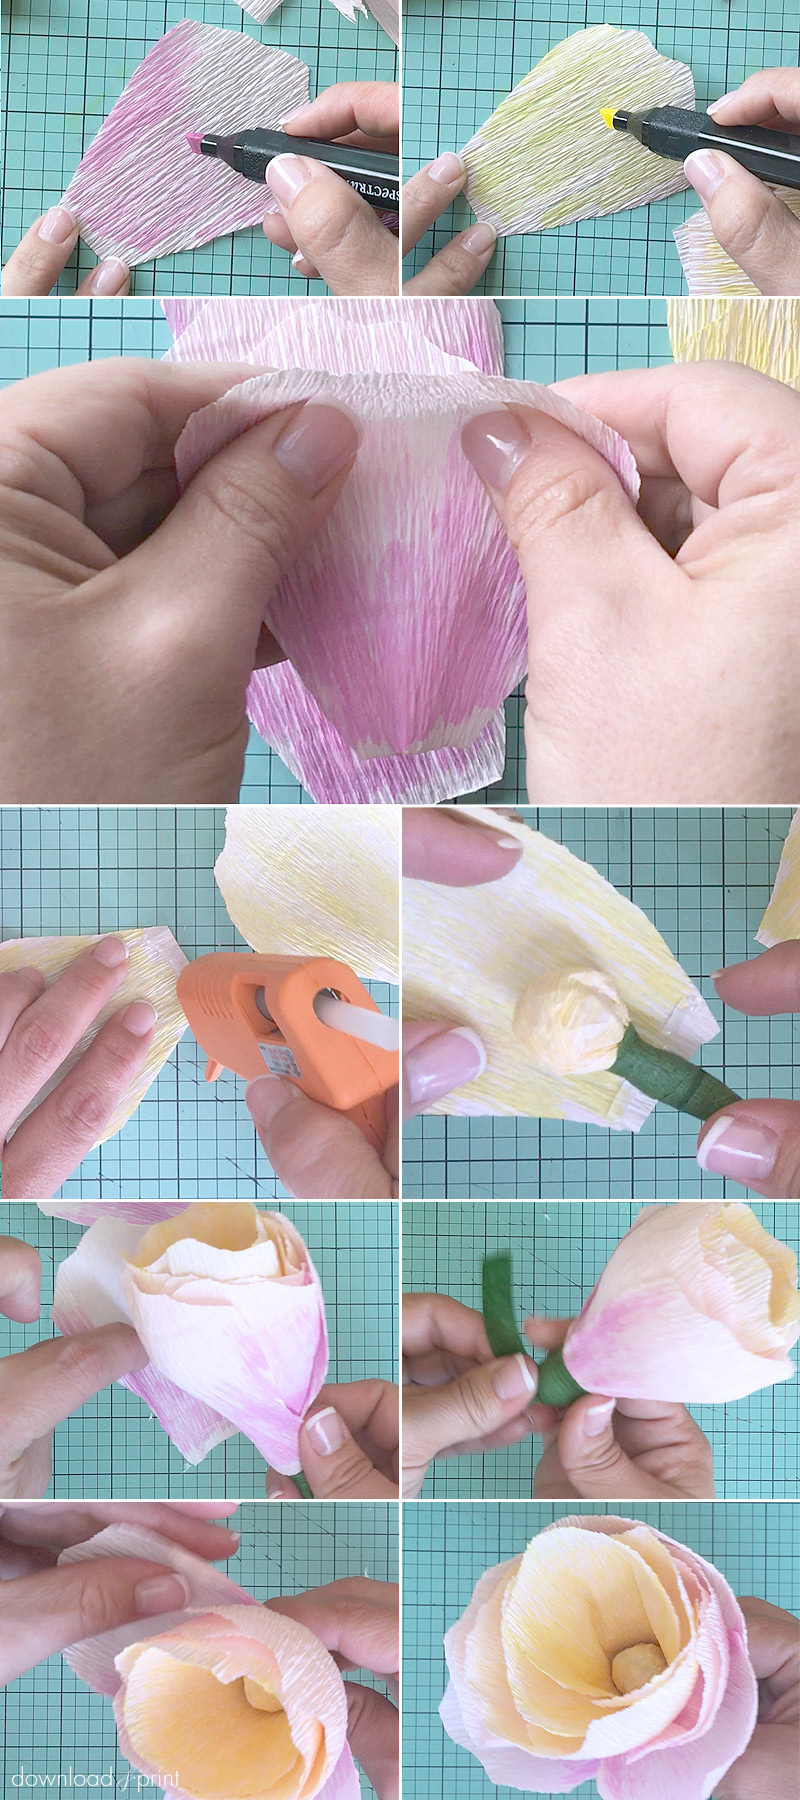
Shade five petals with the yellow highlighter. Don't try to cover 100% of the petal, but do shade the entire length of the petal.
Shade seven petals with the pink highlighter. Concentrate more pink toward the base of the petal. Vary the shading on these petals a little to give an authentic look.
Stretch and curl the petals by pulling the crepe paper outwards at the top of each petal.
Now it's time to assemble the flower. This is done by place a strip of hot glue along the base of each petal and wrapping it around your stamen/stem. Start with the yellow petals first. Place the glue on the concave side of the petal.
Build up the petal layers, starting about 1/2" below the stamen. When you have finished with the yellow petals move onto the pink petals.
Wrap the bottom of the petals with more floral tape to hide the edges.
Shape the flower by pulling on the petals and fluffing them out.
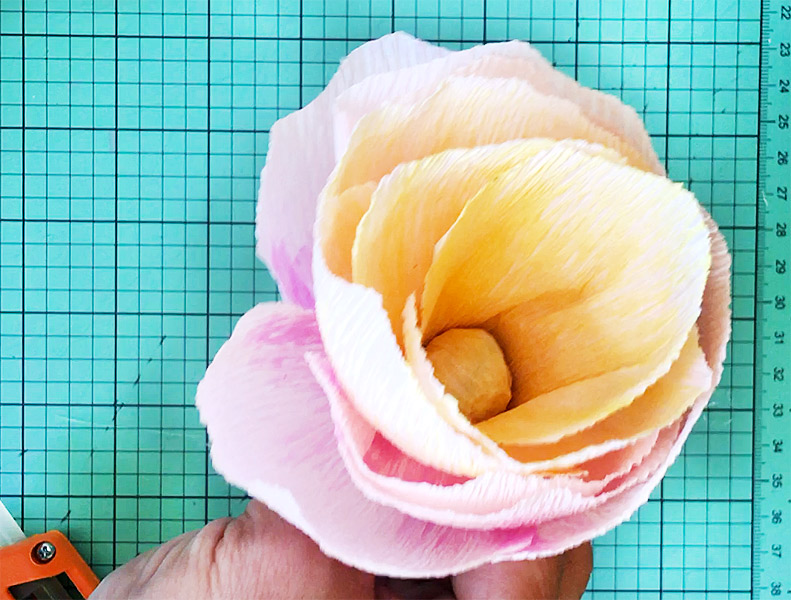
One flower down, seven to go!
Download Petal Template
With template love,

(Although all the products listed in this tutorial are products I personally use, I will be compensated just a tiny bit if you make a purchase through some of the links provided. Thanks for supporting small biz!)