
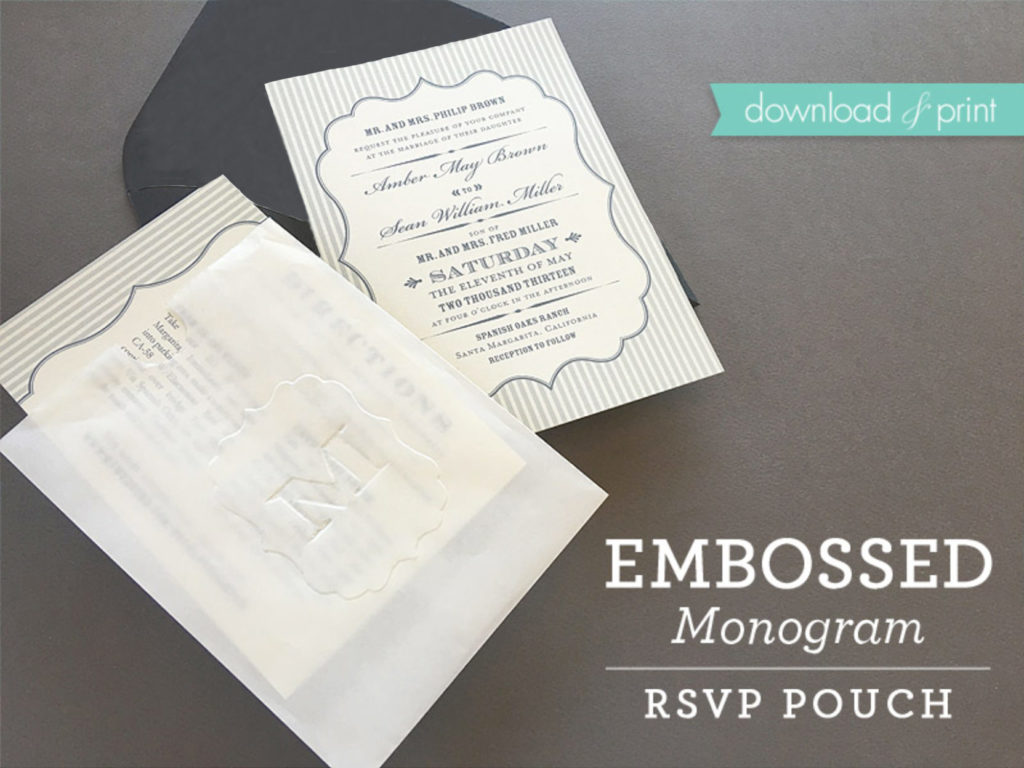
I happen to love today's project, yet I can't think of a darn thing to say about it. This might be a time when I draw on the old cliche, a picture speaks a thousand words. The picture's don't do the monogram justice, even so, I hope you'll take a look at my embossed monogram RSVP pouches.
Inspiration for the project came from the scalloped border on our Amber Invitation Collection. The free monogram tracing template uses the same scalloped edging and font and they pair together beautifully.
The Amber collection has been described as seersucker stripes meets vintage poster. The collection comes in five subtle colors and you must look at the designer font pairings. They are exquisite.
After you have your monogram template ready it's quite quick to trace the design onto each bag. The resulting monogram sneaks up on you, only being fully revealed when the RSVP card is removed from the bag. The embossing catches the light and is such a pretty surprise.
I think I finished strong, perhaps even redeemed myself?
Scroll through the tutorial below to see how to create the embossed monogram, and right at the bottom you'll find the link to our gorgeous Amber Invitation Collection.
SUPPLIES:Download Free Monogram Template
- Heavy card stock
- Glassine treat bags - 4.75 x 6.75"
- Printer - I like Epson printers
- X-acto knife
- Scissors
- Tracing stylus
- Circle punch - optional
Step 1: Download, Print & Cut
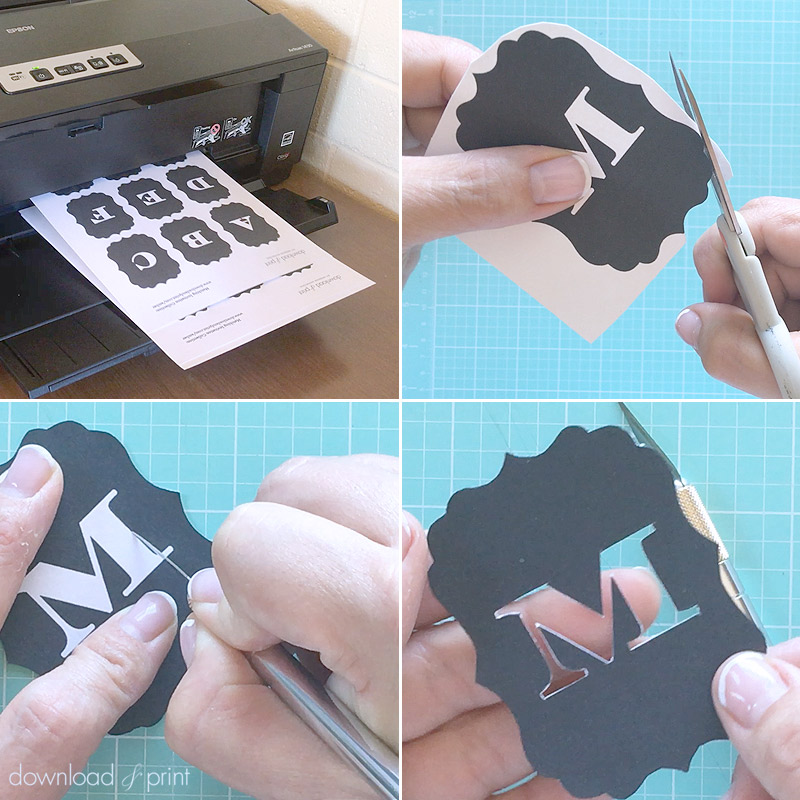
Download the free printable monogram template, open the PDF file and print on heavy card stock. Paper around 90 lbs will work well.
Cut out your desired letter. Do a rough cut around the shield first, then use small detail scissors if you have them to cut into the nooks and crannies.
Place the monogram on a cutting mat, or kitchen cutting board, and using an X-acto knife cut out the letter. This does not need to be perfect, don't try to get tiny curved corners!
Step 2: Trim Bag

Cut the top off the treat bag to create a straight edge.
Optional: Use a small circle punch to create a thumb notch at the opening of the bag. This makes them a little easier to open, but is not necessary.
Step 3: Monogram
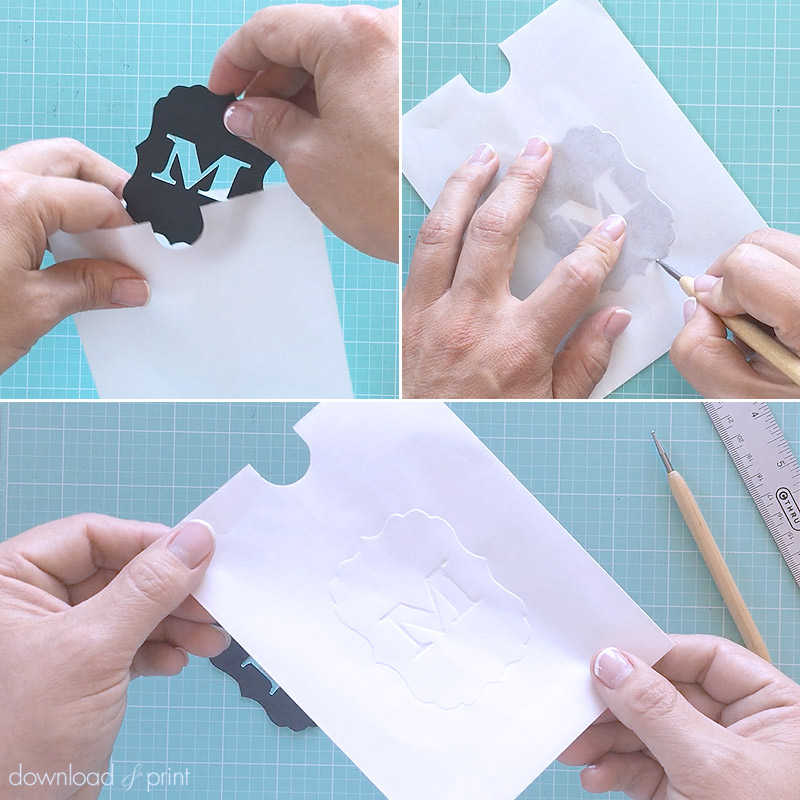
Place and center the monogram template in a bag.
Leaning on a solid surface, trace around the outside edge of the monogram and all sides of the letter using a tracing stylus. Don't push too hard as you can tear the bag.
Also don't think too much this step, perfection is not the key. You should be able to trace quite quickly and achieve a really cool looking monogram.
Place your RSVP card and return envelope into the pouch and get ready to wow your invitees!
If you like the vintage stripes of our Amber Invitation Bundle that you see in the pictures, go check out the full collection. It's seersucker stripes meets vintage poster, and it coordinates perfectly with the monogram shield.
View Amber Invitation Collection >YOU MAY ALSO LIKE:
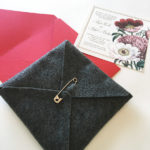
Felt Pouchette DIY Wedding Invitation
View Tutorial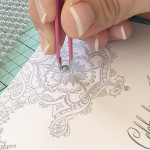
Elegant Pearl Encrusted Lace Wedding Invitation
View Tutorial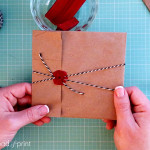
Old World Style Invitation Parcel
View TutorialWith template love,

(Although all the products listed in this tutorial are products I personally use, I will be compensated just a tiny bit if you make a purchase through some of the links provided. Thanks for supporting small biz!)