
Some time last year I tucked an idea into the back of my mind and this week inspiration struck, which is great news for you as it means it's FREEBIE time!
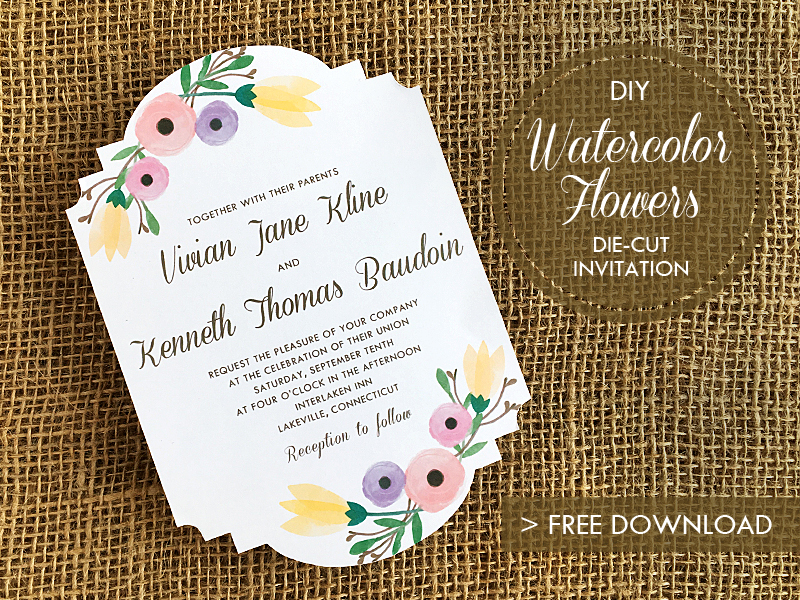
I really like the shape of Anna's DIY die-cut invitation. Anna paired it with a solid black border for very clean lines. I could see the invitation silhouette also working with a more carefree design... so bring in the watercolor flowers.
Layer on an RSVP card, hold together with three loops of garden twine and you've got yourself a pretty invitation that screams spring garden wedding.
You may be thinking that DIYing a die cut invitation will take as much effort as passing on the last cupcake, but I'm here to tell you it's surprisingly quick and painless... unlike passing on the last cupcake. Each invitation does need to be hand cut -- this is a faux die cut invitation -- but your scissor skills will surprise you.
I don't recommend tackling 100 invitations on one night. This is a DIY where being prepared will pay off (and avoid hand cramps). Print the invitations well in advance and trim a few each night. If you are tight on time call together your maids and divvy up the job. It'll be finished in no time!
How To Make This Invitation

Access & customize free invitation >
-
- Click on the free invitation by using the button above. Change the text and fonts.
- Save the file and download it onto you computer.
- Print on cardstock, the heaviest paper your printer will handle without jamming is best, or send to a copy shop for printing.
- Trim around the invitation outline. (The cut line will be hard to see on your screen, but will show up when printed.)
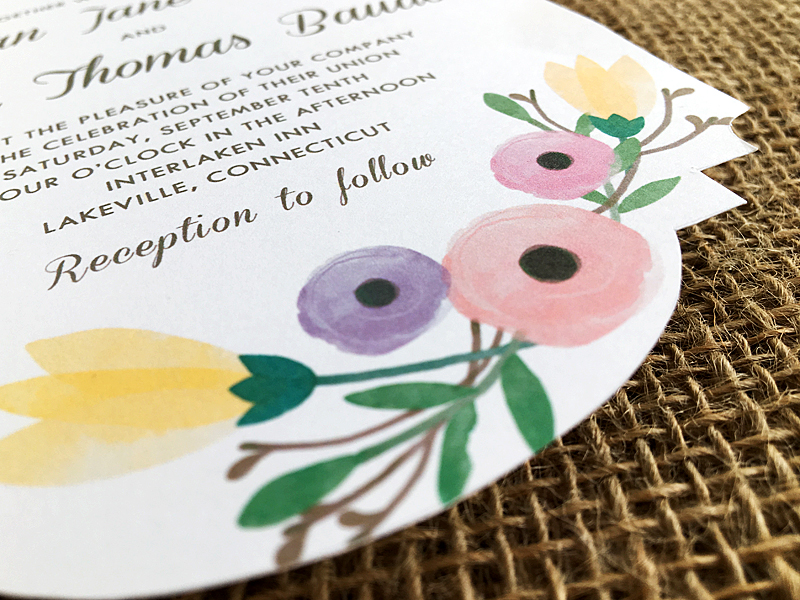
TIPS FOR TRIMMING: I used a paper cutter to first trim the straight sides, then I roughly cut around the details at the top and bottom. When cutting 90 degree angles always cut into the corner from both directions. This will give you sharper corners and will reduce the risk of tearing the paper as you will avoid rotating your scissors in the corner. When cutting curves hold your scissors steady and rotate the paper. This will help to create smooth lines.
And remember, your cutting doesn't need to be perfect!
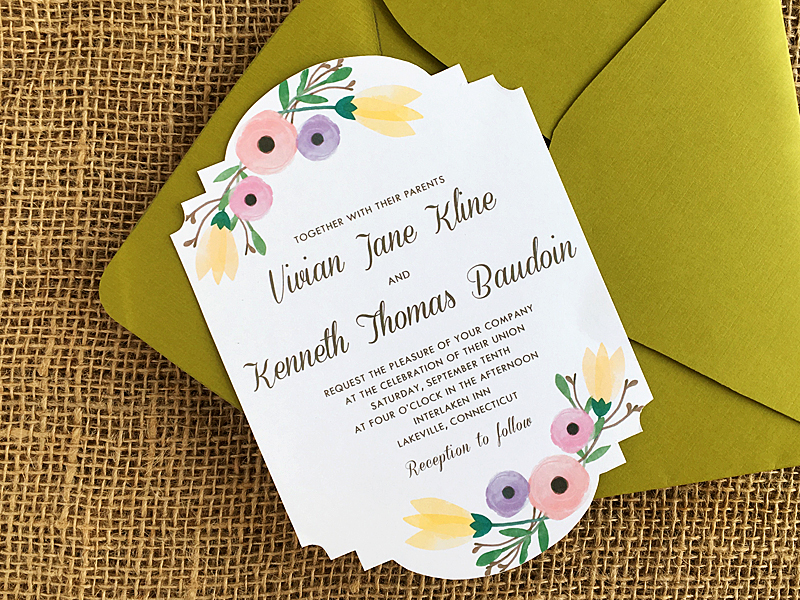
- Stuff the invitation, along with your RSVP and enclosure cards, into an A7 envelope for mailing.
MORE DIY WEDDING INVITATIONS YOU MIGHT LIKE:
Folksy Invitation
View Project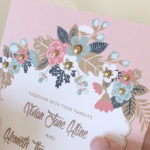
Gilded Gold Invitation
View Project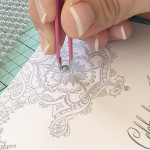
Pearls + Lace Invitation
View Project