
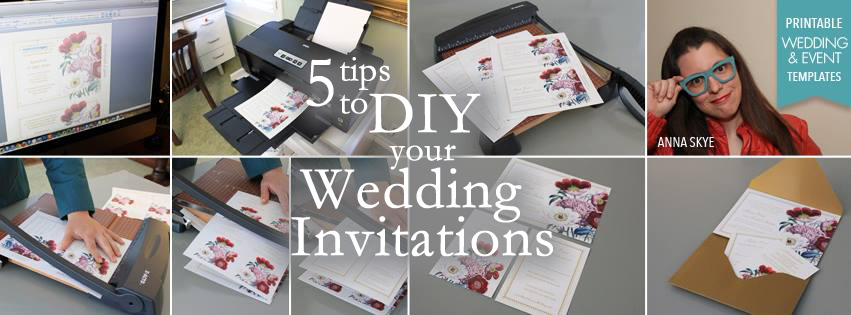
I spend my days buried in wedding invitations. First I designed, printed, assembled, and shipped invitations to brides. Now I help brides create their own gorgeous invitations at home. DIYing your invitations is a great way to save money and it is much easier than you may think to get jaw-dropping one-of-a-kind pieces. The DIY invitation process can be as simple as using a template to print, trim, and ship. Or if you are the crafty/creative/move mountains type of person your invitation suite can be as elaborate as your mind can dream up. However you approach your invitations the following five tips will save you from a hand-made disaster and lift you into invitation folklore.
1. Splurge on fancy envelopes. Splurge is subjective as spending a few extra dollars on good quality envelopes to coordinate with your DIY invitations is still going to save you a bunch of cash over more traditional invitation options. The best part of DIYing your invitations is you get them to look exactly as you want, and this includes not being restricted to the envelopes that come in ‘the set’. Buy envelopes in a coordinating color to your invitations or wedding theme. Envelopes come in every color under the sun, and all different paper finishes, from bold and sparkly, to ever so slightly nuanced. You will be amazed at how opening a luxurious envelope sets a positive tone for the reader. Some of my favorite places to buy envelopes online can be found here.
2. Use a standout font. I’m a bit of a font collector and love to come across a new and unusual font, particularly when the font is free! There are tons of free fonts available online and a quick Pinterest search on ‘free fonts’ will bring up collections of fonts to suit any need. Your font choices can set the mood as much as the graphics and envelope color. Fonts can be bold, daring, vintage, casual, personal, classic, and romantic. They can say punk, and gothic, or black tie affair. My rule of thumb is to use two fonts on your invitation and carry these throughout your invitation suite. Use a standout font for the bride and groom’s names, such as a handwritten, script, or vintage font. Use an easier to read font for the rest of the details, such as LondonMM or Garamond. See the blog for my favorite free vintage, script, and handwritten fonts.
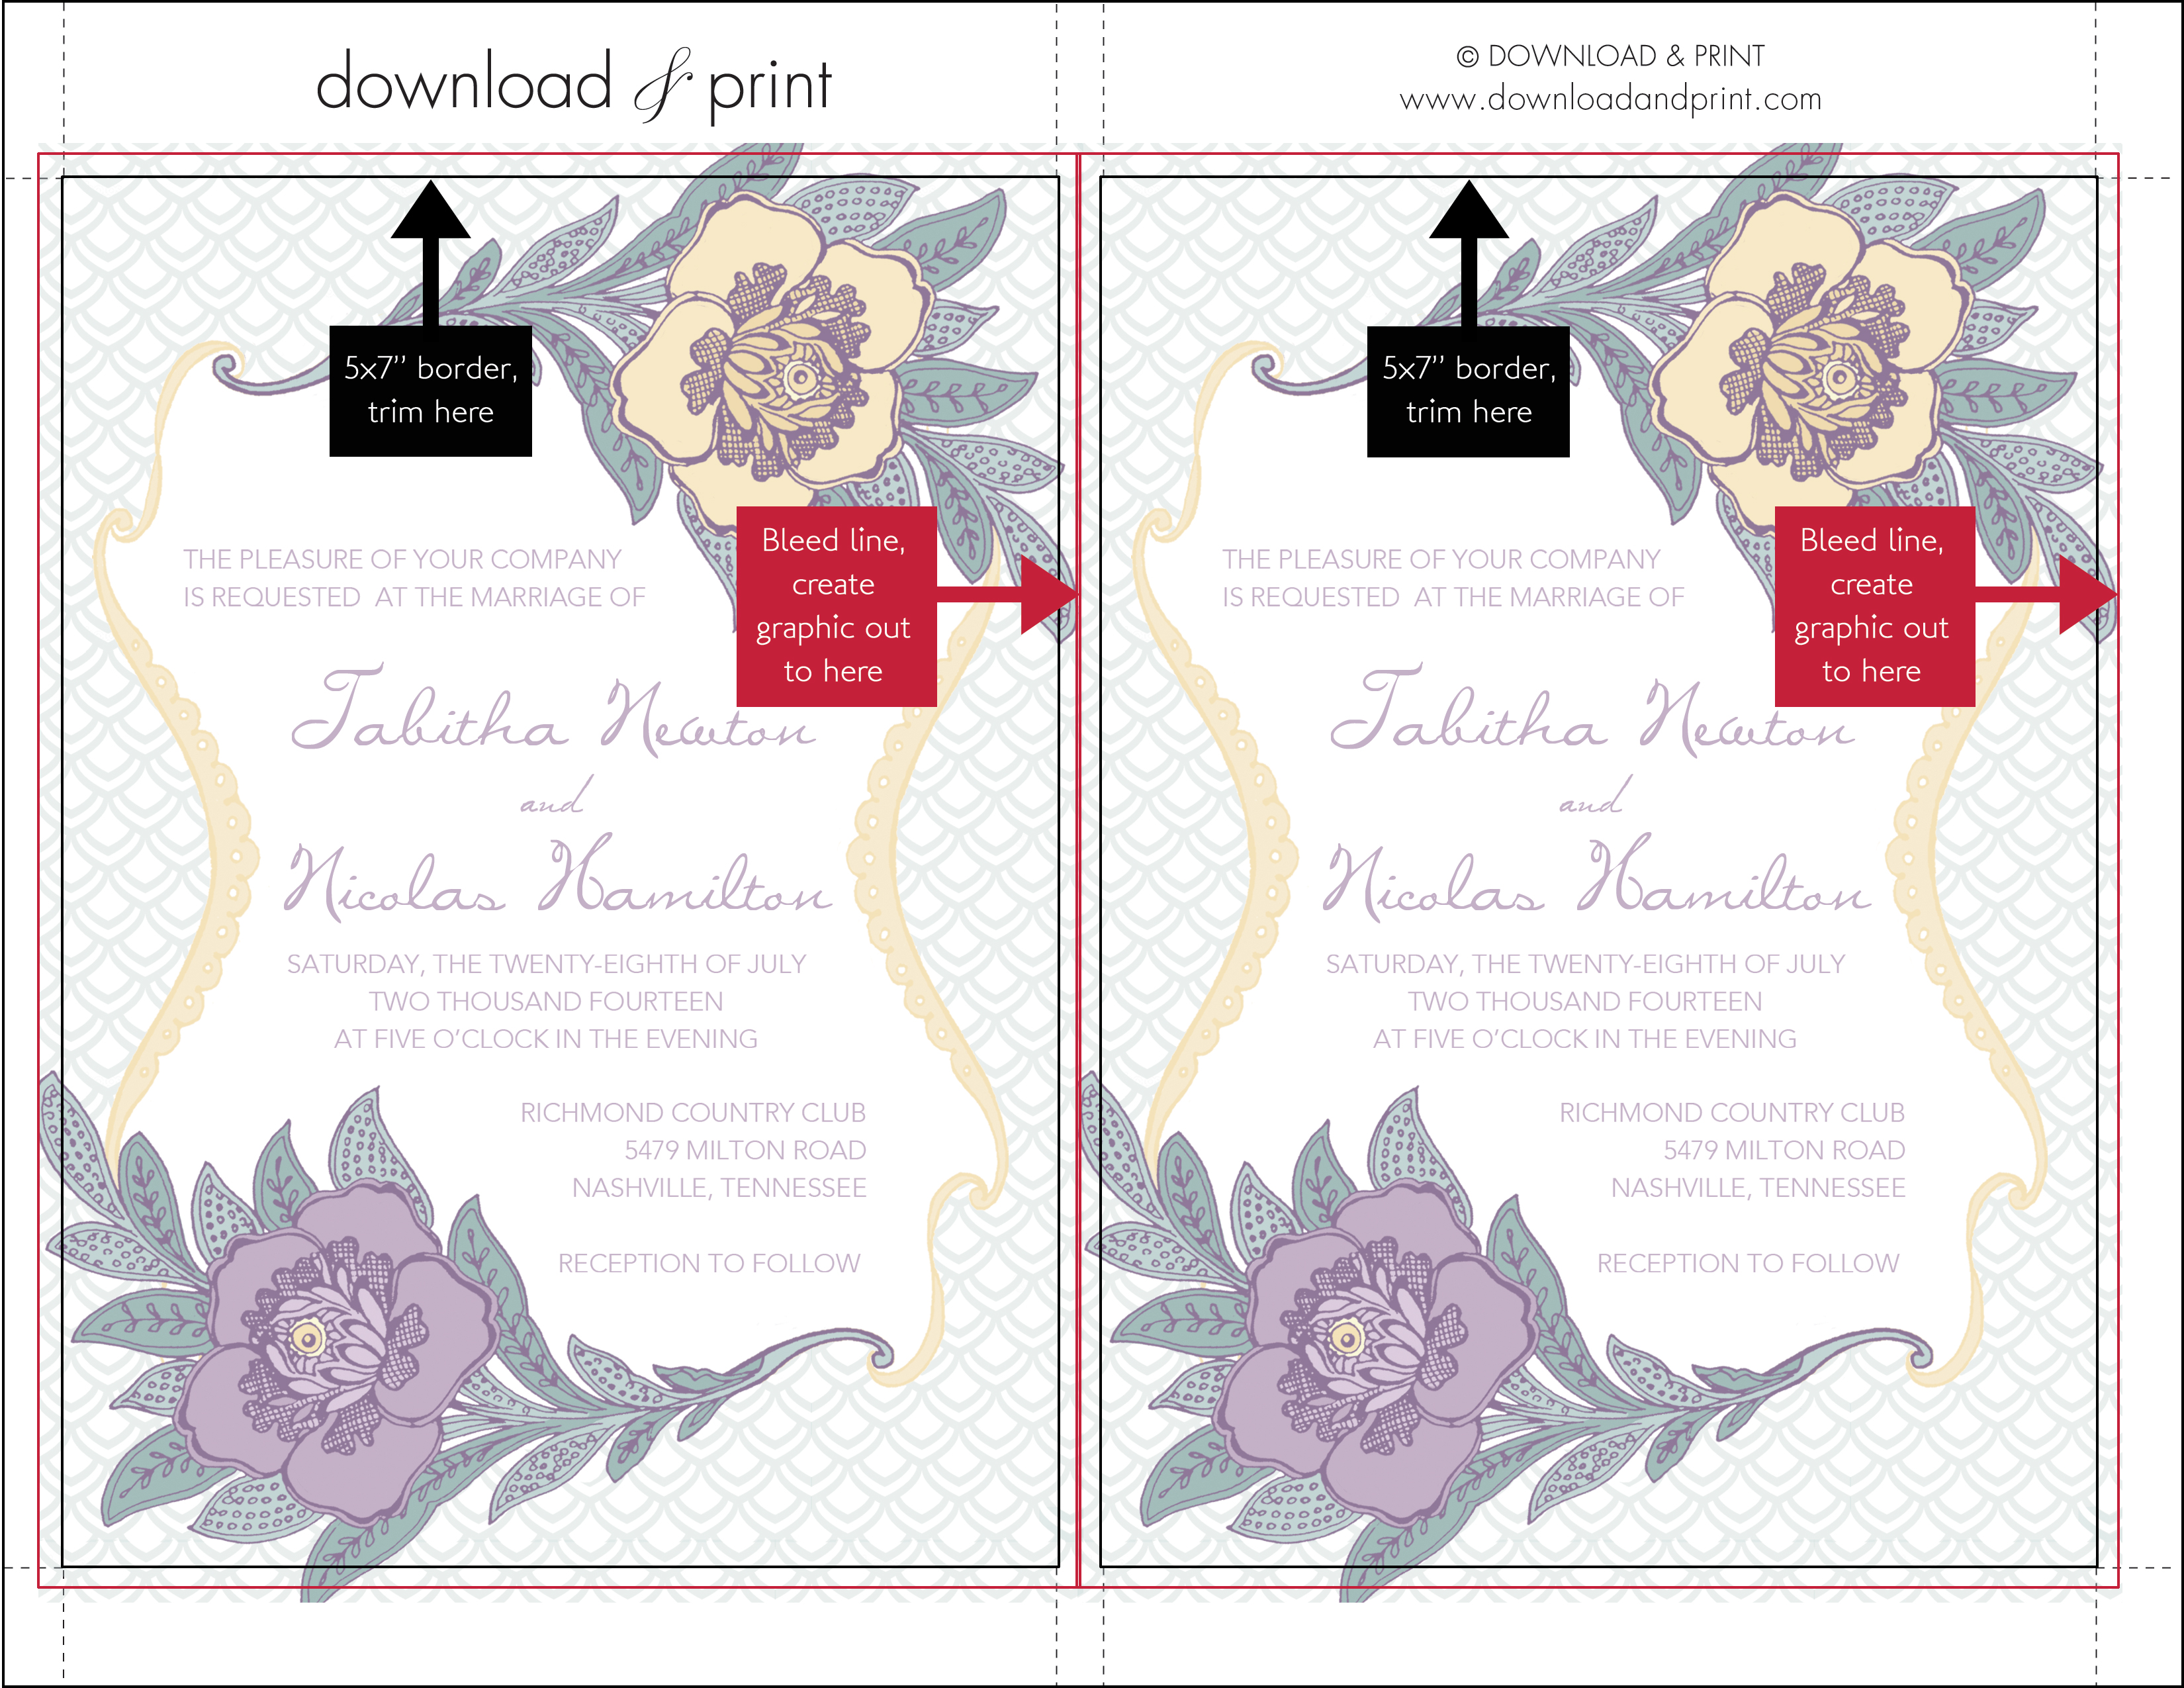
3. Trim to size. As a designer, this is the oldest trick in the book to take your invitations from looking home made, to looking professionally finished. You can create your invitation in any size (just make sure you can buy envelopes to fit), with the standard invitation size being 5x7”. When designing your invitations you can fit two 5x7” invitations on one sheet of paper (hello to saving on printing costs). Design the graphic to go just past the edge of the 5x7” border, this is called the bleed. Allow about an 1/8” bleed so that when you trim your invitations down you don’t end up with any white space around the border of your invitation. Remember to keep your text well within the 5x7” border though. It’s also worth noting that postage varies by invitation size, so it might be worth a trip to the post office with your invitation mock up to get an accurate price for your budget.
4. Paper quality matters. Oh, the endless possibilities when creating your own invitations get me in such a tizzy. First I recommend using a heavier card stock than your standard printer paper. I find 65 lbs to 90 lbs works well and can be handled by most home printers. Second, get creative with your paper choices. Don’t just think white or cream, though if you have a colorful design to print these are probably your best bet. If you have a neutral color design play up the paper color. A black and white design can be printed for pennies at your local copy shop, and can look fantastic on the right paper. Also consider doubling up your paper. Use a colored, patterned or textured backing card cut to 5x7”, and print your design and details on a slightly smaller sheet of plain paper that can be adhered on top with double sided tape. Corrugated card, vellum, and scrapbooking paper all make good backing cards.
5. Check, check, and re-check. Before committing to print your entire invitation suite print off one copy and look over it for alignment issues, spacing, spelling, dates, grammar etc. Have a second set of eyes read over to catch anything that you may have missed. Then read over it one final time before hitting the print key. There is nothing worse than printing off 100 copies only to find instead of May 23, you typed May 2. Who wants to have a wedding three weeks earlier?!
Invitations set the mood to your wedding, and with a little bit of patience and planning you can create a custom suite without the custom price tag.