Addressing-Project-Feature-Banner-1050x500

Things You Need

-
Free-templates-feature

-

Instructions

Free envelope addressing template | Download & Print

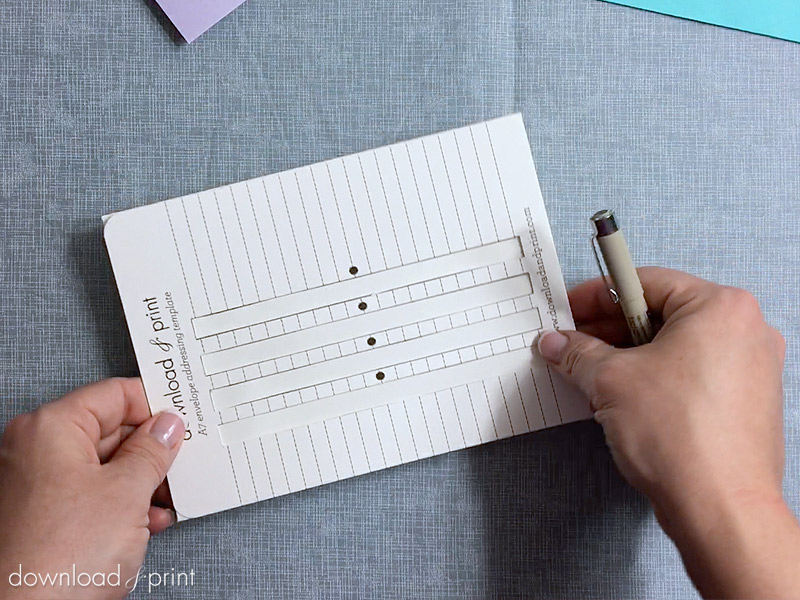
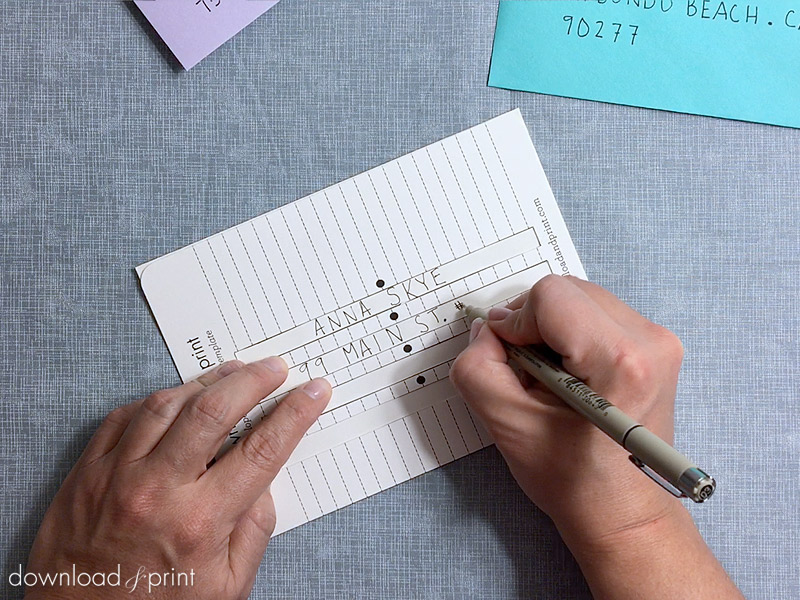
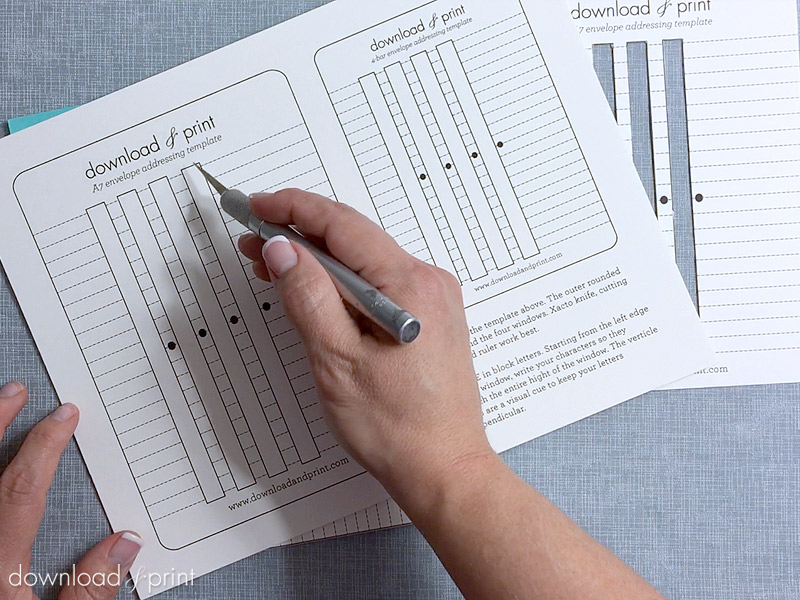
Step 1: Cut Out Template

Download the envelope addressing template and print onto the heaviest card stock that your printer will handle. Each PDF has the template for an A7 envelope and 4-bar envelope. Cut around each envelope template using scissors or an X-acto knife. Then cut out the long, solid white boxes. This is going to be easier with an X-acto knife. Remember, cut the solid lines, leave the dotted lines.

Free handwritten envelope addressing template | Download & Print

Step 2: Align Template

Place the template over either an A7 or 4-bar envelope. If your envelope is a different size you could still use the same template, by aligning the template on the bottom or left edge of your envelope.

Handwritten envelope addressing template | Download & Print

Step 3: Write Address

You are now ready to write the address. Use the vertical dotted lines as a letter guide. One letter fits between each dotted line. Try to keep your letters uniform in height by filling the writing window from top to bottom.

The template can be used to left align text, or center text. The black circles are the center of the writing window, use these to find the center.

Free envelope addressing template | Download & Print

Step 4: Voila

Remove the template and check out your perfectly aligned, perfectly spaced, and perfectly straight text.

Until next time, with template love,
Anna Skye | Download & Print

Although all the products listed in this tutorial are products I personally use, I will be compensated if you make a purchase through some of the links provided.