
access & customize free RSVP >
I am so proud of our Wedding Invitation System, bringing you unprecedented ease and affordability to brides wishing to DIY wedding stationery. I am also tickled pink to share my collaboration with Jessica Bishop, the Budget Savvy Bride, and introduce DIY brides worldwide to the Budget Savvy Bride Collection on Download & Print.
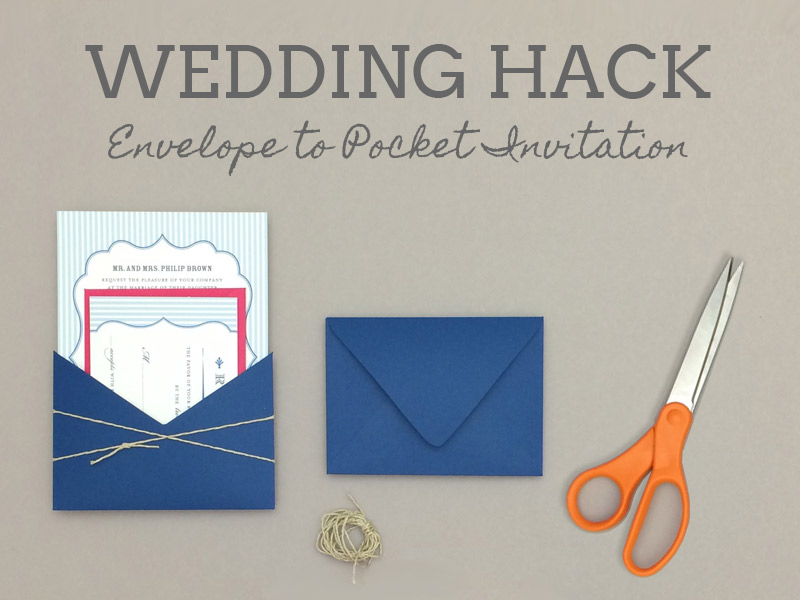
To celebrate our collaboration, Jessica and I are giving you a gorgeous pin-striped invitation and RSVP card in preppy blues from Jessica's first collection, named Amber. The invitation features the stripes and scalloped frame encasing some beautiful typography. The mixture of fonts definitely gives the collection a designer look, but we won't tell anyone that you were able to DIY at home. The full 18-piece coordinating Amber ensemble is available for you to customize and change the colors to match your wedding theme.
Along with the two free templates, I created a simple pocket out of a 4-bar envelope that you'll be able to DIY faster than you can say Show Me The Wedding Hack. Follow along with the video tutorial below, or jump down to the pictorial and step-by-step instructions. Read more details on the exciting collaboration between Download & Print and the Budget Savvy Bride here.
Supplies:
- Free Invitation
- Free RSVP
- Printer
- White or cream card stock
- Paper cutter and/or scissors
- A7 envelope (to mail the finished invitation in)
- 2 x 4-bar envelopes (one for the RSVP, one to create the pocket hack)
- Bakers twine or ribbon (optional)
- Ruler
Step 1: Customize, Save, Download & Print
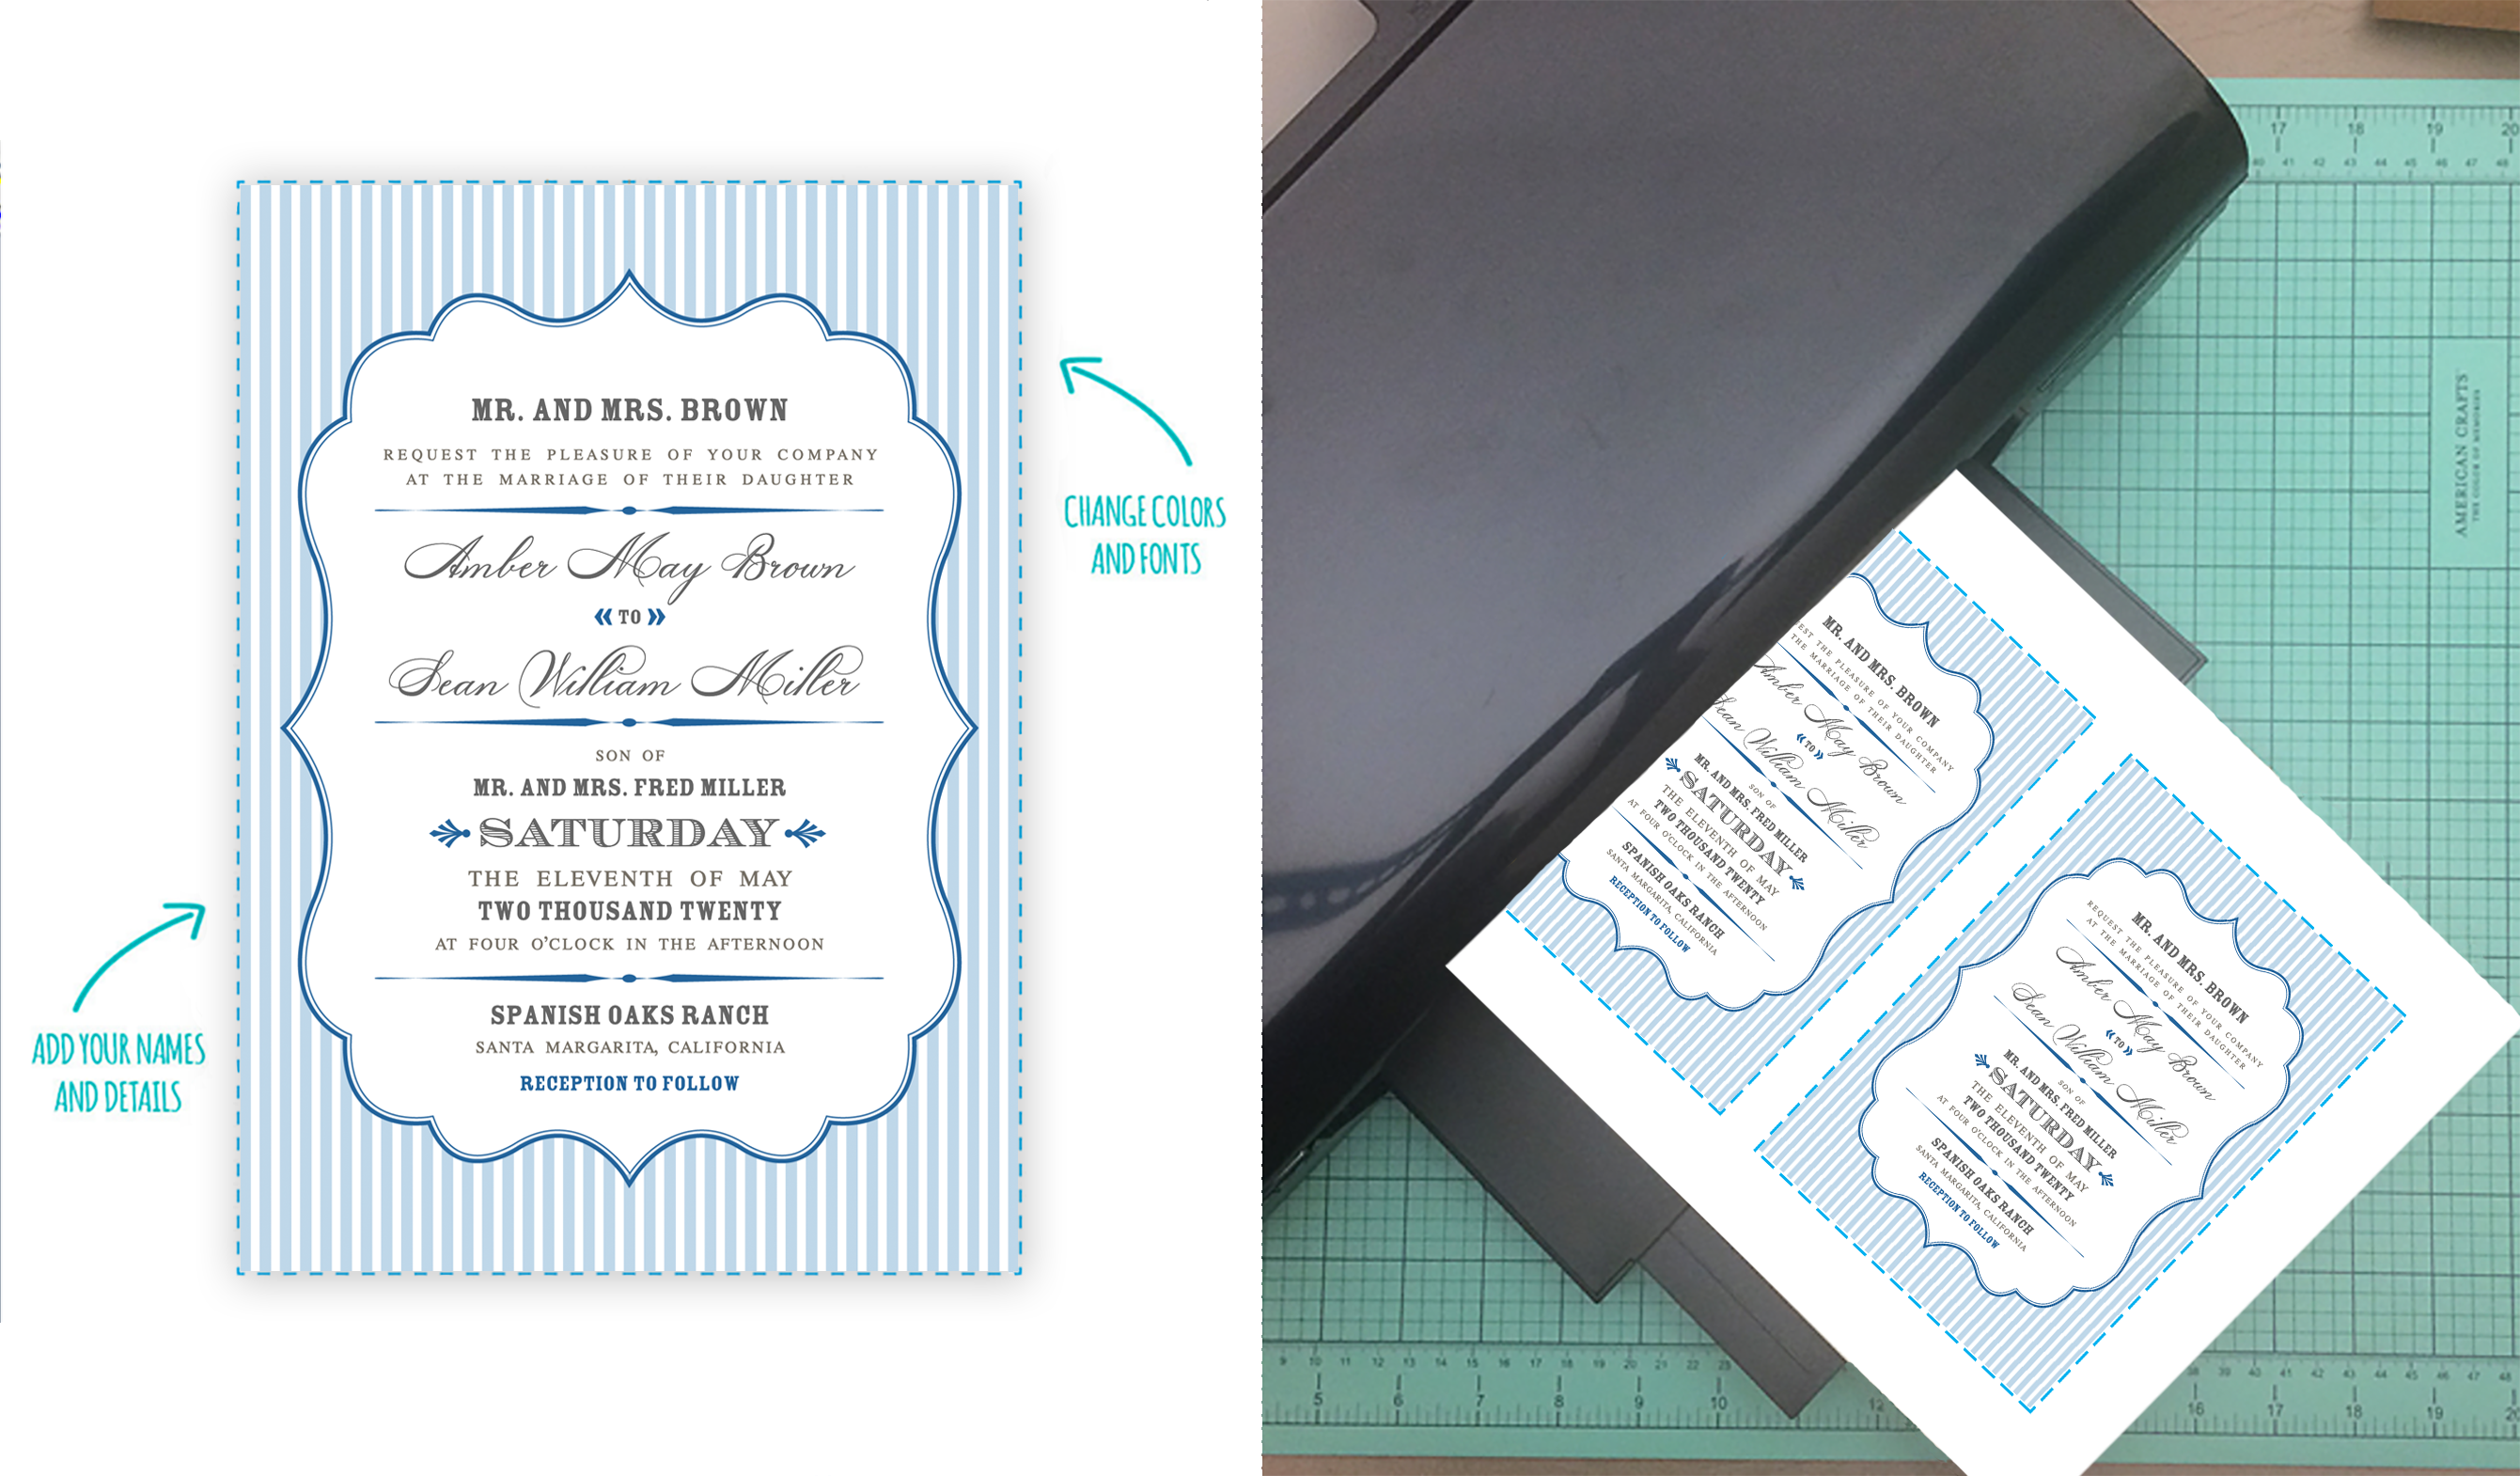
Customize the invitation and RSVP card online, Save and Download the file to your computer in an easy to find place.
Check, check and re-check for spelling, grammatical, and date errors! Have a second set of eyes check for you also. When you are 100% happy with your invitation, print all your copies either on your home printer or at a copy shop.
Step 2: Trim
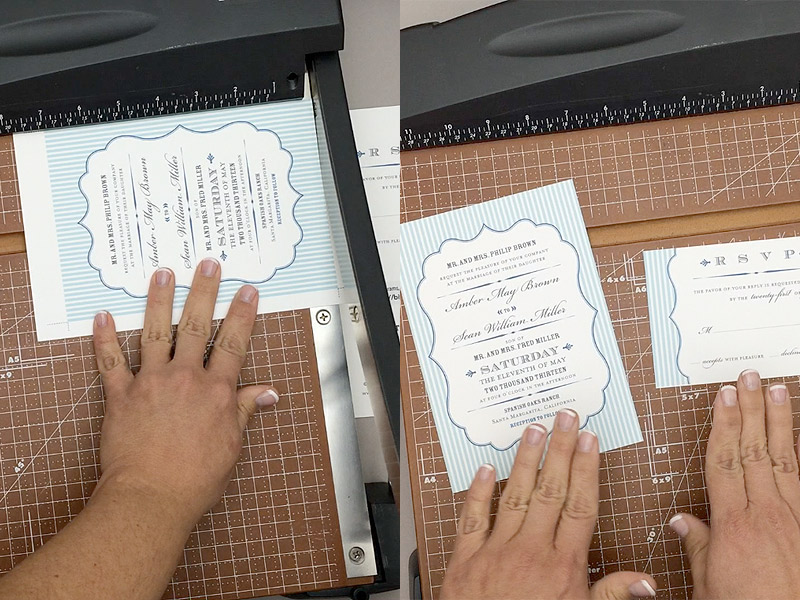
Use a paper cutter or scissors to trim along the dotted lines.
TIP: A paper cutter will produce straighter lines and will allow you to cut several sheets at once. You can find these for under $30 and are well worth the investment if you plan on DIYing all your wedding stationery.
Plain old scissors will do the trick too.
Step 3: Mark Pocket
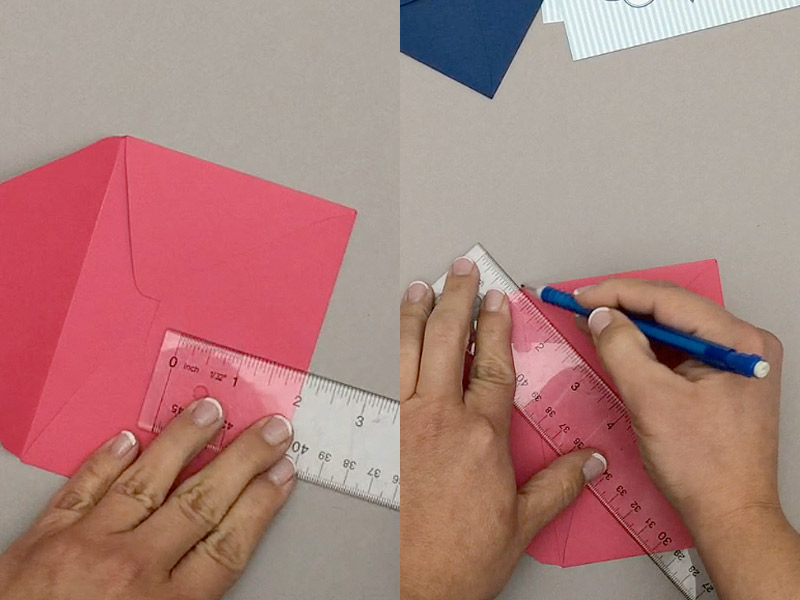
Find the middle of the long edge on the back of a 4-bar envelope. Decide how far up toward the envelope flap you want to create the opening. This will depend on the brand of envelopes you have on hand. I measured up 2” from the bottom of the envelope on the brand that I had, which put me just below the envelope opening. Mark a dot here. Draw a line from the top corner of the envelope to your dot. Repeat on the other side. This forms the cut line for you to make the V on the pocket.

Step 4: Cut Envelope
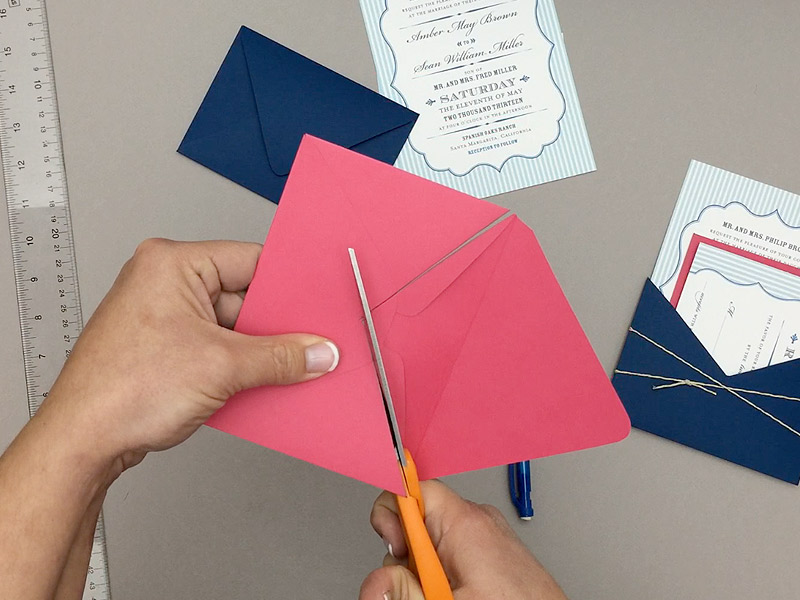
Cut along the line you just marked, cutting through both layers of the envelope. To get a crisp angle at the bottom of the V, cut in from one corner on the envelope, then cut in from the other corner, finishing each time at the bottom of the V.
You can use this first pocket as a template to mark the remaining pockets rather than measuring each one.
Step 5: Insert Cards
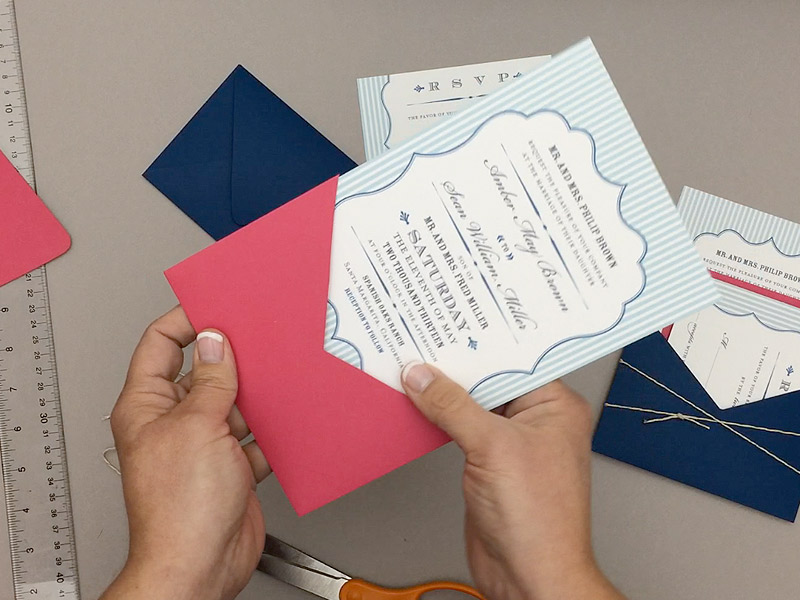
Insert the cards into the pocket. The invitation goes on the bottom, followed by the RSVP with RSVP (4-bar) envelope.
Step 6: Wrap Twine (Optional)
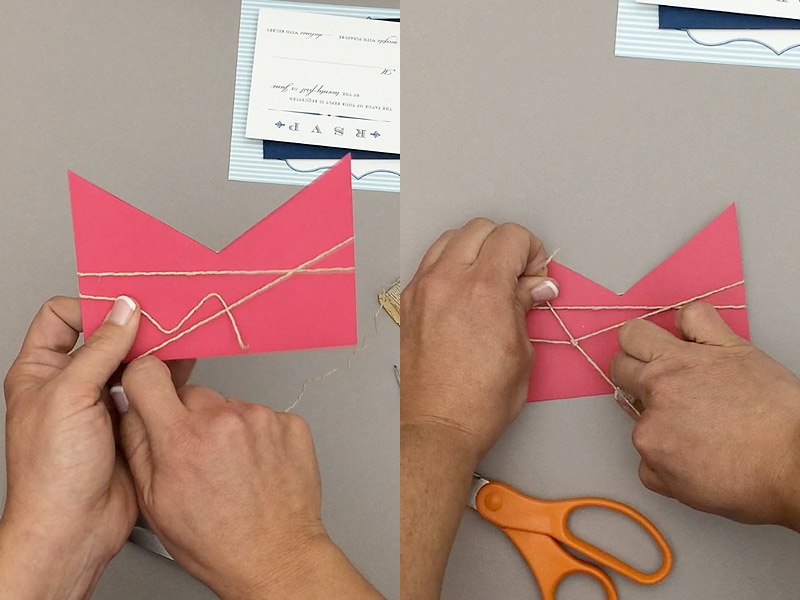
You can add twine or ribbon as an embellishment.I thought the twine played up on the nautical theme, but if you used ribbon in your accent color this would give the pocket a completely different look and feel. I wrapped the twine around twice before securing with a knot and trimming the tails.
TIP: If the twine feels a little loose, spread it apart at the edge of the pocket.
access & customize free invitation >access & customize free RSVP >