
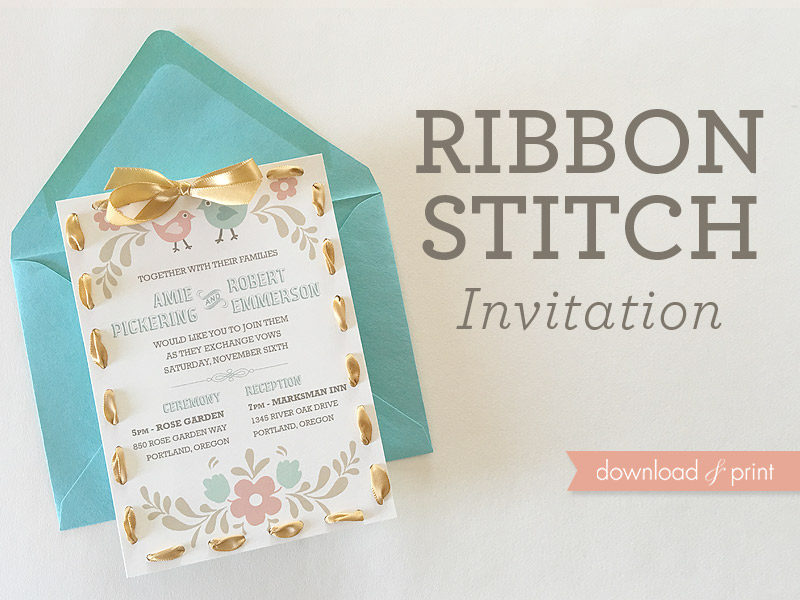
Now is the perfect time for planning this folksy Spring wedding invitation. The earthy tones and folk art birds and flowers are set off beautifully by the stitched ribbon border. The ribbon is simple to stitch and makes a perfectly complimentary boho statement.
In this tutorial I'm using the free invitation, RSVP and insert card from my folksy love birds design. You can download them below by clicking on the green buttons or you can use any invitation you think the ribbon will pair well with.
I've also made a punch template that you can download using the big green button below. It shows you where to punch the holes for threading, saving you the guesswork to get the holes spaced evenly and can be used on any 5 x 7" invitation.
Once you have the holes punched stitching the ribbon takes very little time, you'll be using a huge tapestry needle and 3/8" ribbon so no fine detail work required. I bet even the most anti-sewing among us can handle this task (hint hint nudge nudge grooms-to-be).
Crank up Janis Joplin on the stereo and have fun with this!
access & customize free invitation > access & customize FREE RSVP > access & customize FREE Insert card >
SUPPLIES:Download Free Punch Template
- Card stock
- Punch template
- 1/8" punch
- Scissors
- #16 tapestry needle
- 3/8" wide satin ribbon
- Printer - I like Epson printers
- 5 x 7" invitation
- A7 envelope
Step 1: Customize, save, download & print
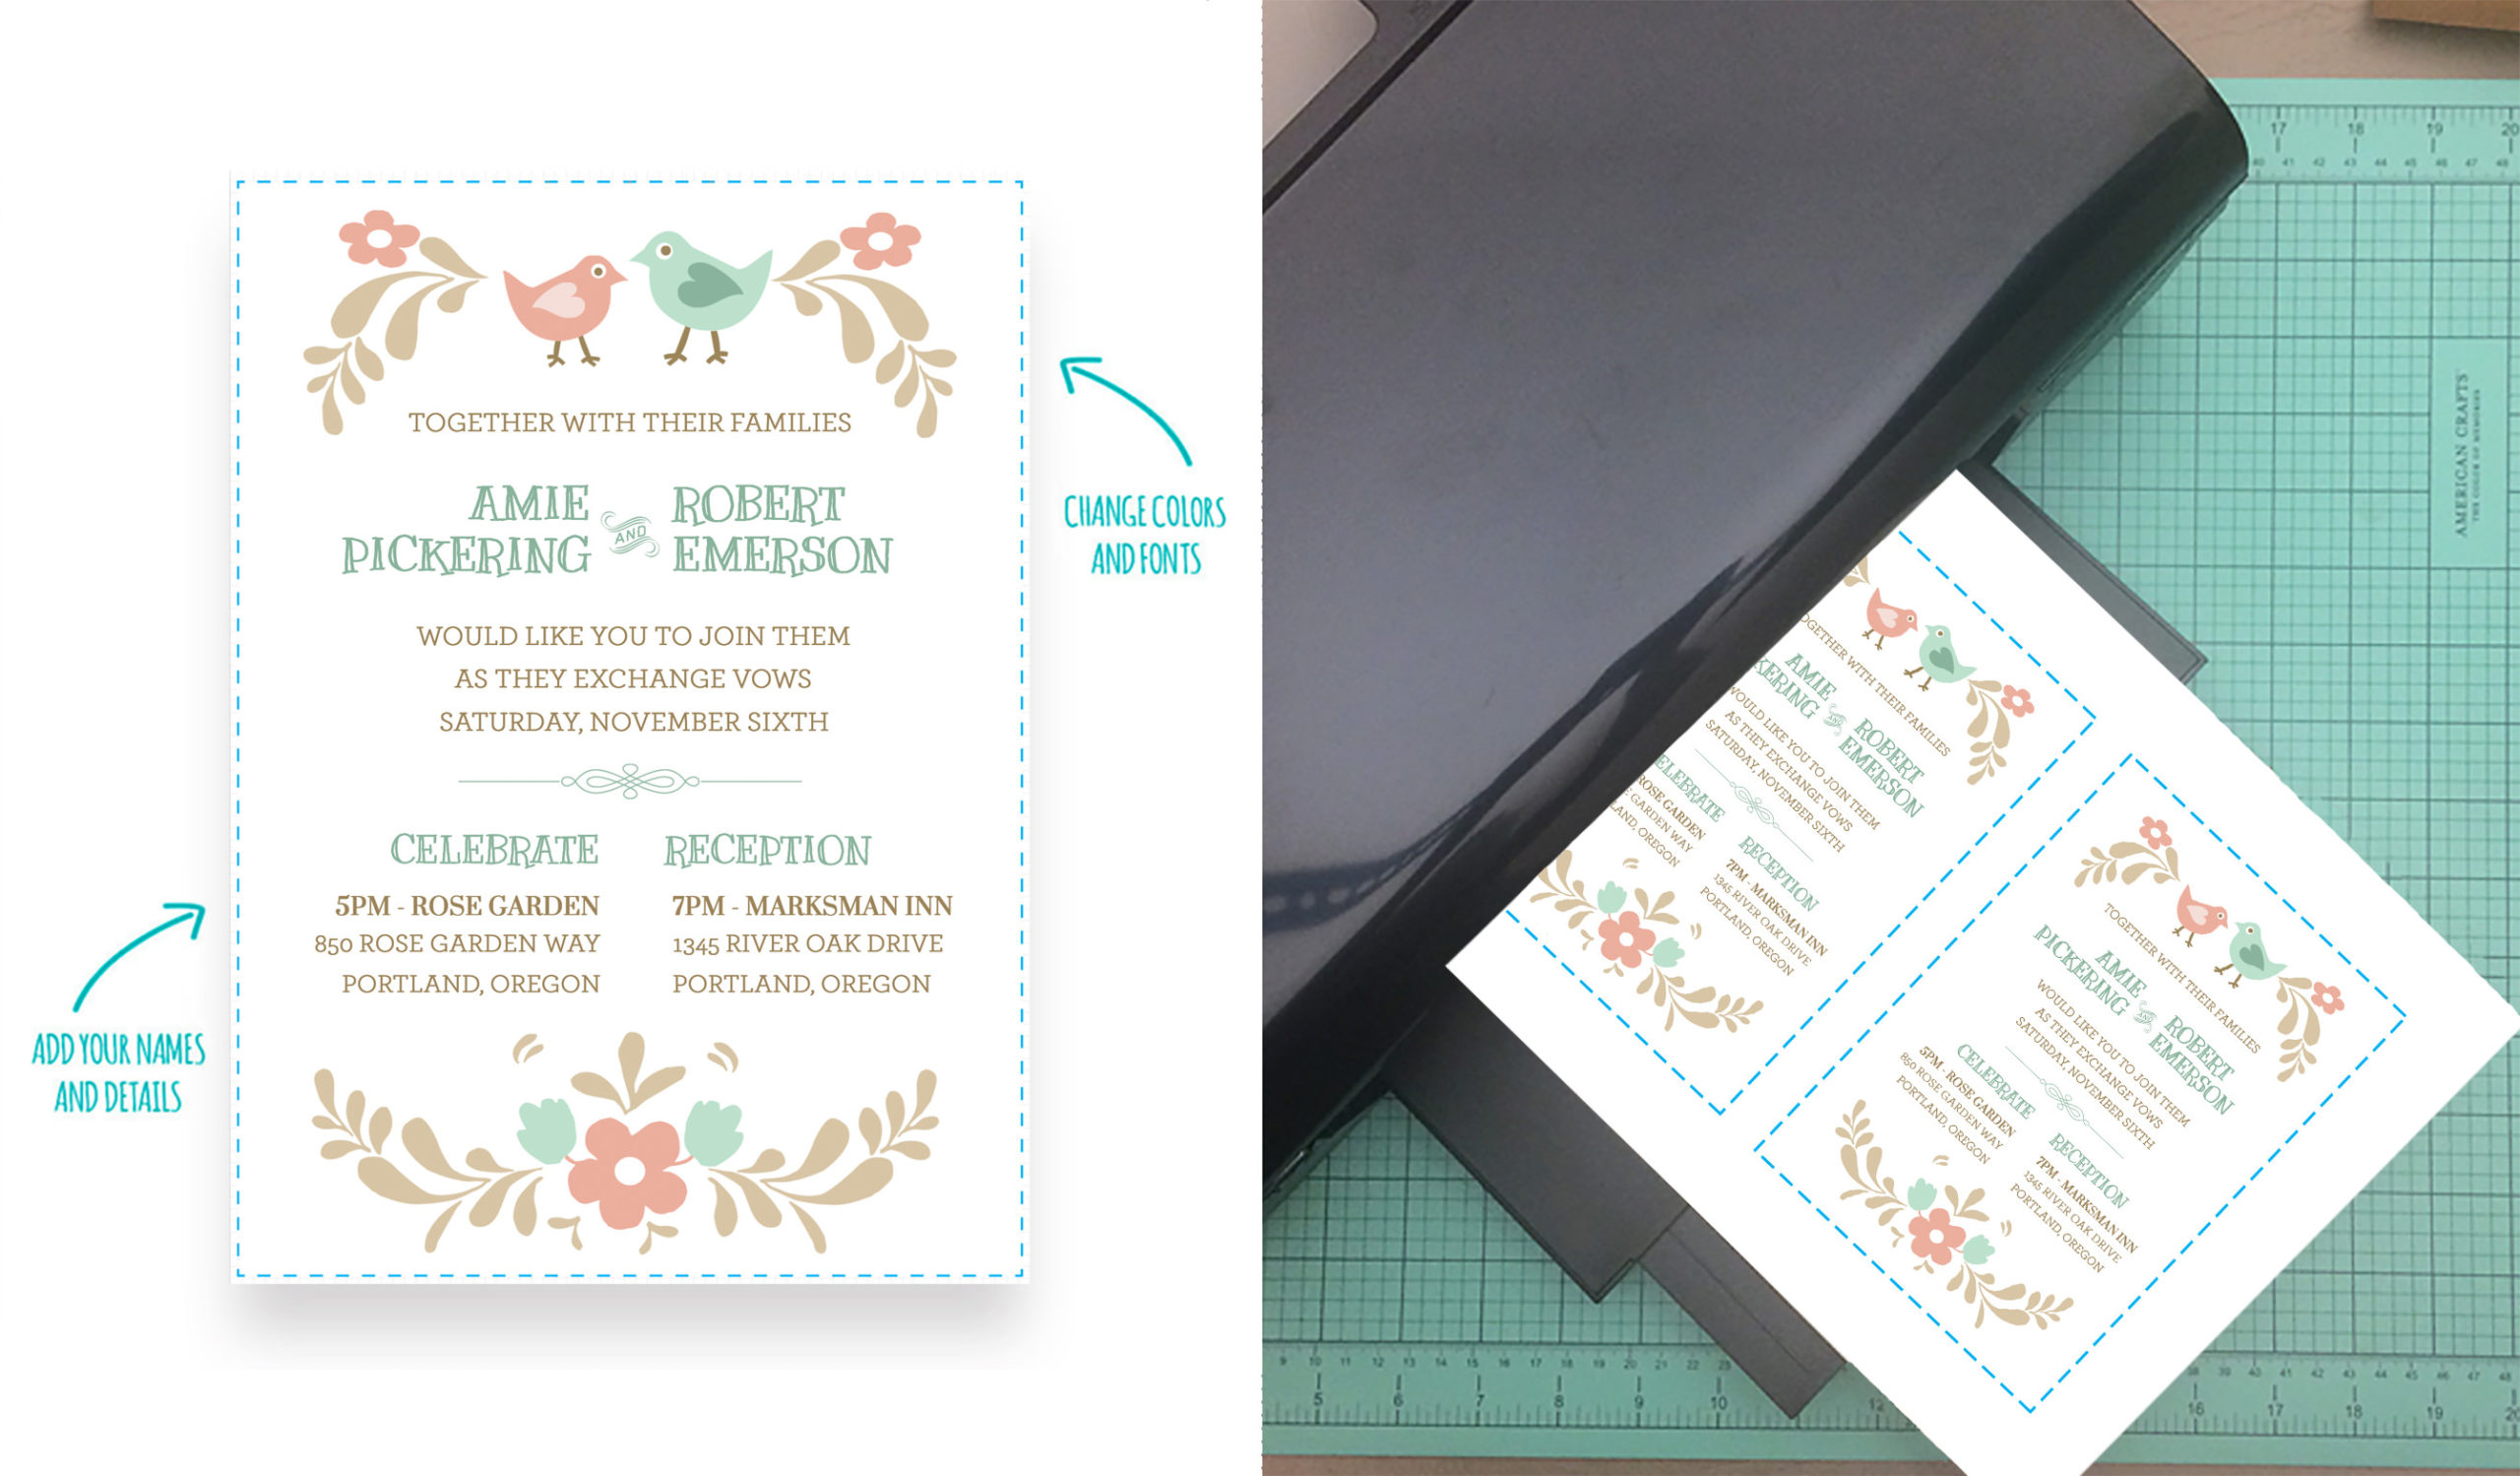
Change the colors, text and fonts online. Save your changes.
Download the invitation file on to your computer. You are now ready to Print!
TIP: Print one copy and review your text to check for spacing, punctuation, and spelling errors. Get a second set of eyes to look at your draft as there is nothing worse than printing 100 invitations to find a spelling mistake!
Step 2: trim
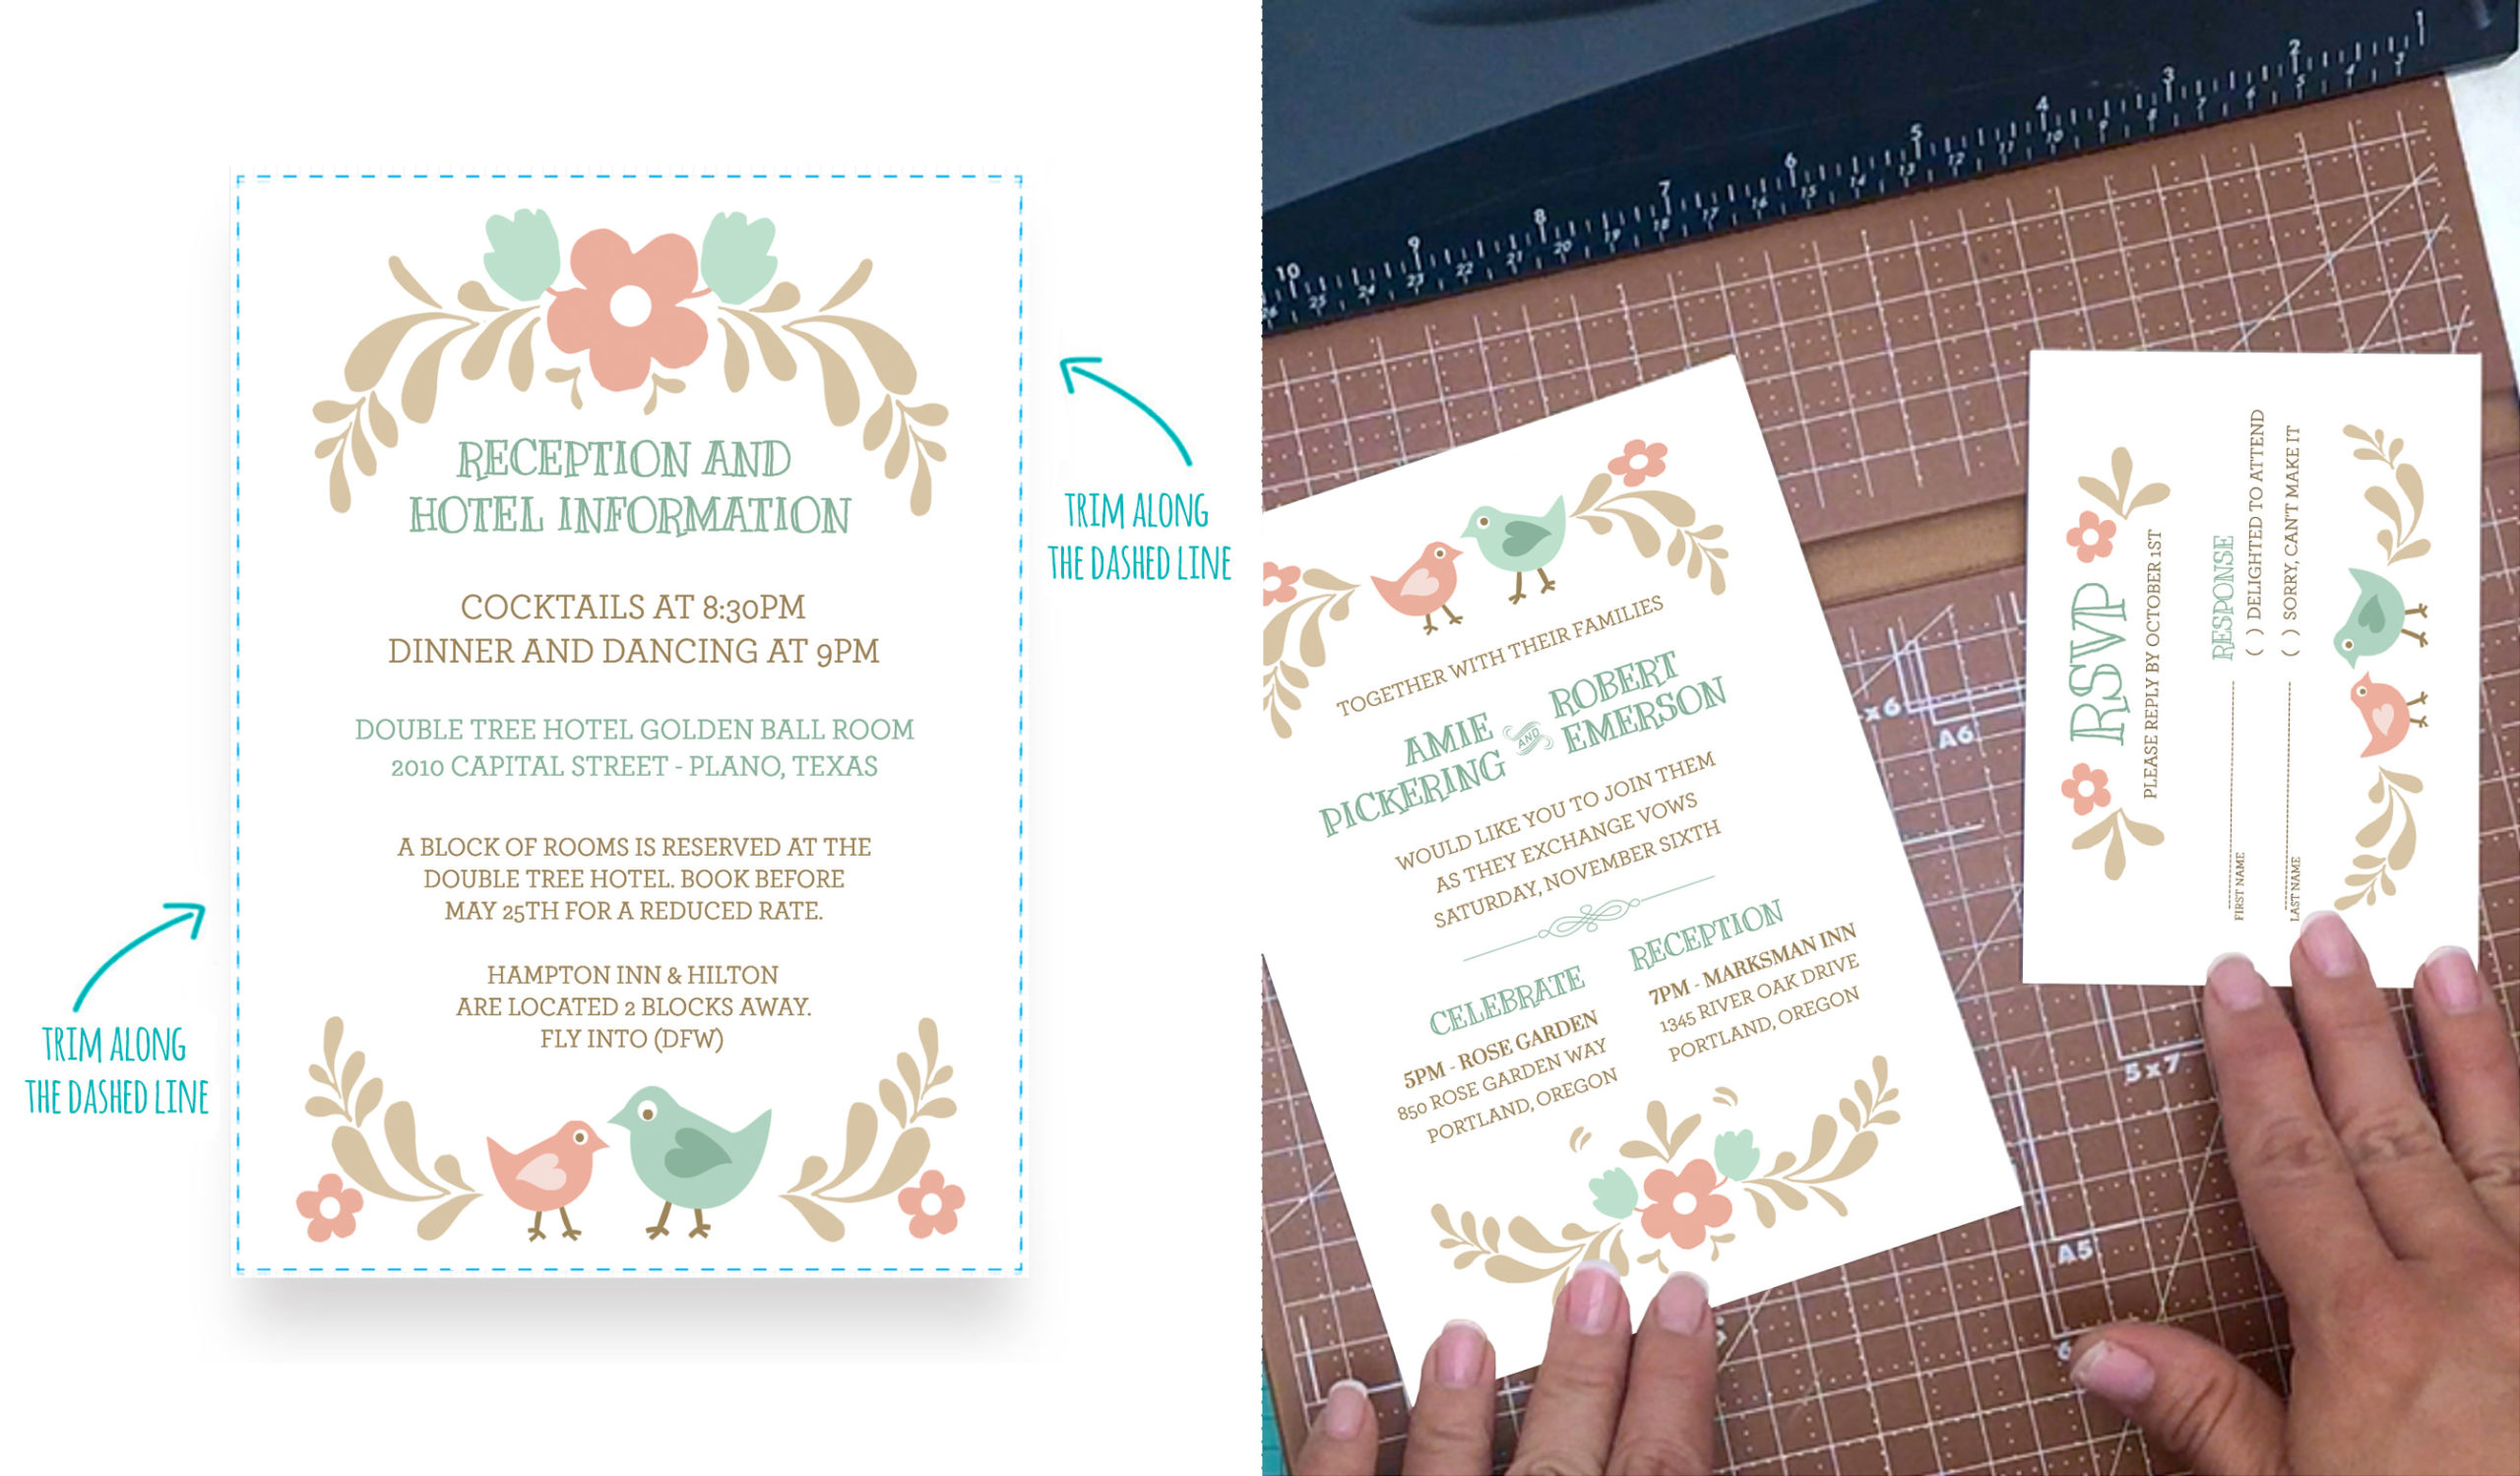
Using your paper cutter or scissors, cut each invitation along the trim lines. A paper cutter will produce cleaner cuts and will save time, but scissors will work just fine (a paper trimmer is a must have for me when making DIY wedding invitations!).
Step 3: download punch template & print
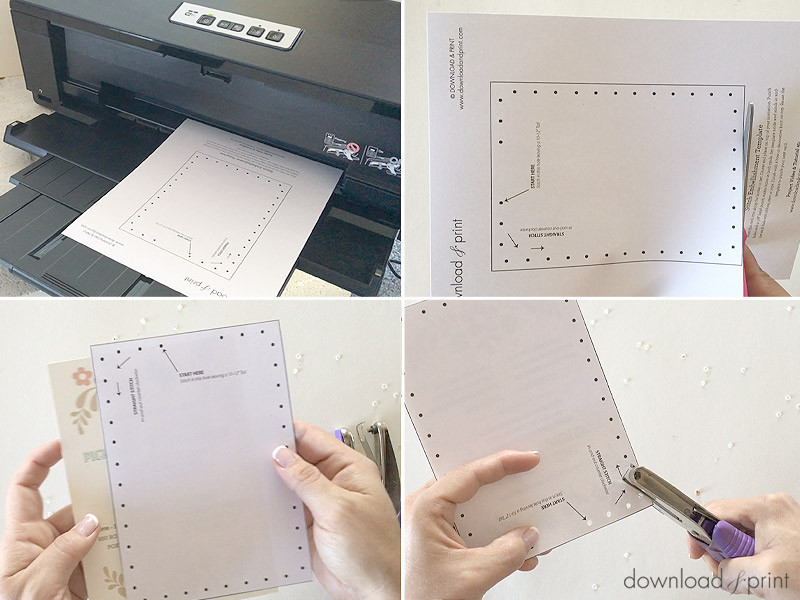
Download the free punch template and cut around the solid black line. Place this on top of any 5 x 7" invitation and punch out the dots with a 1/8" hand punch.
Make sure the gap is at the top of your invitation.
Step 4: Thread
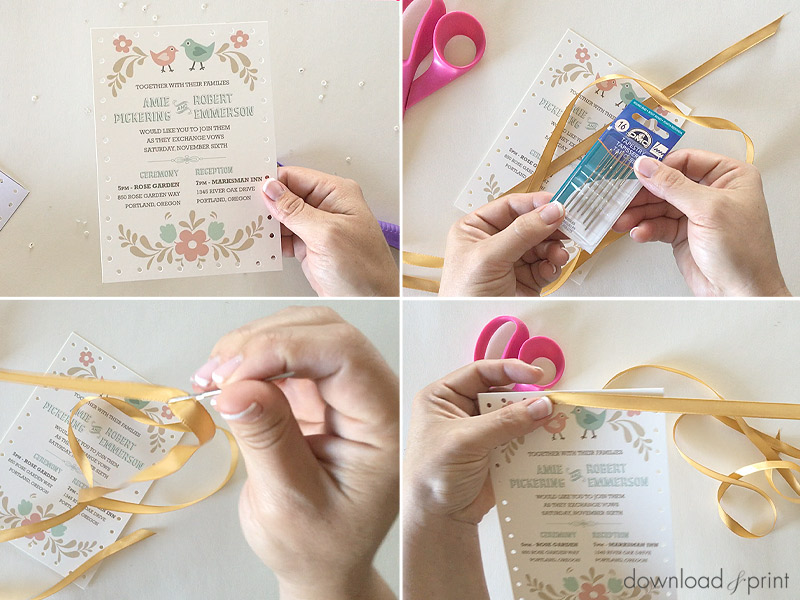
Thread a #16 tapestry needle with about a 32" length of satin ribbon.
Start at the top of the invitation in a hole adjoining the gap. Stitch the ribbon down through the hole, from front of invitation to back, and leave about a 10" ribbon tail. This will be used to tie a bow.
Step 5: Stitch, Trim + Tie
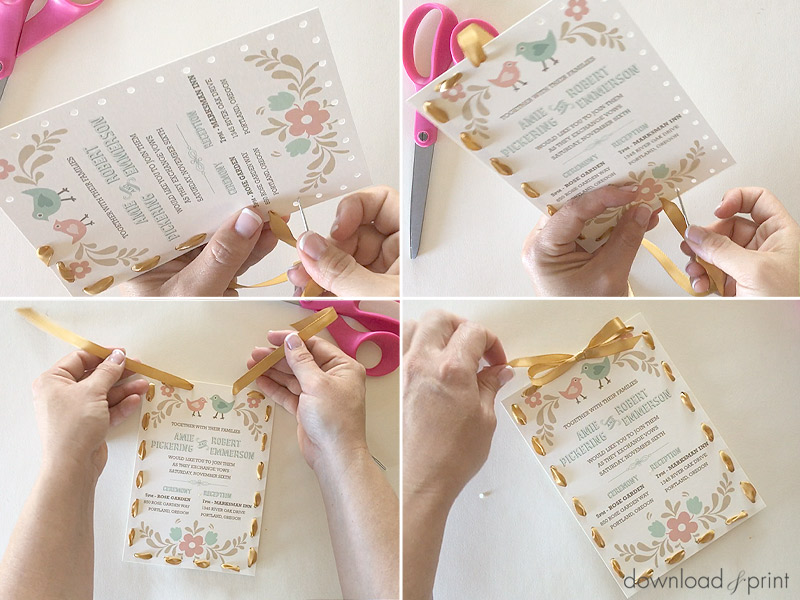
Continue stitching around the invitation using a simple in-and-out stitch.
The last stitch will end up with the ribbon tail toward the front of the invitation.
Remove the needle and trim the invitation tails even.
Tie a bow and again trim the ribbon tails on an angle, this time about in line with the length of your bow loops.
Step 6: Stuff
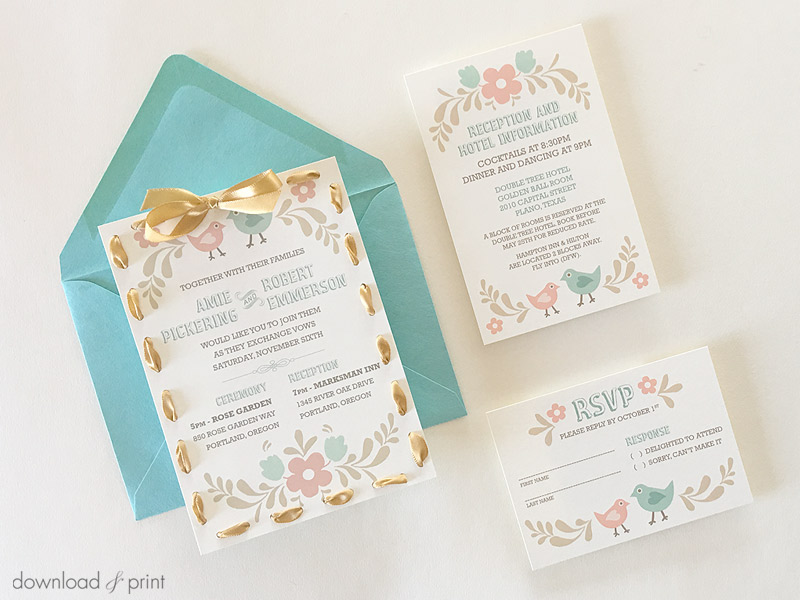
The invitation will fit in an A7 envelope. Also stuff an RSVP card and envelope, plus any other enclosure cards inside your mailing envelope.
If you love the look of the hand stitched ribbon with the folksy feel of our Love Birds invitation collection, as seen in this tutorial, you can purchase access to our entire collection of invitations at the "LEARN MORE" button below.
YOU MAY ALSO LIKE THESE WEDDING INVITATIONS:
Watercolor Flowers Invite
View Tutorial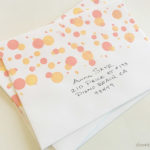
Fun Stamped Polka Dot Envelopes
View Tutorial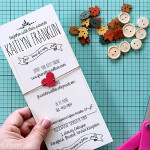
Folksy Heart Stitch Belly Band
View Tutorial
With template love,

(Although all the products listed in this tutorial are products I personally use, I will be compensated just a tiny bit if you make a purchase through some of the links provided. Thanks for supporting small biz!)