
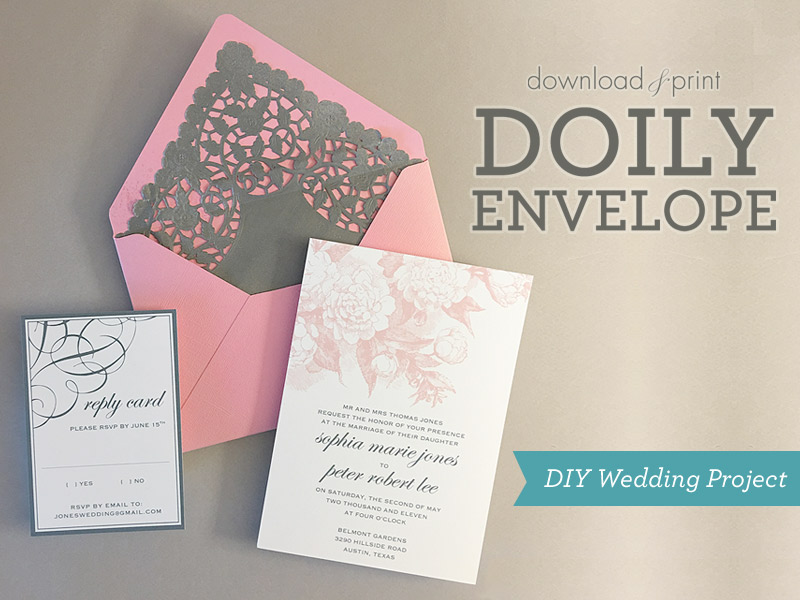
Doilies have moved so far beyond grandma's house, I don't even think they are in the same neighborhood any longer. Today I'm showing you why you should move doilies off the table and into your wedding envelopes. The short answer is... because it's so pretty!
This DIY envelope liner is a quick and inexpensive way to completely transform a boring envelope. It's got vintage charm, or depending on the color you choose a little whimsy, or you can play on flowers and lace for a grown up tea party.
You can make any number of statements depending on the colors you choose and the invitation you pair it with.
I've chosen a garden wedding theme, using our Garden Rose invitation collection in pink and gray. The invitation is pretty, and made even more so by the lace envelope liner. Take a peek below and see how you can create these liners in four simple steps.
SUPPLIES:
- 8" square doily
- A7 Euro flap envelopes - I'm using cotton candy pink
- Spray adhesive
- Spray paint - I'm using Krylon 'Deep Gray' with a matte finish
- Ruler
- Scissors
- Marker
- Scrap paper
- Garden Rose invitation collection
Step 1: Paint Doilies
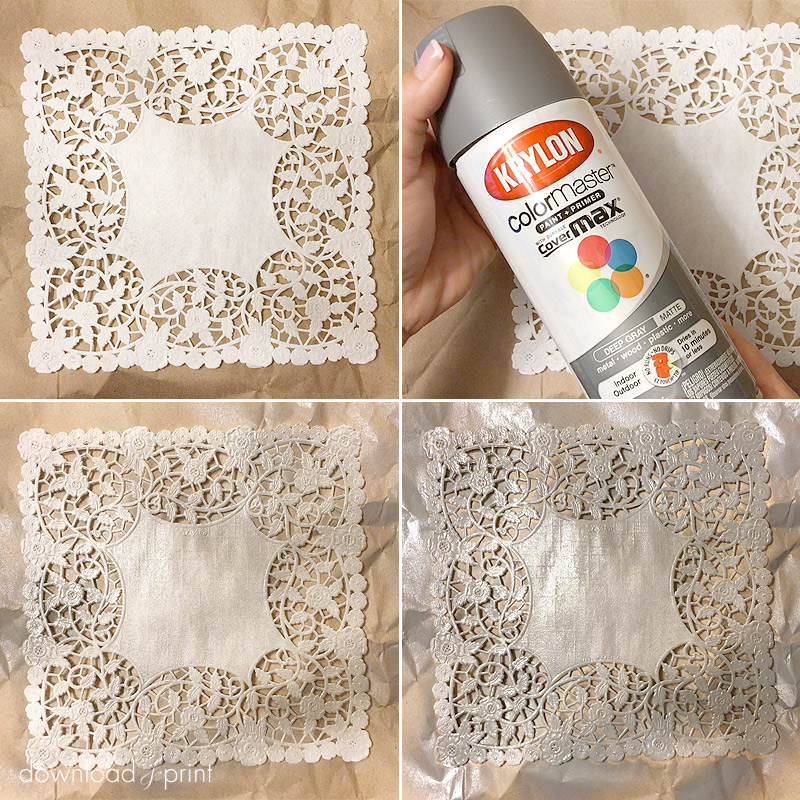
Head outside to a well ventilated area and give your doilies a light dusting of spray paint. It does not take much paint to cover the doily... less is more!
A few tips about the paint. Make sure the paint you choose can be used on paper. This is super important. Matte paint looks more elegant than gloss. If you are worried about the paint smell wait 24 hours before moving onto the next step. I found that the paint I used didn't have much of a smell and it was touch dry and ready to use in about 15 minutes.
Step 2: Mark Doilies
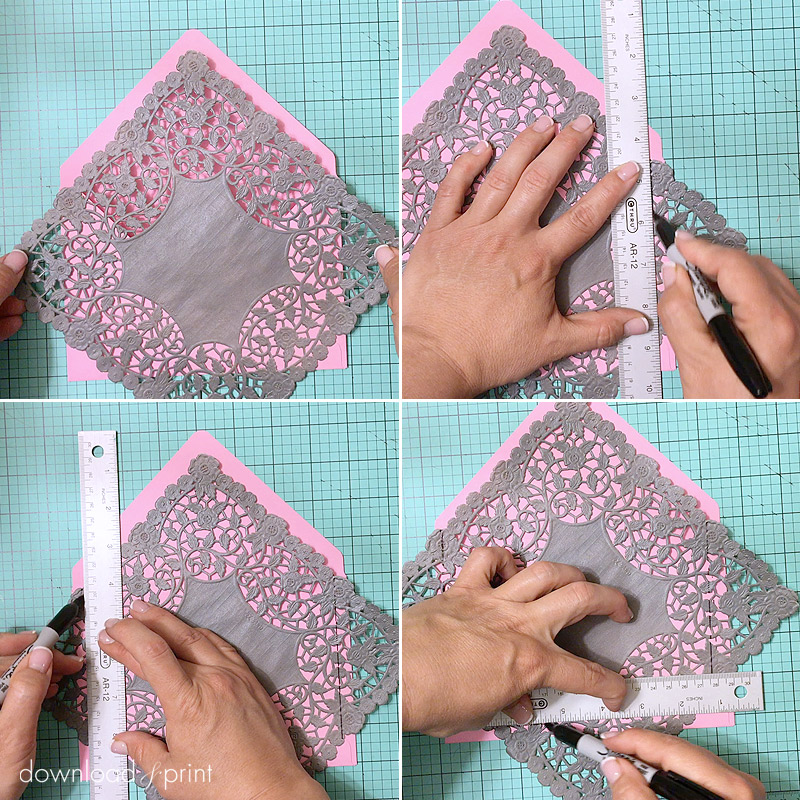
Layer a doily over an A7 Euro flap envelope, matching up the flap point to one of the doily's corners. Lower the doily down slightly, leaving about a 1/2" gap between the edge of the envelope and the doily.
Mark the two sides and the bottom of the doily, 1/2" in from the edge of the envelope.
Step 3: Trim Doilies

Trim along your mark lines. This becomes the template for your envelope liners. Place it in an envelope to make sure you are happy with the size.
If all is good, use this doily to mark and cut the rest of your doilies.
Step 4: Adhere
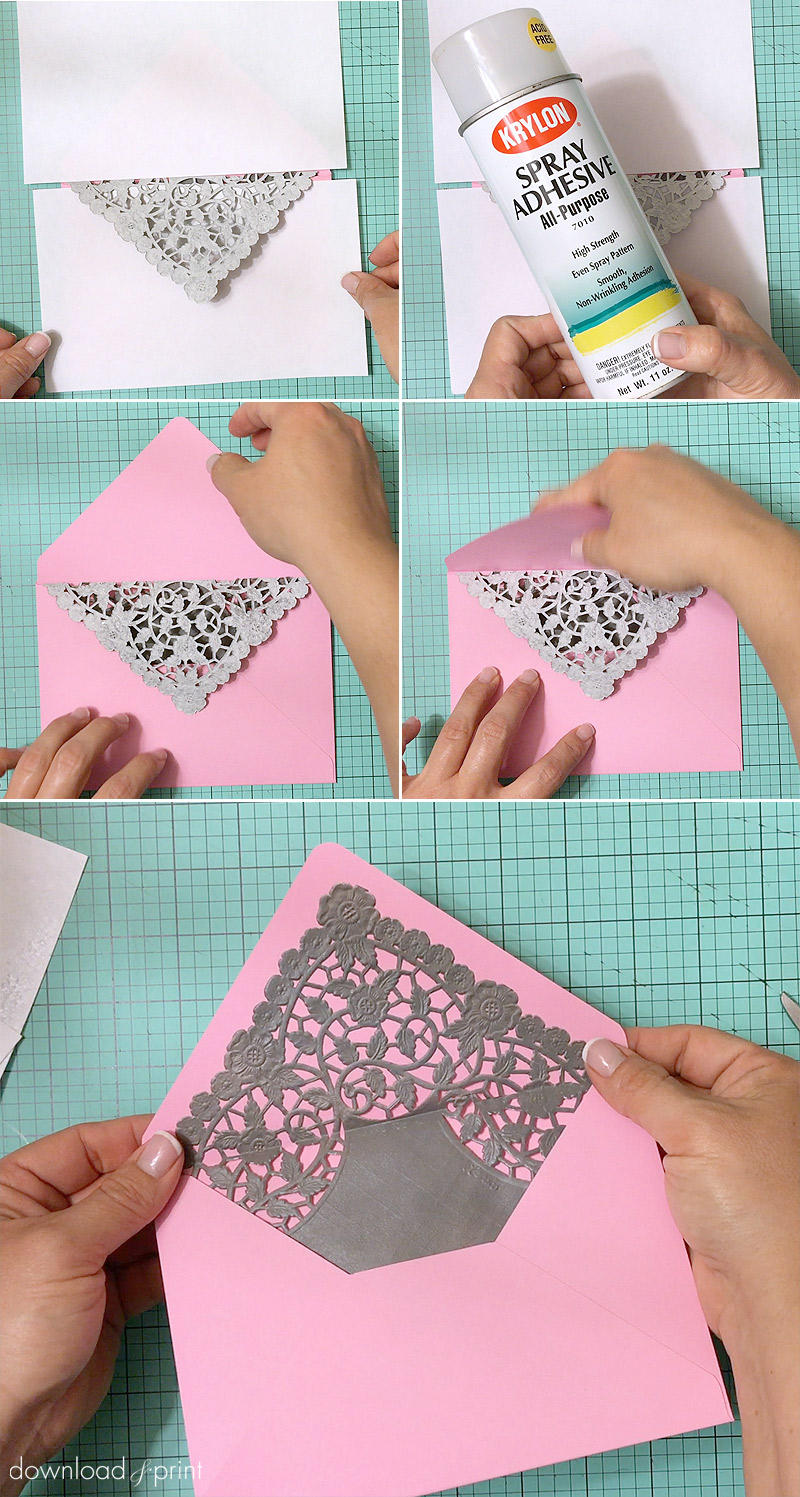
Slide a liner into an envelope. Fold down the doily flap along the crease of the envelope's flap.
Use two pieces of scrap paper to cover the envelope, both the flap and the pocket. This will protect the envelope from wayward spray adhesive.
Spray the back of the doily flap with adhesive. Remove the scrap paper and fold the envelope flap over onto the doily. Push down firmly to adhere the doily and envelope flap.
Repeat X* times (*insert number of invitations you are sending out). Since you've done all the cutting, put the sharp objects away, grab a bottle (or two) of wine and binge watch your latest Netflix crush. A few episodes in and your envelopes will be ready.
I've paired this pink and gray envelope with our Garden Rose invitation collection, also in pink and gray. The collection can be customized online to change in any color to match your wedding theme, and there are many envelope colors to choose from. You can also choose any one of our designs from our collection.
View Garden Rose Invitation Collection
YOU MAY ALSO LIKE:
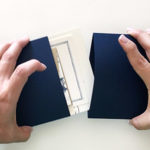
Pull-Apart Invitation Pocket
View Tutorial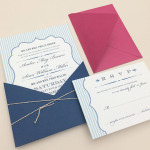
Nautical Stripes Invitation Pocket
View Tutorial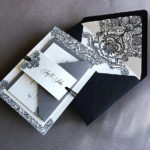
Personally Invited Belly Band
View Tutorial
With template love,

(Although all the products listed in this tutorial are products I personally use, I will be compensated just a tiny bit if you make a purchase through some of the links provided. Thanks for supporting small biz!)