
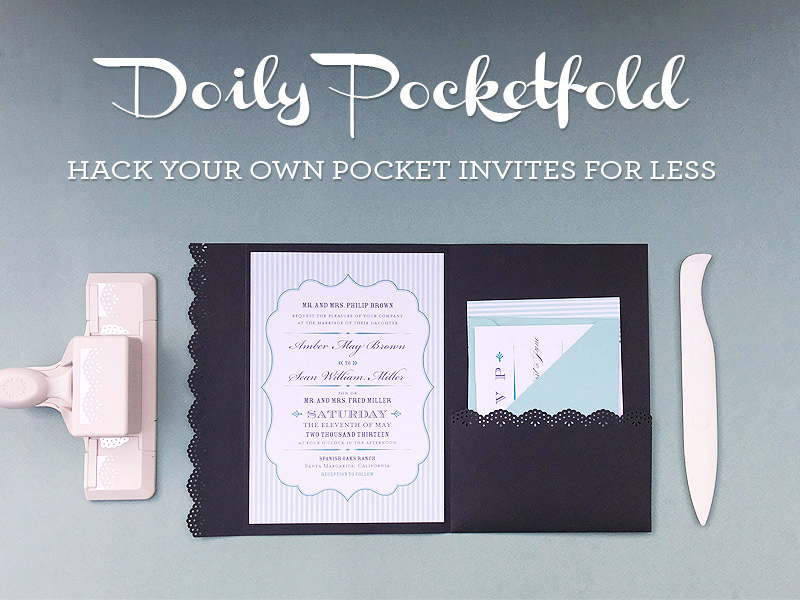
It's time for a wedding hack! This DIY pocketfold wedding invitation has me grinning from ear to ear... because it's freaking awesome!
If you've started planning your wedding you will know that things get really expensive, really quickly. And there's often a good reason for that. A lot of people are involved in pulling off your dream day and they should all be compensated fairly.
However, I just can't wrap my head around the price on some things. Pocketfolds for instance. This is a little folder made from card that's trimmed to slightly larger than an invitation, which holds the invitation, RSVP and envelope, enclosure cards and any other paper goods you plan on sending in your initial mailing. Pretty simple. So why the outrageous price tag?
In true Download & Print form I took it upon myself to find a less expensive, but equally professional looking, pocketfold. I did what any crafty gal would do, I made one. It's so simple, so easy to customize to your colors and wedding style, and each pocketfold can be put together for pennies. If you stick with black or white I'm talking less than 30 cents each. The fancier the card stock the fancier the price of course.
You will need to find 4-bar envelopes (also called RSVP envelopes) and card stock in the same color for the best look. I recommend buying envelopes, then taking one of these into your local craft store and matching up the paper.
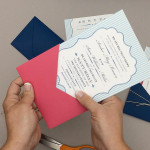
In the example in this tutorial I stuck with classic black. I paired the pocket with the seaglass invitation and RSVP from our Amber collection. This invitation makes me think of a vintage poster meeting seersucker stripes, which I think ties together nicely with the vintage doily effect I gave the edge of the pocket.
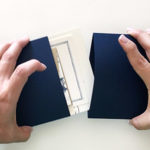
This isn't the first time I've hacked an envelope into an inexpensive wedding invitation pocket. For an even simpler idea check out what you can do with just an envelope and a pair of scissors.
SUPPLIES:
- 4-Bar envelopes
- Coordinating 12 x 12 card stock
- Double sided tape
- Edge punch (optional) - I'm using the Martha Stewart Crafts Punch Around the Page Set in Vintage Doily
- Bone folder
- Ruler
- Paper cutter or scissors
- Invitation suite of your choice
Step 1: Trim Flap
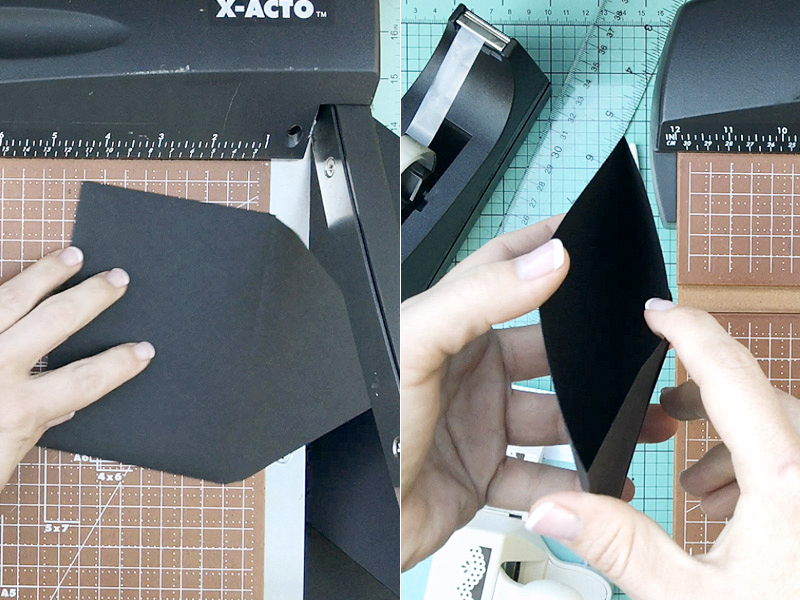
Trim the flap off a 4-bar envelope using scissors or a paper cutter.
Step 2: Trim Card Stock

The card stock needs to be trimmed to just taller than the invitation. If you are using a 5 x 7 invitation trim the card stock to about 7.5”. If you are using a square invitation, adjust the height accordingly.
Step 3: Punch Pocket
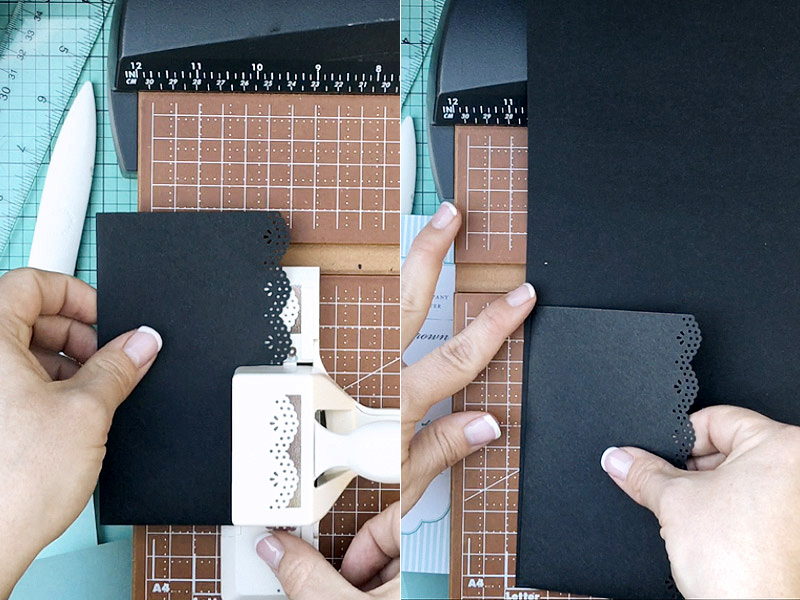
If you like the look of the decorative edge on the pocket, use your punch of choice and punch along the open edge.
Adhere the pocket to the lower right corner of the cardstock. I prefer to use double sided tape as it’s less messy and gives me instant gratification, no waiting on glue to dry. However, you can use a glue stick or another type of adhesive if you prefer.
Step 4: Make First Fold

Grab your bone folder and get ready to make the first fold. I highly recommend a bone folder, it’s an inexpensive tool and makes a difference when it comes to crisp creases. However, if you have another blunt but pointy (ha! This makes sense in my head, I promise) tool you can use what you have on hand. Think closed mechanical pencil or blunt side of an x-acto knife.
You are going to fold the card stock over the pocket, so start the crease with your bone folder and ruler along the inner edge of the pocket. Fold over the card and finish making a crisp crease.
Step 5: Mount Invitation
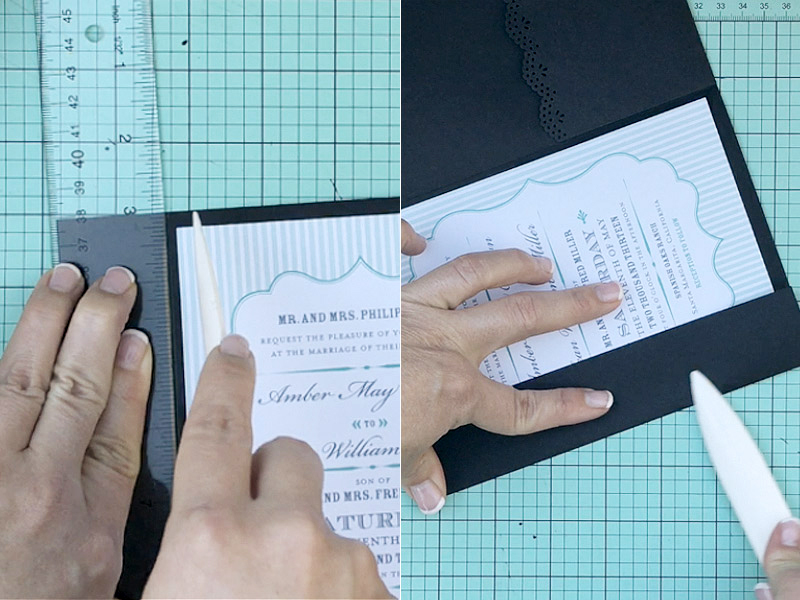
At this point I like to mount the invitation. Using double sided tape again mount the invitation next to the crease you just made. You can eyeball the placement, you are looking to have even spacing on each side of the invitation. Four pieces of tape should be sufficient to keep the invitation in place.
Make another crease on the opposite side of the invitation and fold the flap across.
Step 6: Finish the Flap
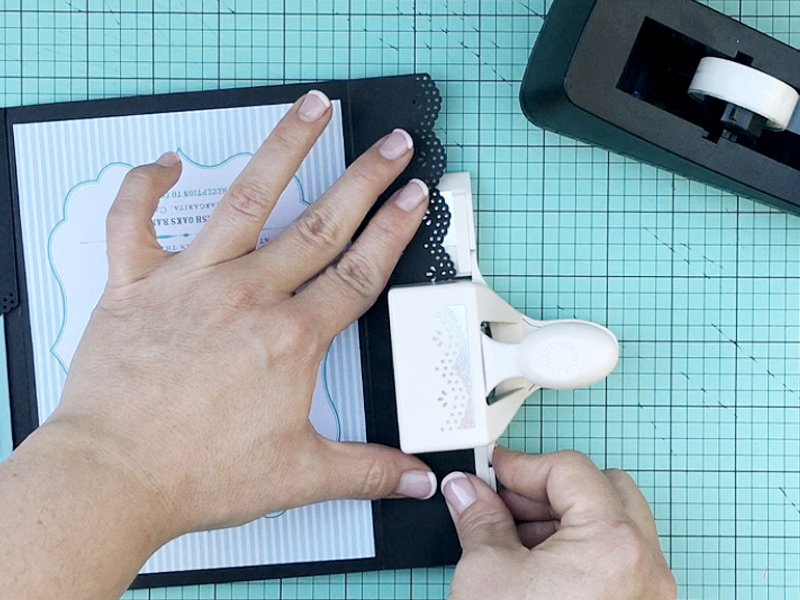
Punch along the edge of the flap to create a decorative finish. This is again optional. It gives a custom look, yet we know there is no custom price tag! But if you want to save time, or don’t want to invest in a punch, you can leave all the edges square and you’ve still got a killer pocket for next to nothing.
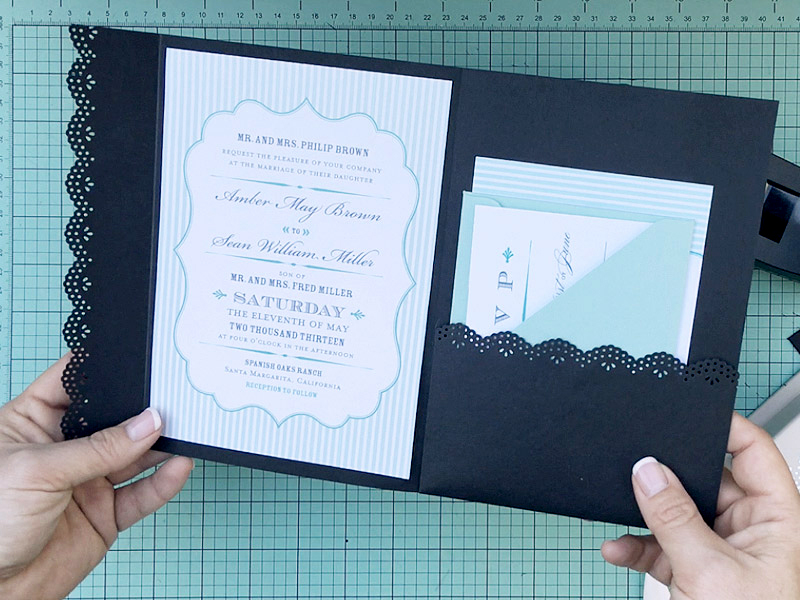
Now look at that picture and tell me if you’d ever guess the pocket was hacked from some card stock and a 4-bar envelope! If you thought pockets were out of your budget think again.
You can make it personal, you can make it cheaply, and you can make it fabulous!
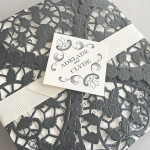
YOU MAY ALSO LIKE THESE DIY POCKETFOLD WEDDING INVITATIONS:
With template love,

(Although all the products listed in this tutorial are products I personally use, I will be compensated just a tiny bit if you make a purchase through some of the links provided. Thanks for supporting small biz!)