
Do you remember a while back when I confessed to having a huge wrapping paper stash? Well... I have another confession to make. My wrapping paper stash is nothing compared with my fabric stash. I've accumulated a small haberdashery store's worth of fabric over the years because
- I never measure before heading to the fabric store and ALWAYS over estimate how much fabric I'll need;
- Oooh, that's so pretty... I may need it one day to make/recover/craft something...(which usually never happens).
One more confession like this and I'm dangerously close to slipping into craft hoarder territory.
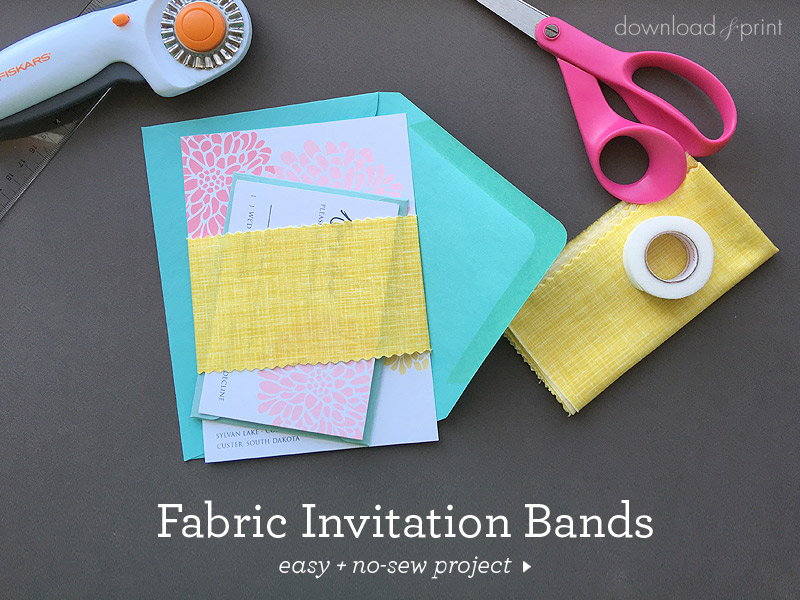
In the spirit of reduce/reuse/recycle today's project turns a small (very small) portion of my fabric stockpile into pretty belly bands for your wedding invitations. These require no sewing skills, if you can use an iron you can make these bands.
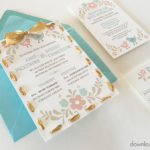
I love them because they add texture and color to your invitations, making them perfect for a boho or shabby chic wedding.
I like the wide chunky look, my bands are 3" wide, but you can opt for something more delicate if that suits your invitations and wedding theme better.
I've paired the yellow bands with my Chrysanthemum invitation which makes such a pretty package for a spring wedding. Your imagination is the limit when it comes to these bands as they will coordinate with just about any invitation depending on the fabric you choose. The only requirement you should stick with is a cotton or cotton-poly blend fabric will work best.
SUPPLIES:
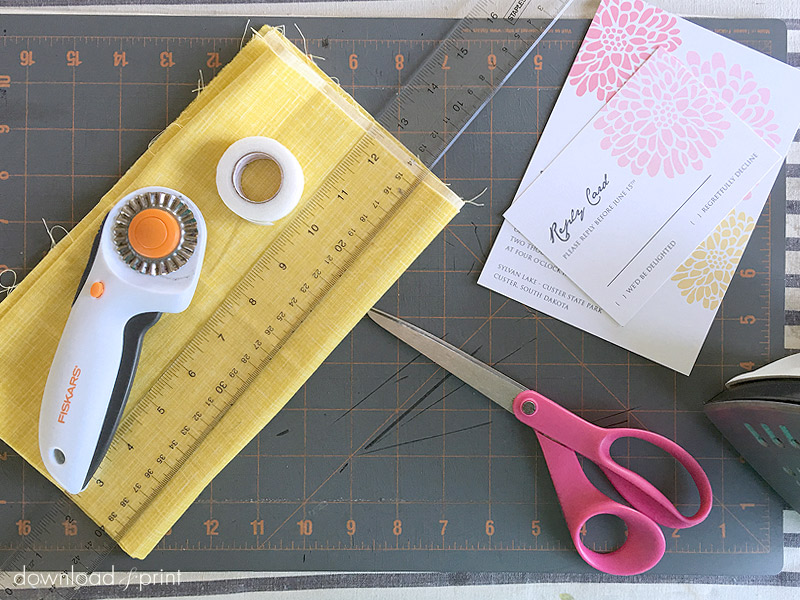
- Cotton or cotton-poly blend fabric
- Heat bond hem tape
- Iron and ironing board
- Fiskar's Rotary Cutter
- Fiskar's Rotary Pinking Blade
- Ruler
- Cutting mat
- 5 x 7 Chrysanthemum Invitation (customize online)
- A2 Chrysanthemum RSVP (customize online)
- A2 Chrysanthemum Insert Card (customize online)
Step 1: Iron Fabric
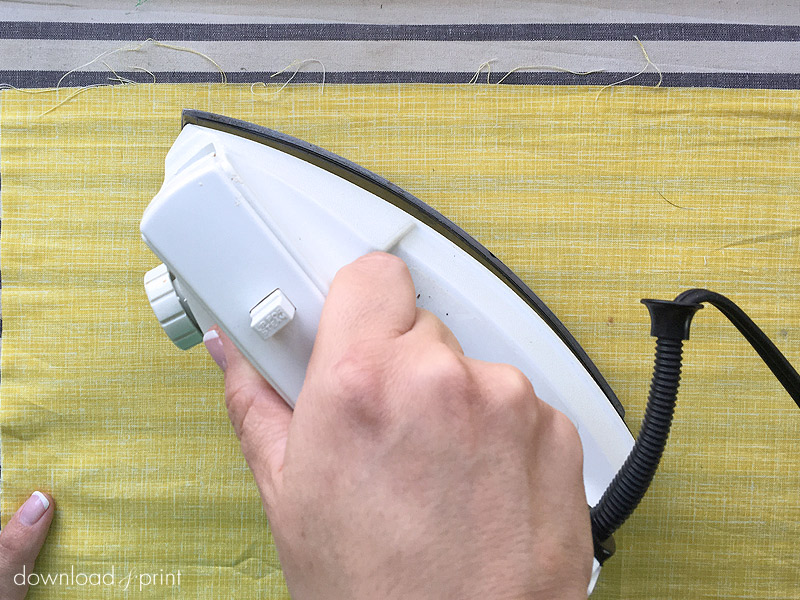
Yep, I'm including this step because it's so easy to overlook or blow off. But... you want those wrinkles gone. It will make a huge difference to the end result so bring out that iron and iron away.
Step 2: Measure & Cut
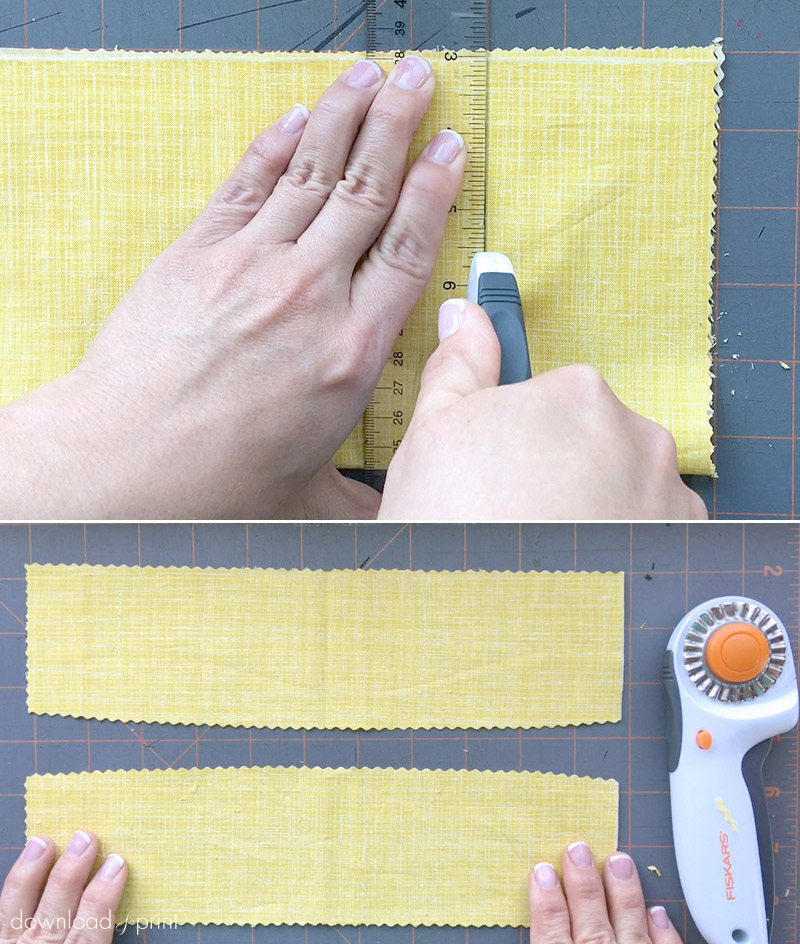
Cut 11" x 3" strips from fabric. The two long sides and one short end need to be cut with pinking shears. The other short end can be left with a straight edge.
If you double over your fabric you can cut two bands at once. I found it fastest to cut 11" widths of fabric, lay two on top of each other, fold in half, then cut 3" strips.
Pro Tip: If you are using patterned fabric decide if you want your pattern to be vertical or horizontal on your belly bands and cut accordingly.
Step 3: Cut Hem Tape
Lay a belly band face down on your work table and place an invitation on the center, also face down.
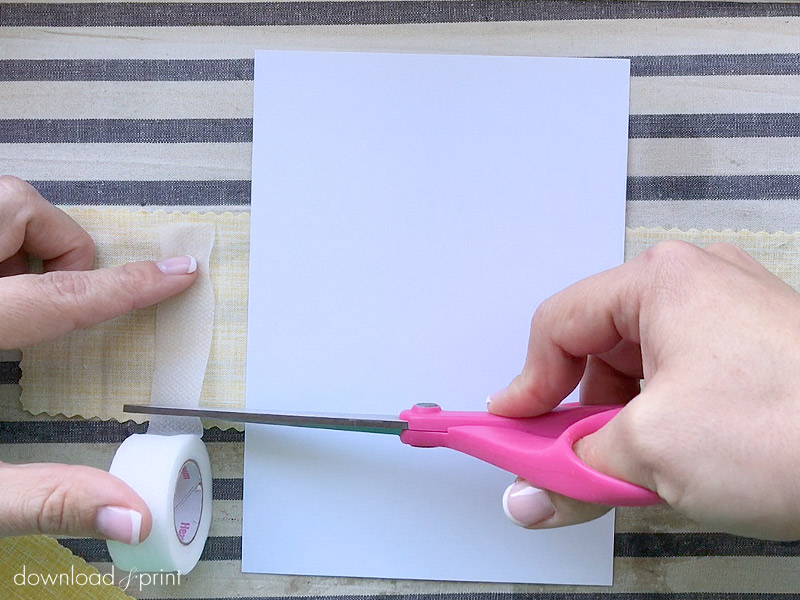
Cut a length of heat bond hem tape long enough to go the width of the band, leaving 1/8" from each edge.
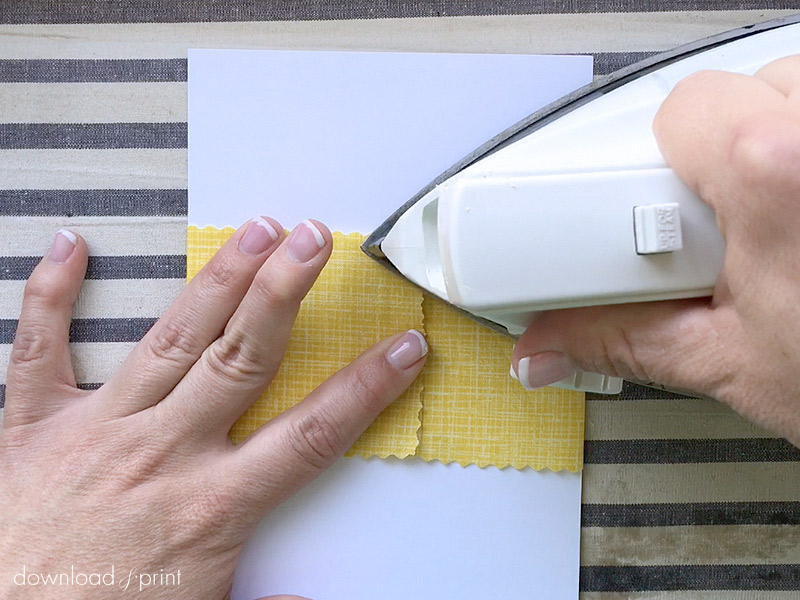
Step 4: Iron Tape
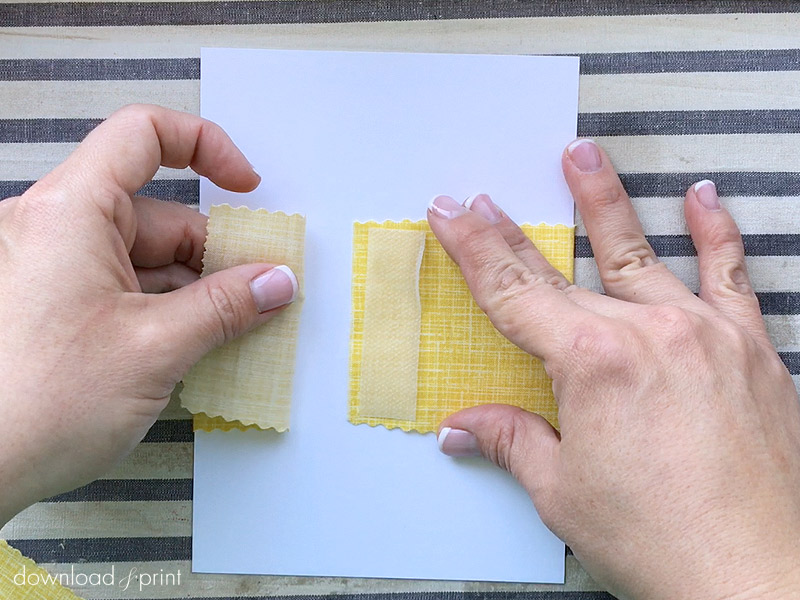
Fold over the ends of the band to the back of the invitation. First lay down the straight edge. Place the heat bond tape along the straight edge and fold over the pinked edge to form a band. Pull the fabric tight so that the band will stay in place on the invitation.
Iron the fabric for 2-3 seconds over the tape to fuse the band together.
Don't worry, you won't burn the invitation in this short time!
Step 5: Add Enclosures
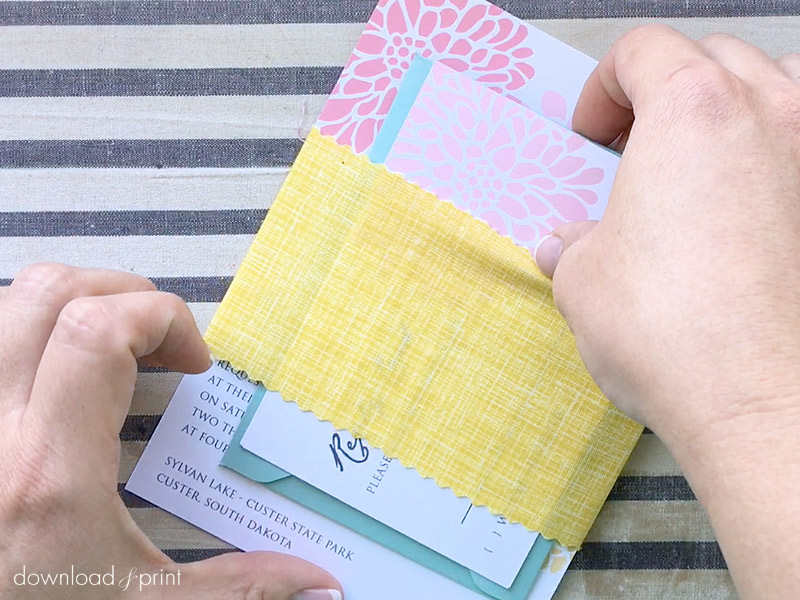
Slide your RSVP and envelope, and enclosure card into the belly band in front of the invitation. Stuff the package into an envelope and it's ready to pop in the mail.
You may choose any design from our collection to use with this belly band. Check them out at the "LEARN MORE" button below.
YOU MAY ALSO LIKE:
Hand Stitched Invitation
View Tutorial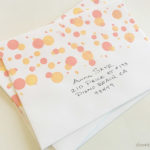
Fun Stamped Envelopes
View Tutorial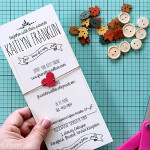
Heart Stitch Belly Band
View Tutorial
With template love,

(Although all the products listed in this tutorial are products I personally use, I will be compensated just a tiny bit if you make a purchase through some of the links provided. Thanks for supporting small biz!)