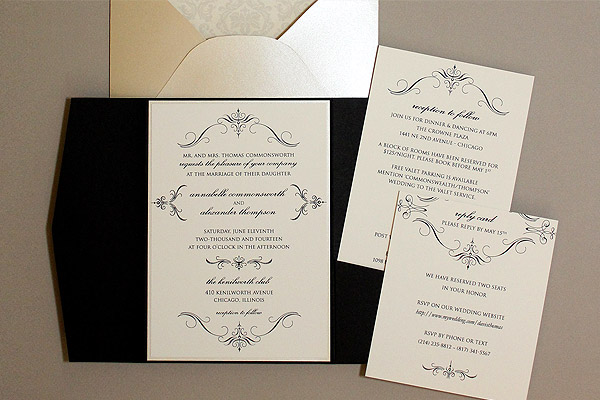
Wedding stationary is commonly one of the top ten wedding expenses, so if you are not afraid of a little work, I am here to show you how to trim that expense dramatically. With the free templates you can create an invitation set that is elegant, timeless, and doesn’t necessarily scream “DIY”!
What you’ll need to create this project:
- FREE printable templates
- Black A7 Pocket available from paperandmore.com
- Champagne Metallic Euro-Flap envelopes from paperandmore.com
- Champagne Metallic Card Stock from paperandmore.com
- Sand’ Card Stock 80# from paperandmore.com
- Ink jet or Laser Printer (or print at a local copy shop)
- Paper Cutter or scissors
- Double Sided Tape
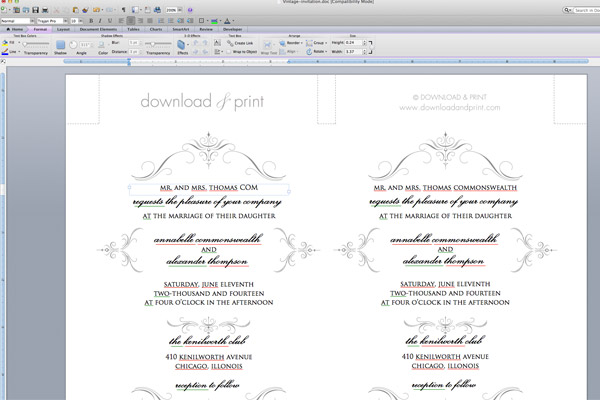
Step #1: Open the template & add your wording
Download the template files and save to your computer. Open them in MS Word and type in your details. To replicate the exact look in the photo use fonts Exmouth and Trojan Pro, which are available for free download.
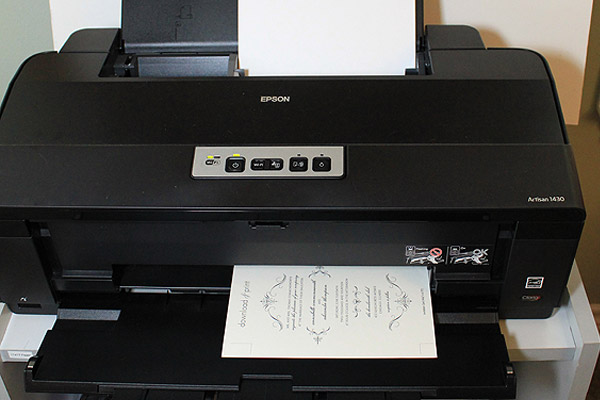
Step #2: Print the Invitation & Insert Cards
Print the invitation, pocket cards, and belly band on the 80# ‘Sand’ card stock.
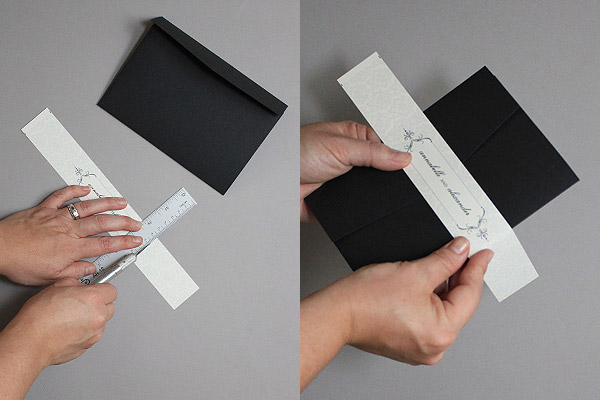
Step #3: Cut Out the Cards, Belly Band, and Metallic Backer
The metallic backer is cut by using the ruler on the paper cutter, or by measuring with a standard ruler and cutting with scissors. The templates are cut by following the dotted lines on the template.
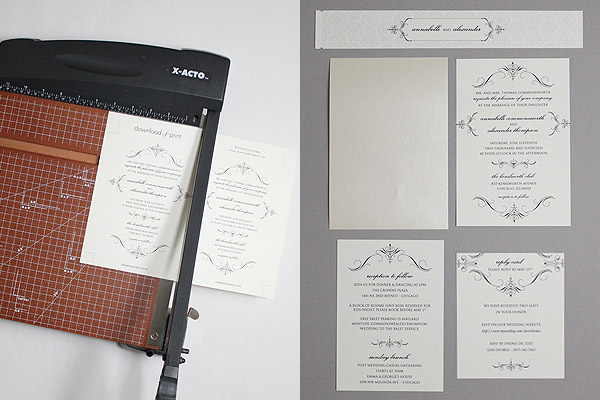
Final measurements after cutting should be:
- Metallic Backer: 4⅞ x 6⅞
- Invitation: 4 ⅝ x 6 ⅝
- Small Insert: 4¼ x 5
- Large Insert Card: 4¼ x 6
- Belly Band: 1½ x 10½
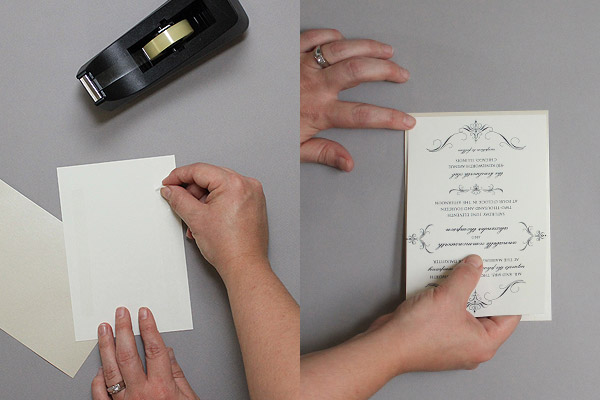
Step #4: Tape the invitation to the metallic backer
Place two strips of tape on the back of the invitation, each about 4” in length. You are aiming to leave approximately 1/8” of the metallic backer showing around the invitation. Eyeball the top edge and right and left sides and lower the invitation onto the front of the metallic card, pressing it gently into place.
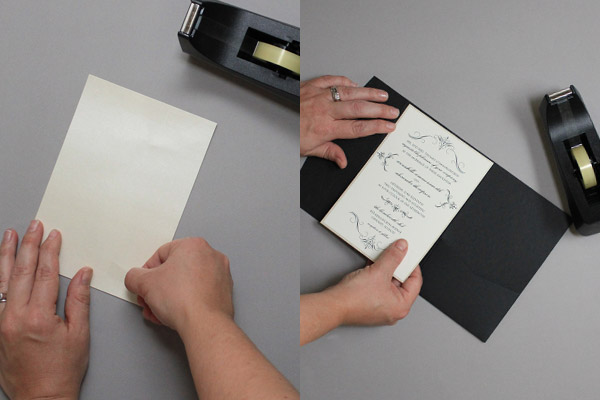
Step #5: Tape the backer to the pocketfold
Using the same process as in step #4 … place two 4” strips of tape on the back of the metallic backer. Eyeball the top, right, and left edges, then lower into place.
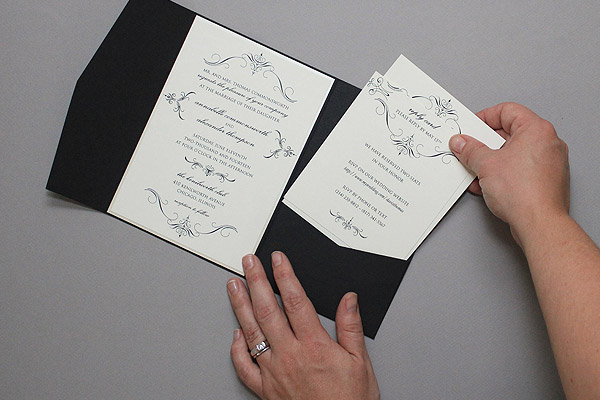
Step #6: Arrange the cards into the pocket
Stack the RSVP and accommodation cards in the pocket, with the shorter card on top.
Step #7: Seal the pocket with belly band
Score the belly band along the two dotted lines to the right and left of the name frame, or just make a nice, crisp fold with your hand. Align the band on the pocket fold, wrap around and tape with double sided tape.

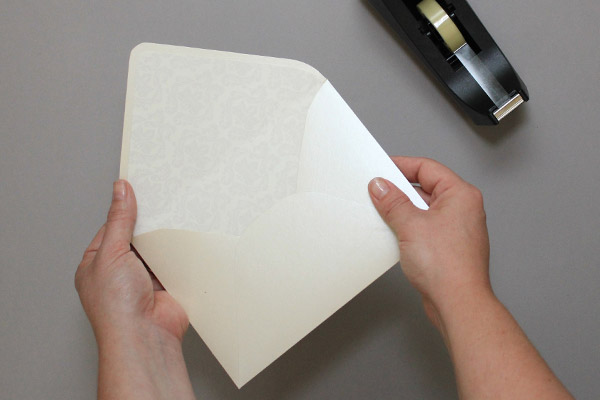
Optional Envelope Liner
If you would like to add a high class look to your off the shelf envelopes, a custom liner is an easy way to add sparkle.
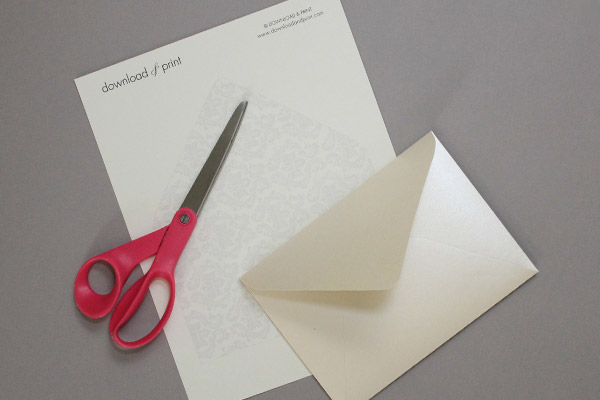
Supplies you will need:
- Printable PDF template
- ‘Sand’ Card Stock 80# from paperandmore.com
- Champagne Metallic Euro-Flap envelopes from paperandmore.com
- Scissors
Step #1: Print and cut the liner
Open the PDF template and print onto your card stock. Cut around the liner design with scissors, and insert into an envelope with the design facing toward you.
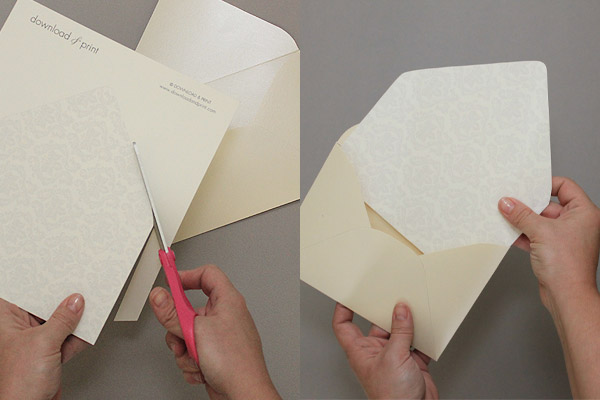
Step #2: Center and fold
Center the liner onto the envelope, leaving an even space around the flap. Fold the liner flap down, creating a crisp fold in line with the envelope’s fold.
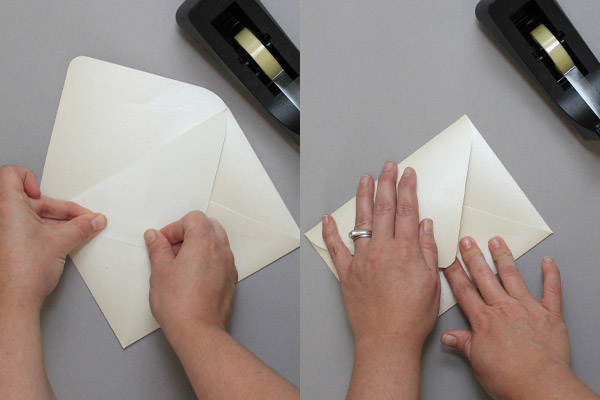
Step #3: Tape and close
Apply double sided tape to the reserve of the folded down liner, two strips approximately 3” long is ideal. Close the envelope flap onto the liner and press firmly to secure.