
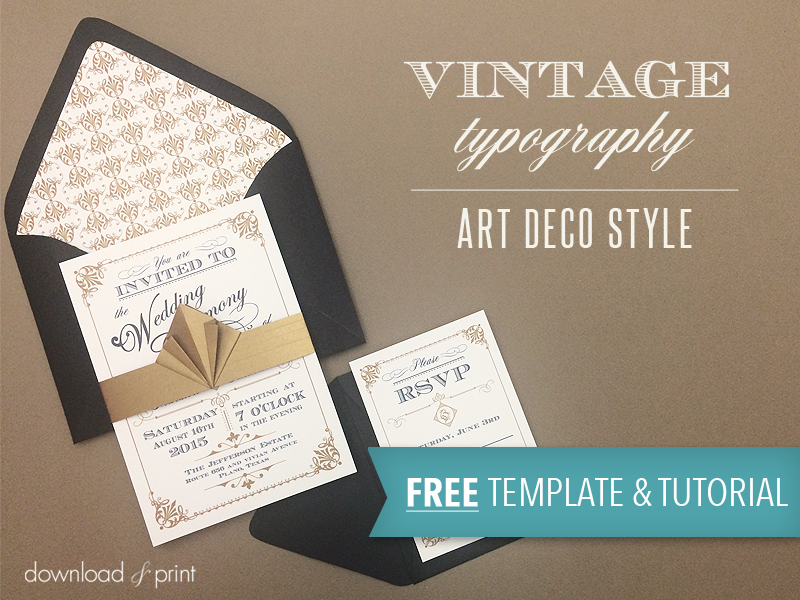
Today I've got an oldie but a goodie for you. The Ornate Vintage collection is one of the most popular collections on Download & Print, and it's easy to see why. The detailed scroll work and gorgeous fonts take us back to a golden age where there was never a hair out of place or a leg without pantyhose.
Add to that, you get to customize your color choices, change the text and fonts to match your wedding colors. I'll raise a Singapore Sling to that.
I'm going to let you in on a little secret. If you love the black and gold version of this DIY vintage wedding invitation and you only need the invitation, RSVP and envelope liner... you can download them right here for free! Guess I'm going to need another Singapore Sling.
Also check out the video for details on how to make the intricate art deco belly band. To me this is the show stopper. And secret #2, it's really easy to make. Enjoy!
Supplies
- Envelope Liner
- Wedding Invitation
- RSVP Card
- Printer
- White or cream card stock
- Paper cutter and/or scissors
- Double sided tape
- Black euro flap A7 envelope
- Black 4-bar envelope
- Gold star dream paper
- Bone folder
- Scoring tool
- Ruler
Step 1: Customize, Save, Download & Print
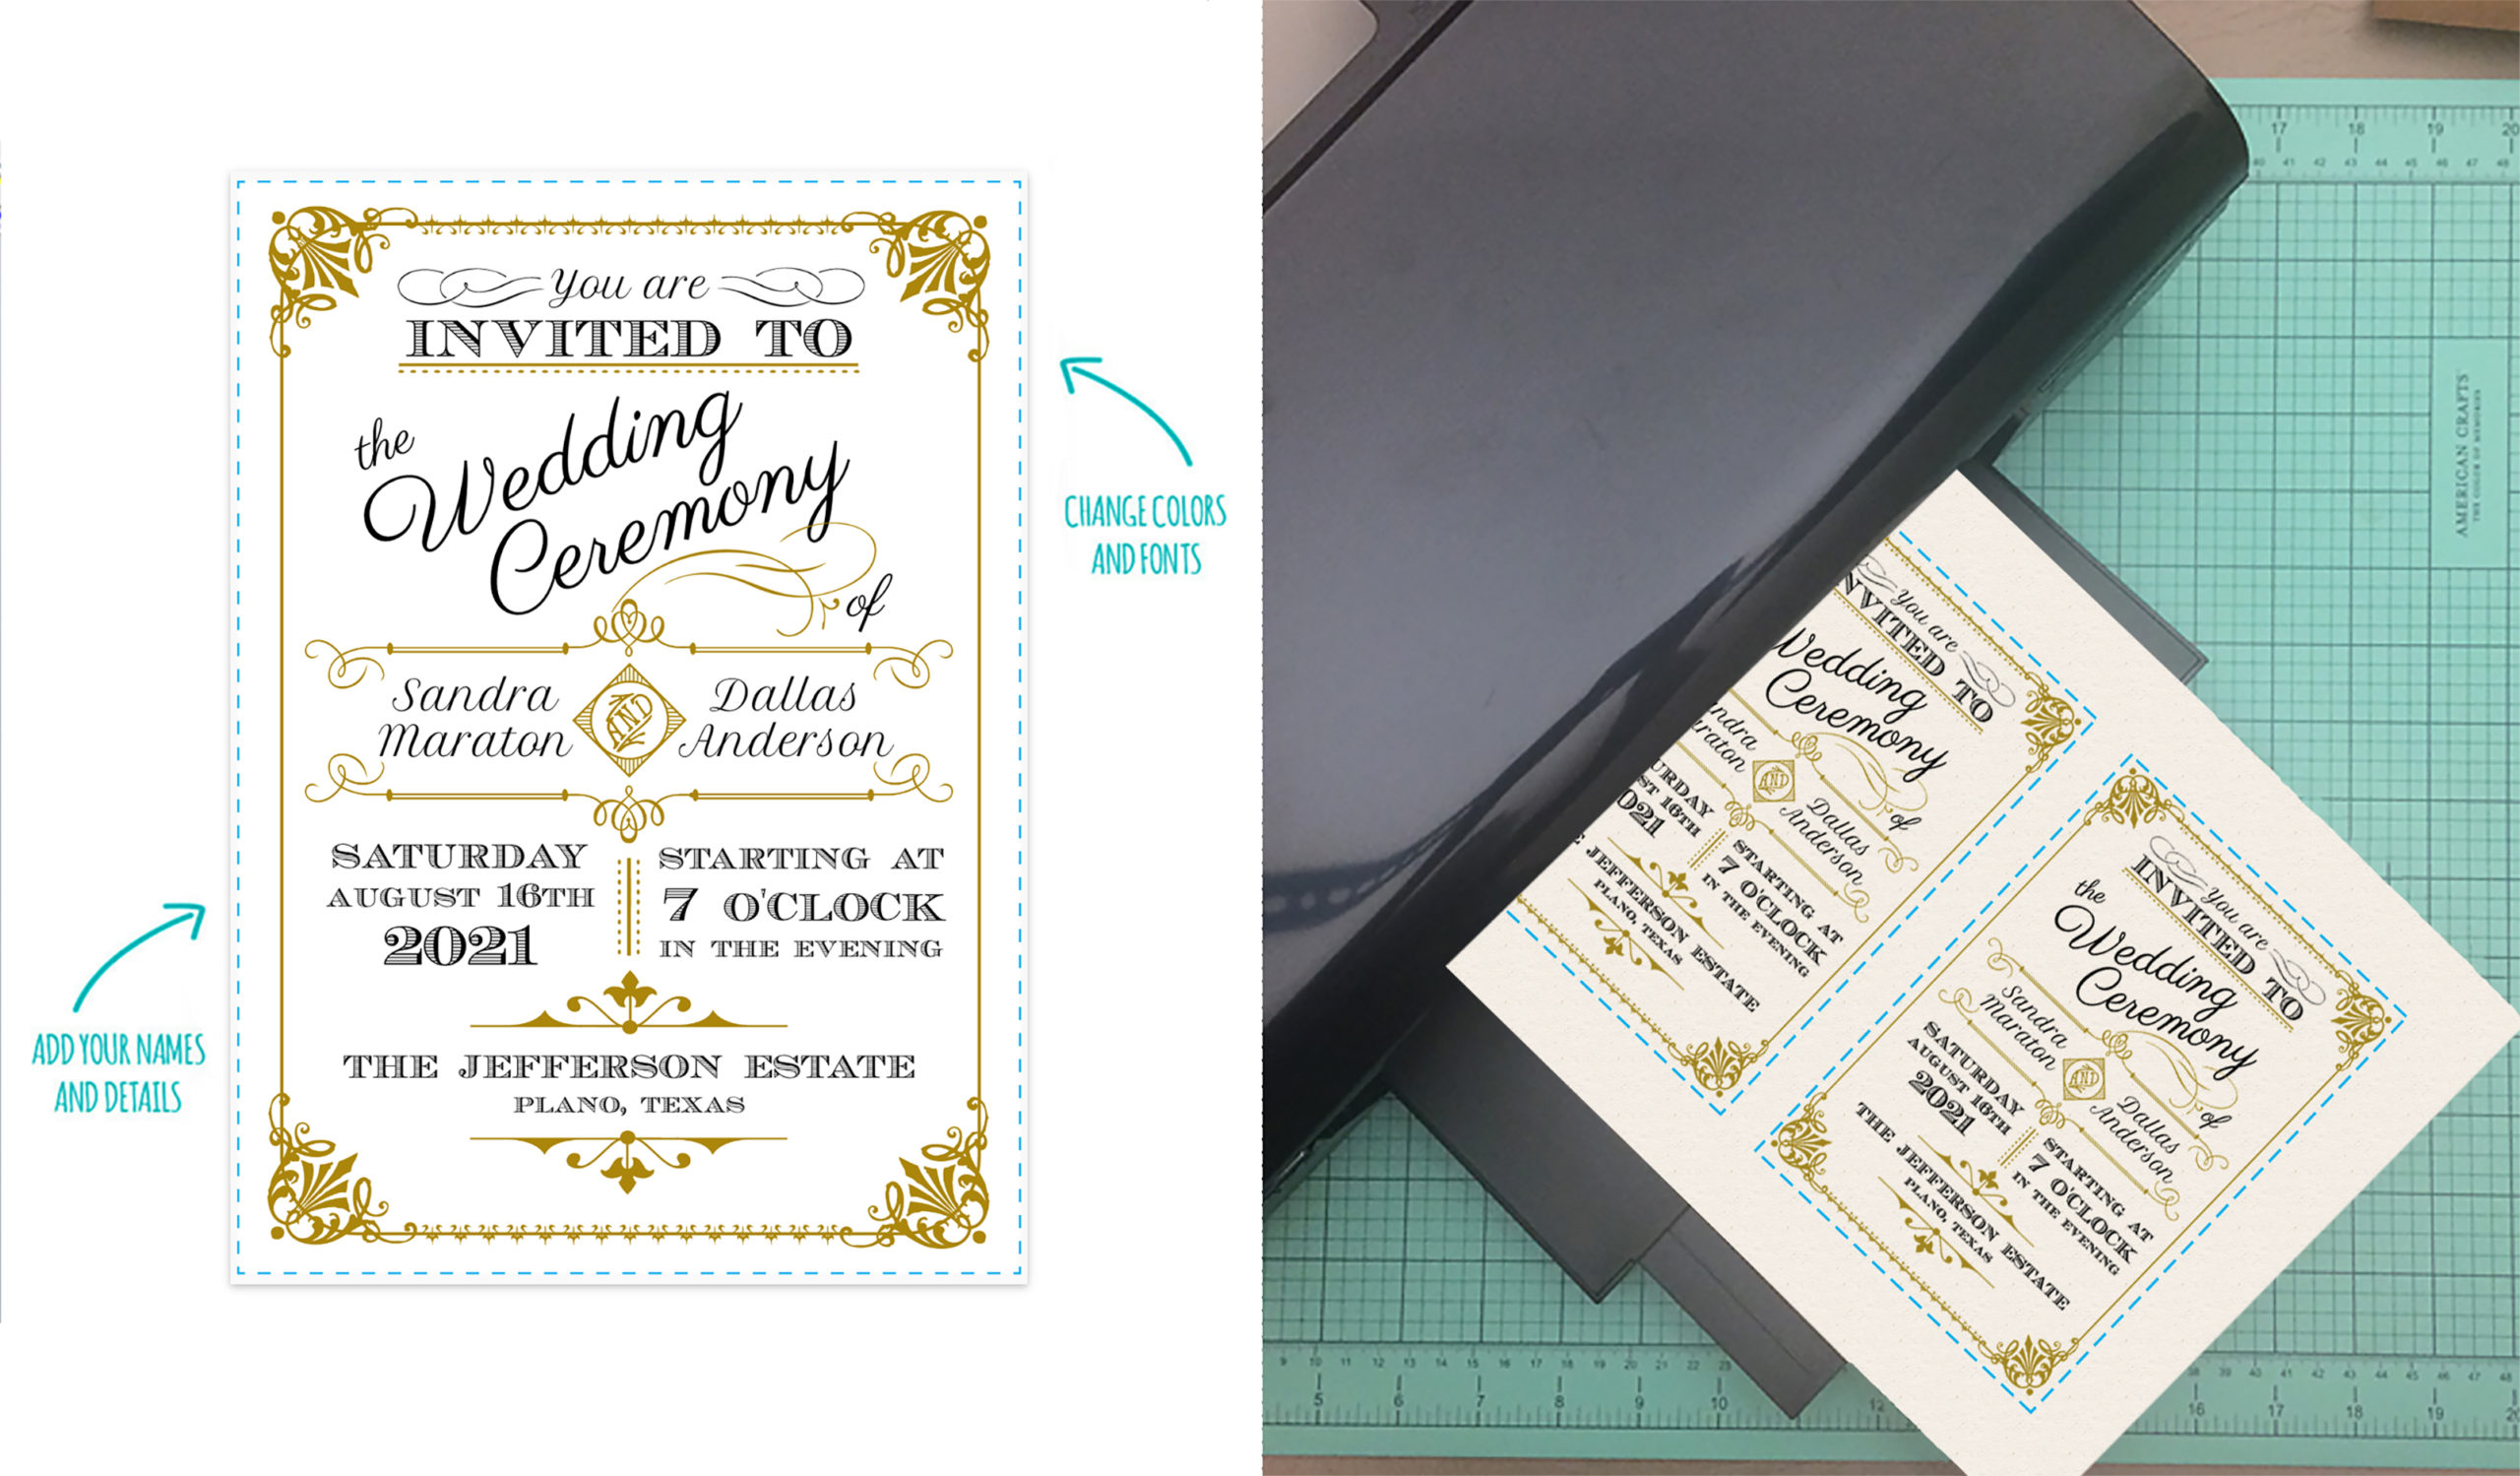
Change the colors, text and fonts. Save your changes.
Download the invitation file on to your computer. You are now ready to Print!
Double check your spelling and text formatting. Print one copy and check your spelling again!
TIP: Print one copy and check for accuracy. Have someone else check the file for correct spelling and dates. There is nothing worse than printing 100 copies to find you’ve entered the wrong date!
When choosing paper I recommend paper that is between 65 lbs and 90 lbs. This is a heavier weight than standard copy paper to give a luxurious feel, but not so heavy that it will jam your printer. You can also take the file and print at FedEx Office or your local copy shop. They will have a paper cutter on hand also to save you time on the next step.
Download FREE envelope liner > access & customize free invitation > access & customize free rsvp card >
Step 2: Trim
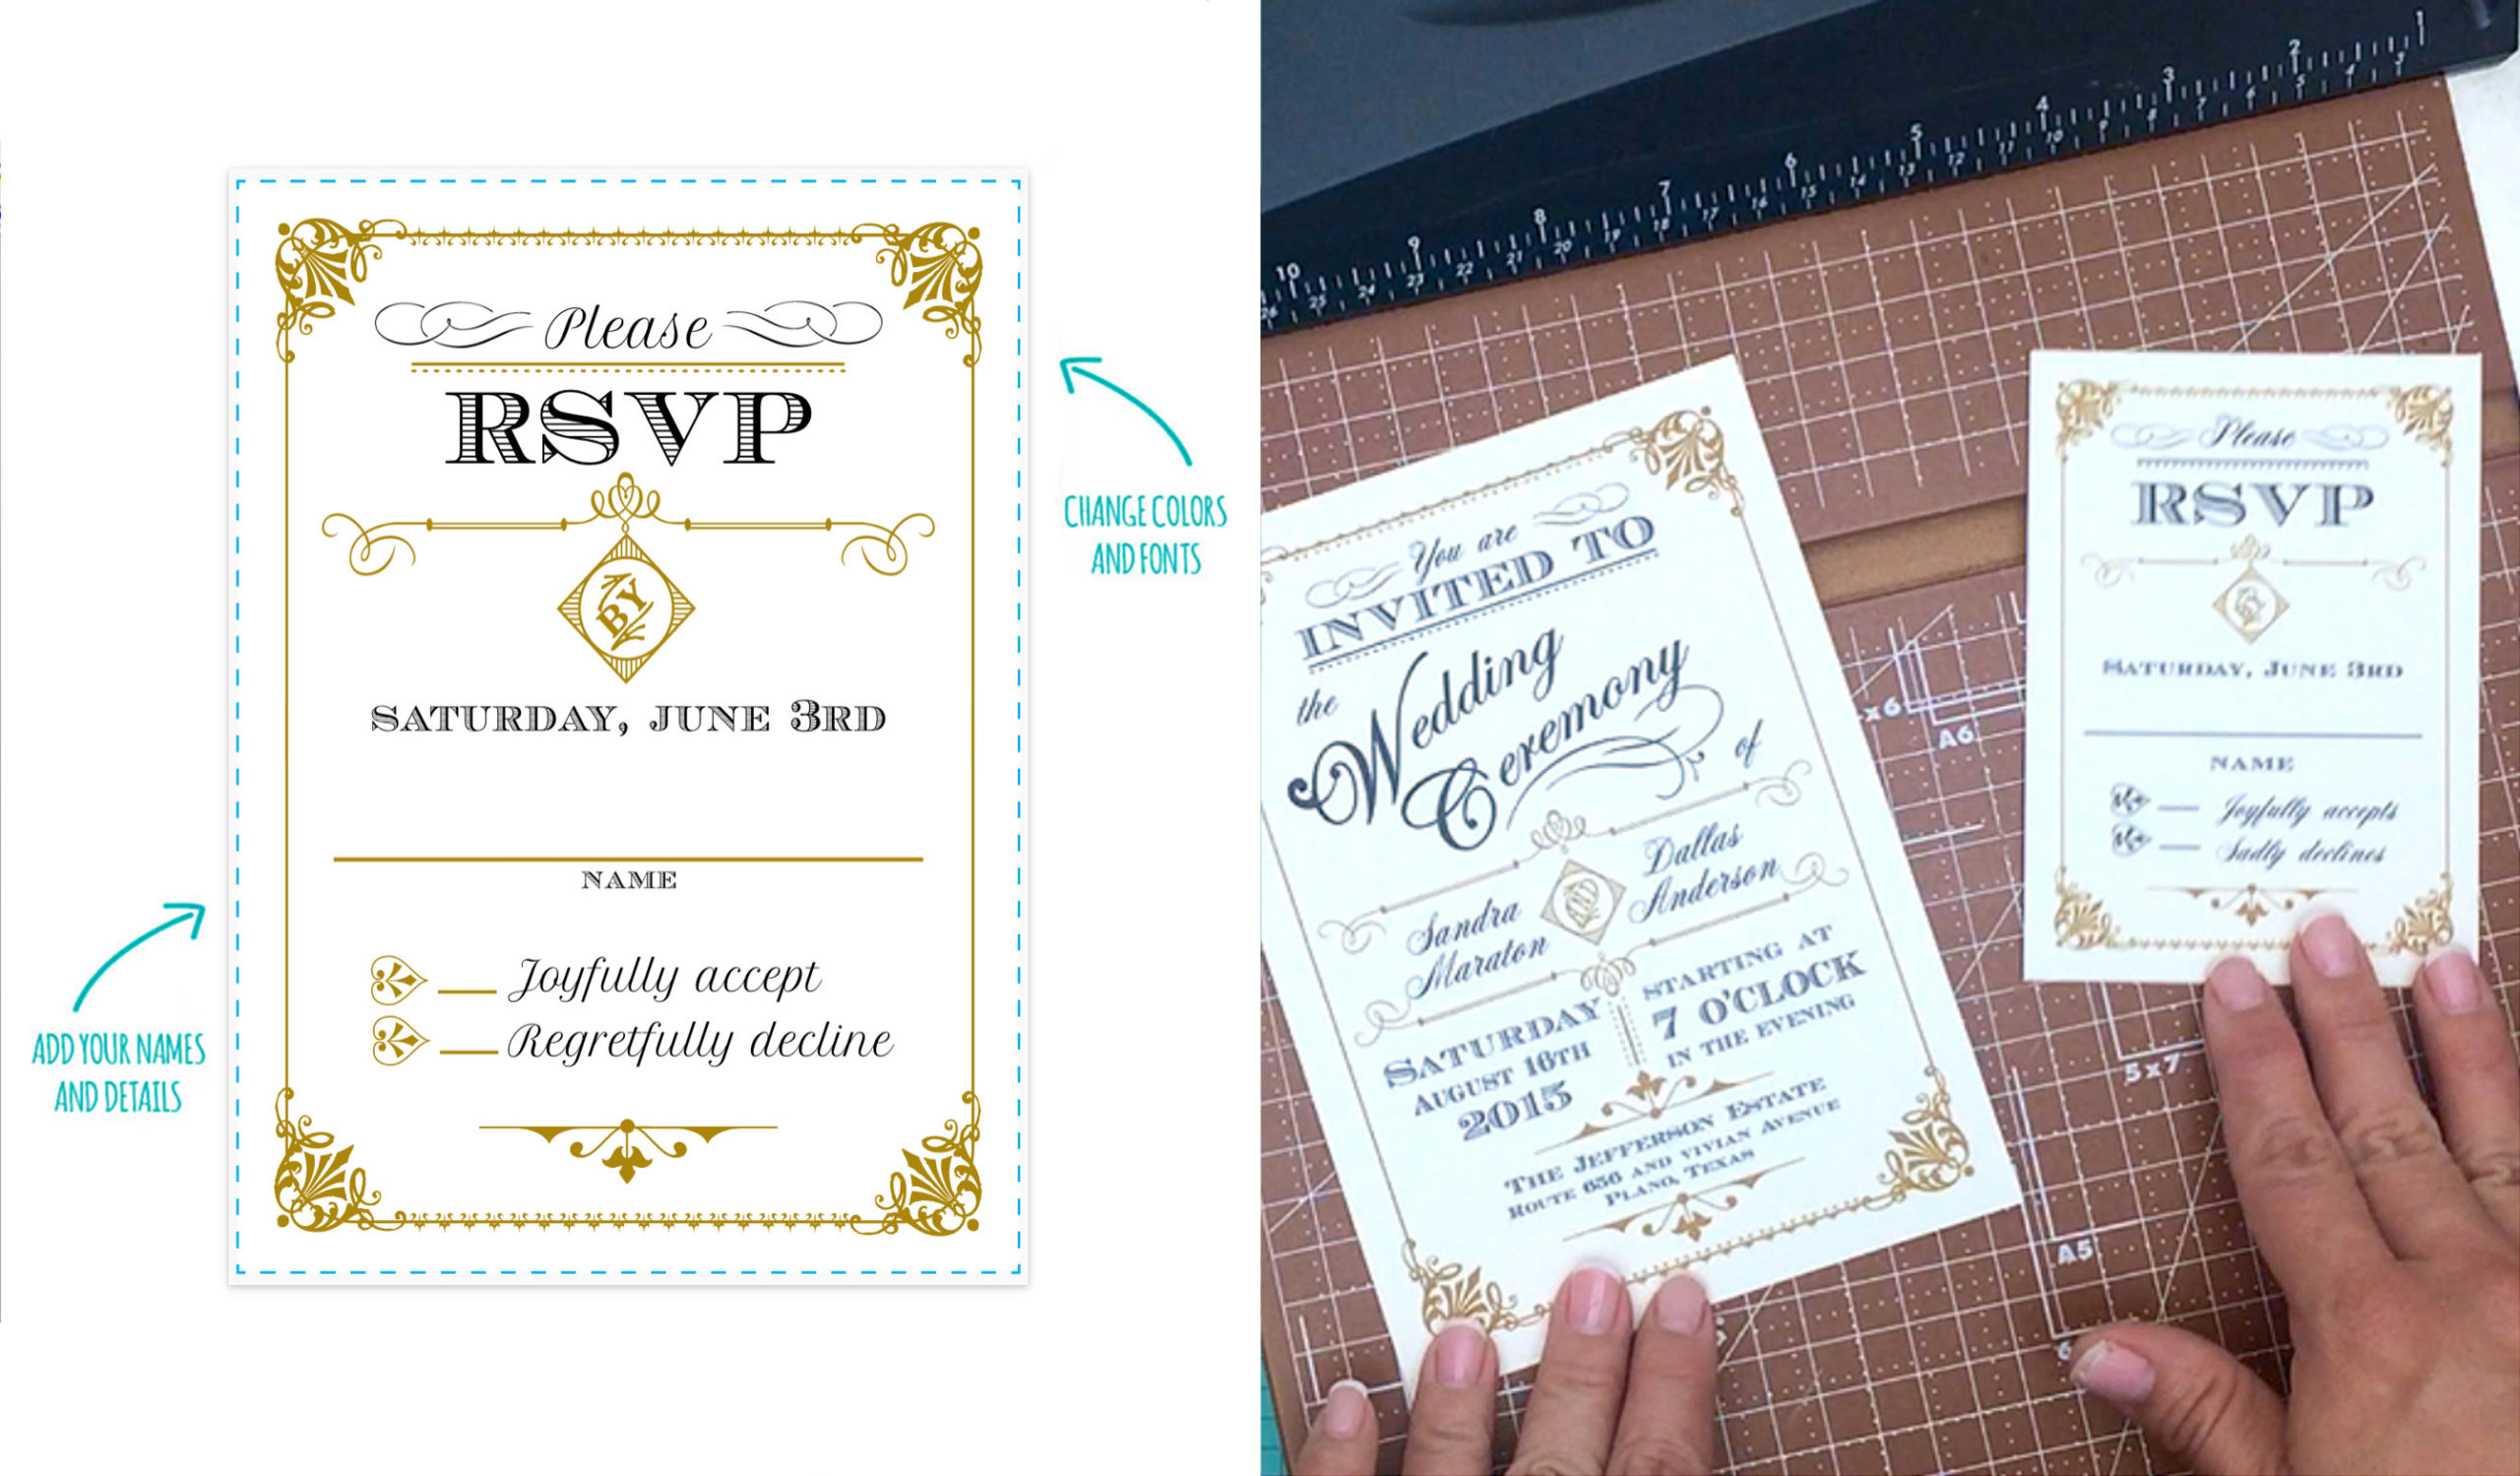
Use a paper cutter or scissors to trim along the cut lines. A paper cutter will produce straighter cuts and you can trim more than one sheet at once, speeding up the process. Plain old scissors will work just fine too though.
Step 3: Envelope Liner

Download and print the envelope liner and trim around the edge. You can use a paper cutter on the three straight edges, then scissors for the curved flap. The trick to cutting a neat curve around the point is to hold your scissors still and rotate the paper.
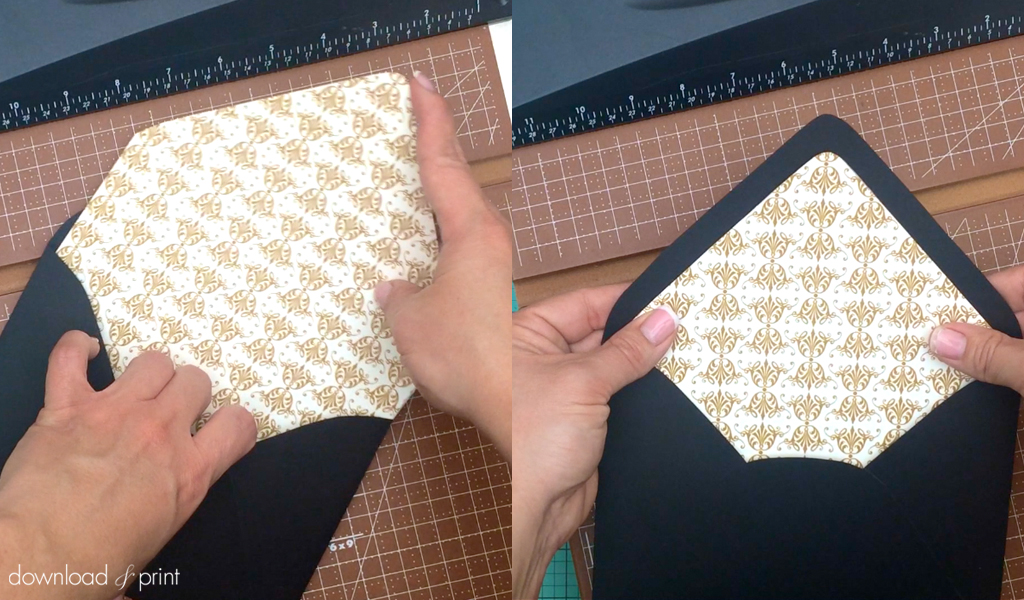
Insert the liner into an A7 euro flap envelope, lining up the top of the flap just below the envelope adhesive.
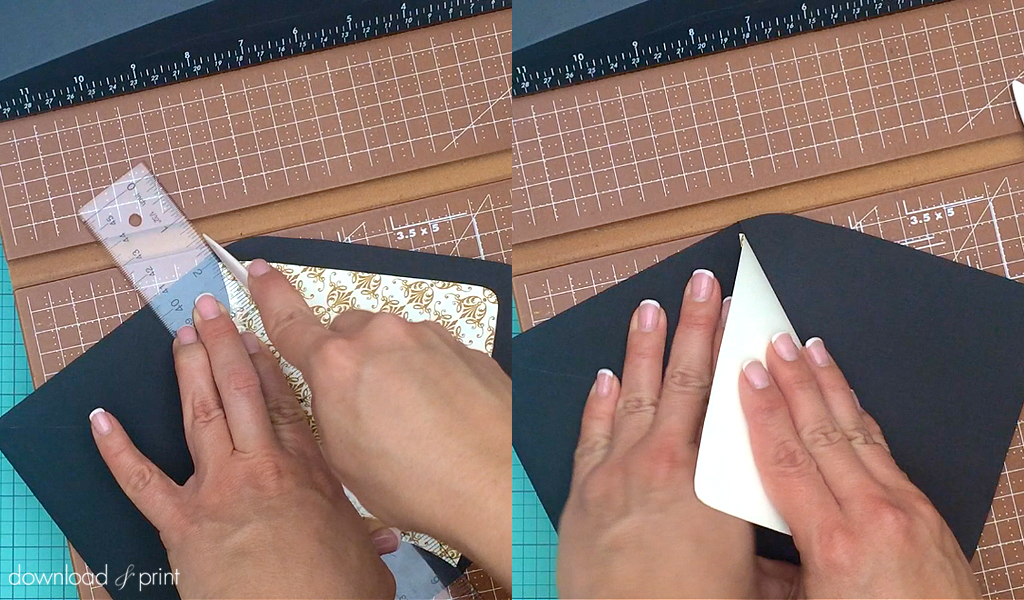
Score the liner along the same crease as on the envelope. You want the liner and envelope flap to fold together. If you don’t have a scoring tool, a closed mechanical pencil or back of a utility knife will create a crease. Just don’t use something that is sharp enough to cut the paper!
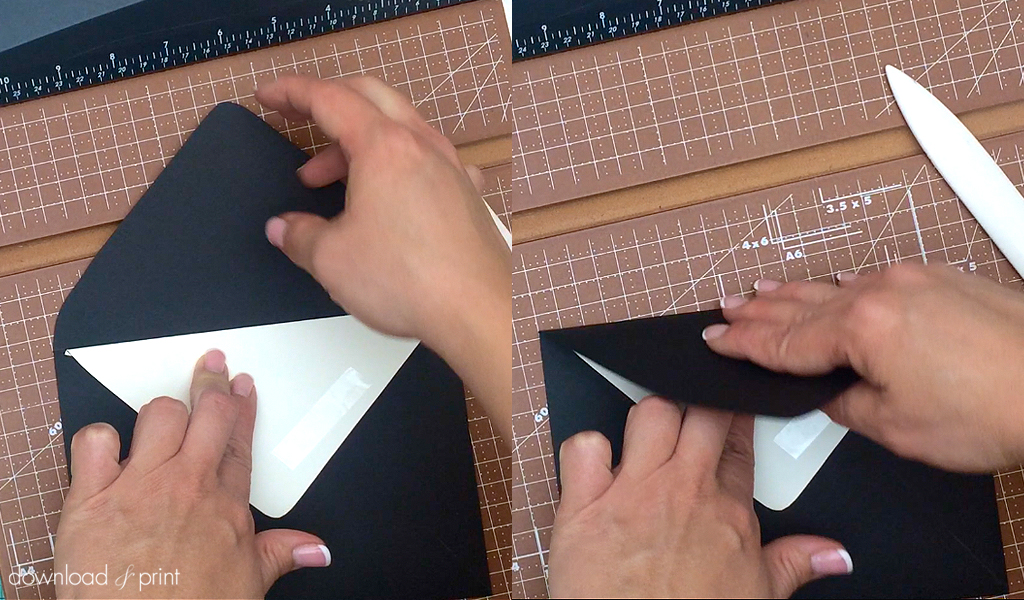
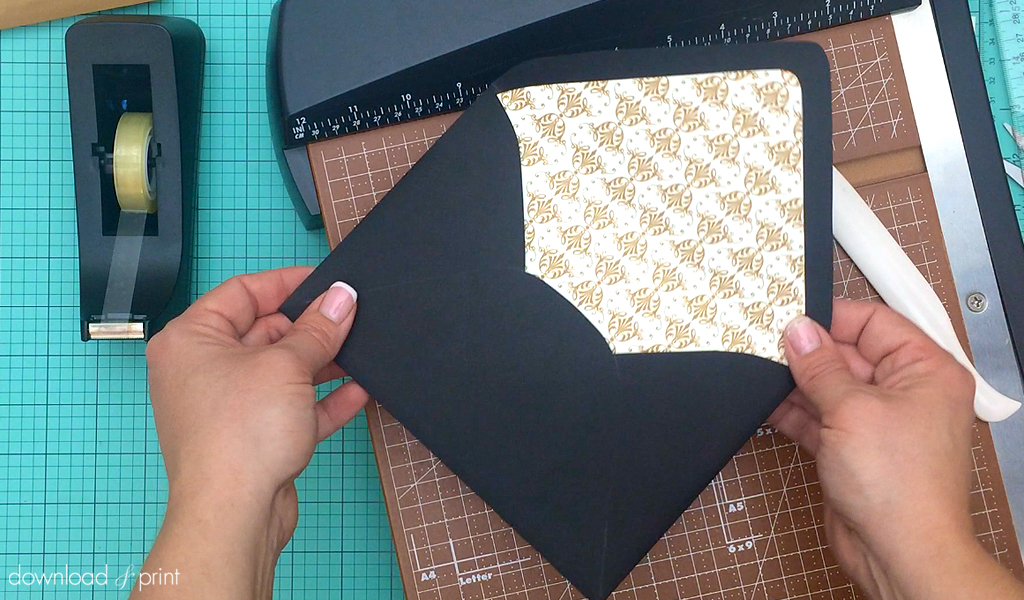
Fold the flap down and stick two pieces of double sided tape to the back. Fold the envelope flap over and push down to stick the liner and envelope together.
Step 4: Art Deco Band
And now for my favorite element to this set: The Art Deco Band!There’s no template for the band so you can change the sizes to fit your style and make the design your own. The dimensions listed below are what I used and what you see in the pictures.
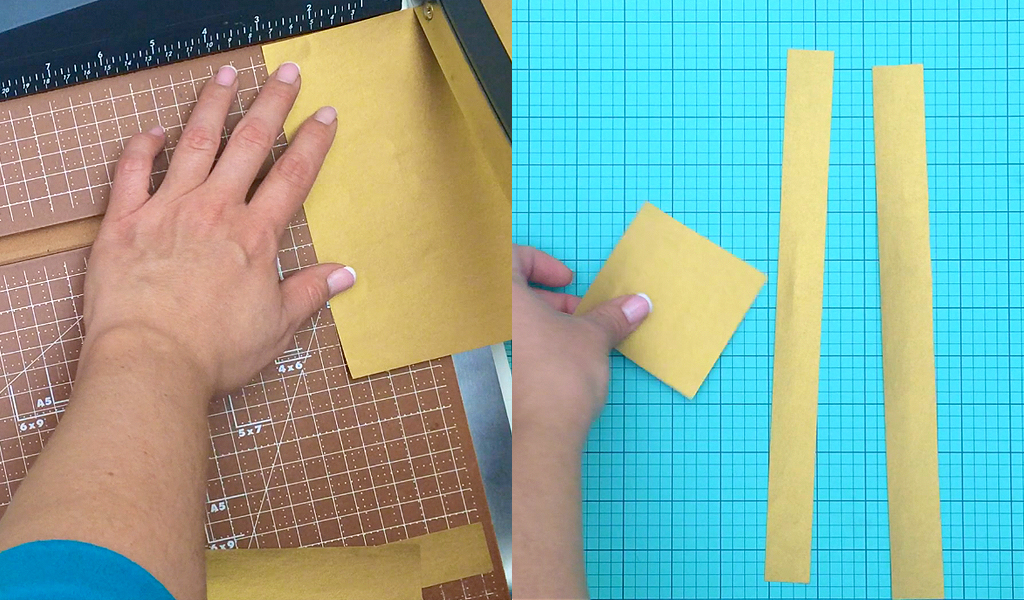
Cut 1” wide strips along the long edge of the gold paper. This forms the band that will wrap around your invitation set. I used a lighter weight paper that was easily folded around the invitation set. Cut 3” square pieces from the gold paper. We’ll fold this into the art deco badge.
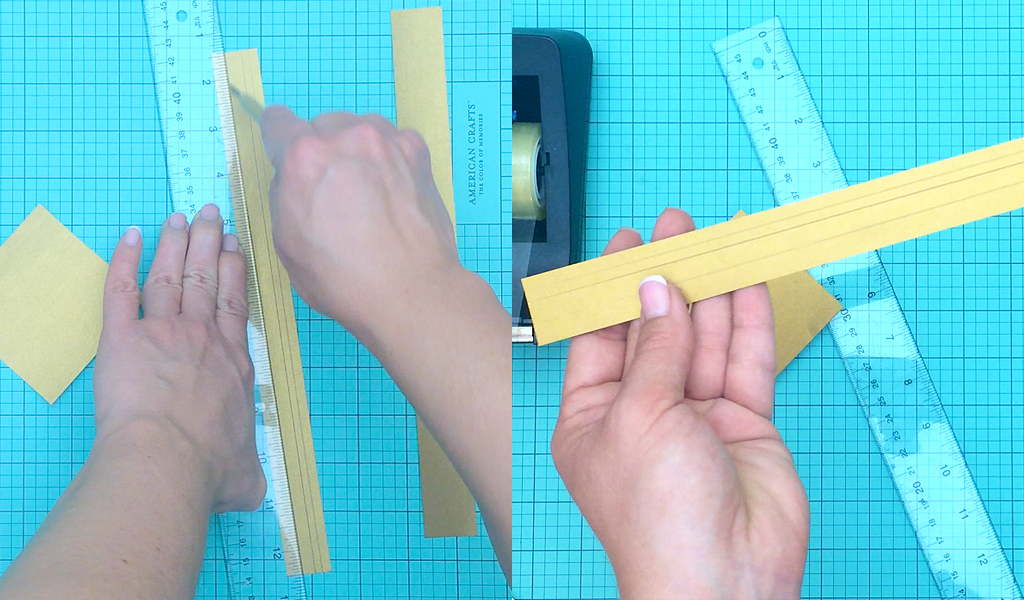
For some extra interest I used a scoring tool and created three lines along the strips of gold. This is entirely up to you though if you like the look or not, or have the time and patience to add in this step! I ran the tool along the band at random intervals, I had two lines closer together at the top, and another line near the bottom. Don’t cut the band! The scoring tool just creates an ever so slight indentation that adds interest when the band catches the light.
For the steps to create the origami art deco badge please watch the video. It’s much easier to follow along with the video than for me to try to explain all the folds here. Don’t worry though, it’s not hard to make. Just a few folds and you’re done. The instructions for making the band and badge start at 5:45 in the video.
Step 5: Assemble the Set
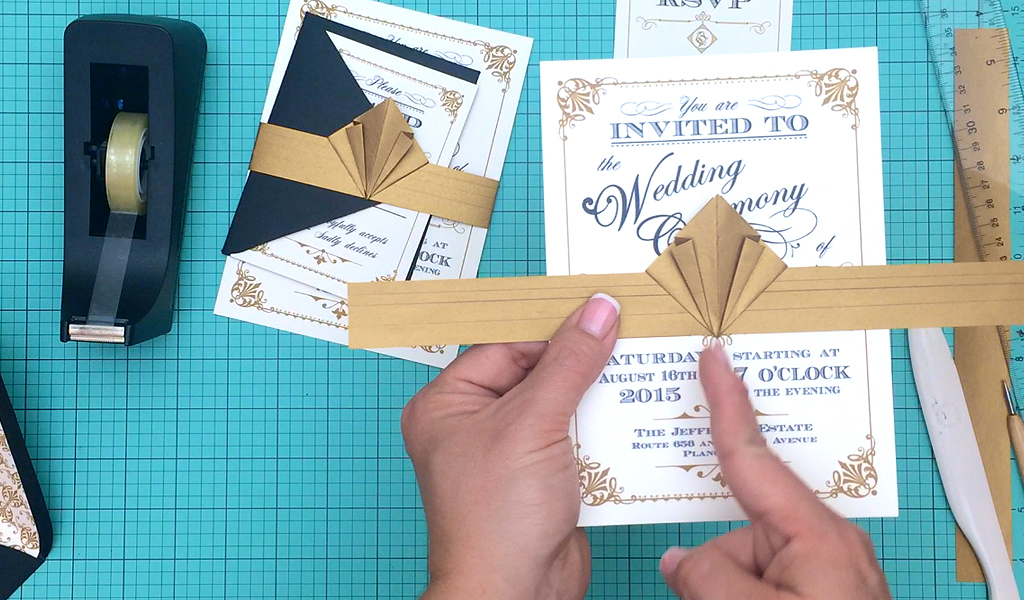
Line the bottom point of the art deco diamond with the center scroll on the DIY vintage wedding invitation and wrap around the band. Make sharp folds at the invitation edge and pull the band so that it’s snug against the invitation. Use double sided tape to adhere the band arms to each other at the back, without sticking the band to the invitation. It needs to be able to slide off easily. Slide in the RSVP with 4-bar envelope and sit them on top of the invitation. The set is now ready to stuff in the A7 envelope and mail.
MORE DIY VINTAGE WEDDING INVITATIONS YOU MIGHT LIKE:
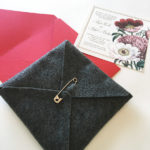
Felt Pochette with Vintage Flowers
View Tutorial
Embossed Vintage Monogram
View Tutorial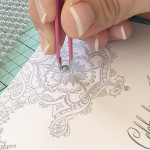
Vintage Pearls and Lace Invitation
View Tutorial
(Although all the products listed in this tutorial are products we personally use, Download & Print will be compensated if you make a purchase through some of the links provided.)