
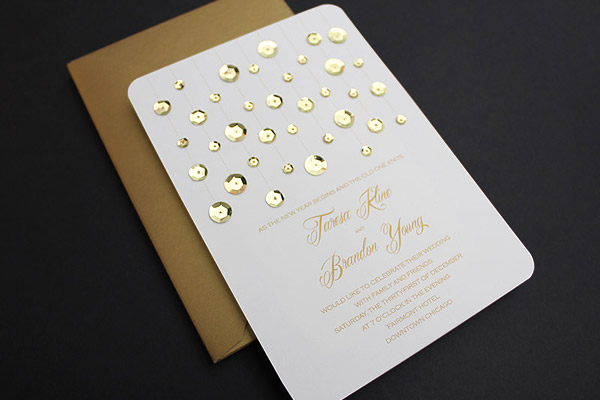
Today I am sharing a very sparkly and glamorous invitation. I call it Glam Gold, and the inspiration came from the chandelier at the Winspear Opera House in Dallas. This short video shows the chandelier in its full glory. The invitation would also work well for a black tie ball, birthday party, or even Christmas if you change the sequins to white to look like snow, or red and green to look like Christmas ornaments. The possibilities are endless. Follow along with the steps below to create this very glamorous invitation for yourself.

Supplies:
- Invitation template
- White card stock
- A7 Envelope in Metallic gold
- Printer
- Microsoft Word
- Scissors or paper cutter
- Tacky Glue
- 10mm, 8mm, and 5mm gold sequins
- Corner rounder (optional)
Step 1: Download and Print
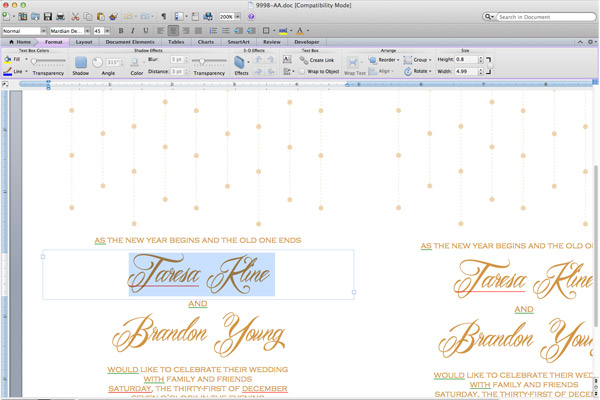
Download the template files and open in MS Word. Add your wedding details and print with your home color printer. The script font used in the template sample is Mardian and the information text is Copperplate Light, both of which are available to download for free. If you do not have these fonts installed on your computer Word will substitute different fonts. You can pick any fonts that you like.

The template yields two invitations per page.
TIP: Print one copy and review your text to check for spacing, punctuation, and spelling errors. Get a second set of eyes to look at your draft as there is nothing worse than printing 100 invitations to find a spelling mistake!
Step 2: Trim
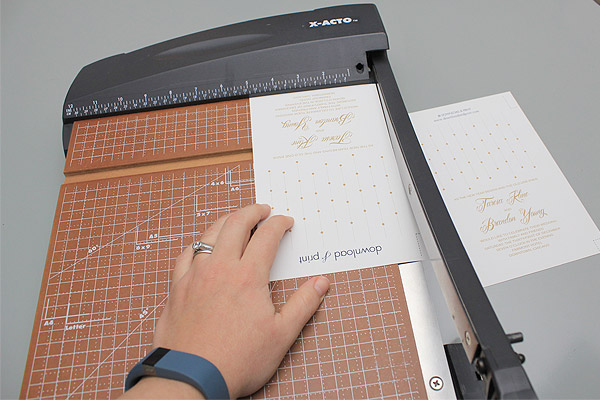
Using your paper cutter or scissors, cut each invitation along the trim lines. A paper cutter will produce cleaner cuts and will save time, but scissors will work just fine.
I also used a corner rounder to round the corners.
Step 3: Glue
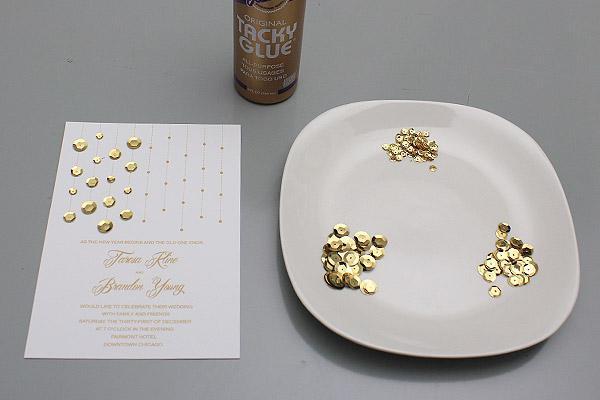
Using the dots on the invitation as a guide, glue on gold sequins. Place a dot of glue on each dot on the invitation and press on a sequin. I found working four rows at a time was most efficient. I dotted four rows with glue, and then pressed on the sequins before moving to the next section. As I’m right handed I worked left to right to avoid dragging my hand through the glue.
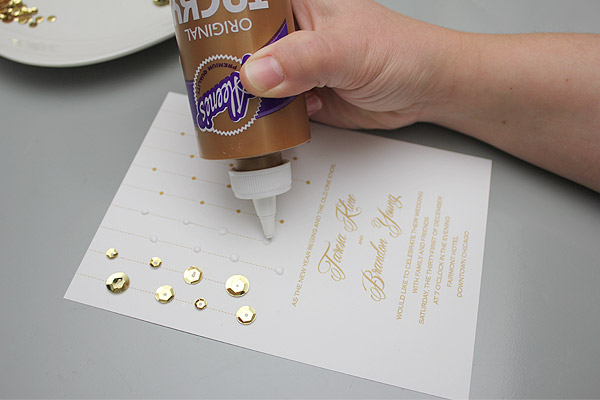
Create a random pattern with the 10mm, 8mm, and 5mm sequins. Don’t panic if your glue dots are different sizes or you get glue “strings”. The glue will dry clear. Allow 24 hours dry time.
After the glue is completely dry the invitations are ready to be stuffed and mailed.