
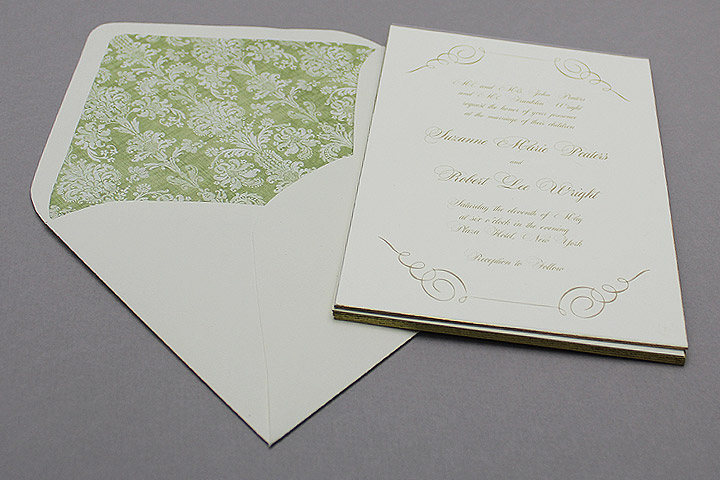
If you are like me and want to dine at the Ritz, but your budget doesn't stretch much past Mom's Cafe, this invitation and tutorial will be right up your alley. It's a gilded gold edge invitation that is 100% opulent, and 0% of a bank breaker. I will show you how to turn our Gold Scroll template into a luxuriously thick, double sided, perfectly coordinated wedding invitation. You choose the paper for the back of the invitation (and envelope liner if you want to earn bonus craft points), so pick your favorite scrapbook paper, wrapping paper (what a money saver), or wall paper, and craft away with the tutorial below.
Supplies:
- Printable template file
- Card stock in cream or ivory, or see tip below
- Printer
- Microsoft Word
- Paper trimmer
- Spray adhesive (I used 3M Super 77)
- Old box
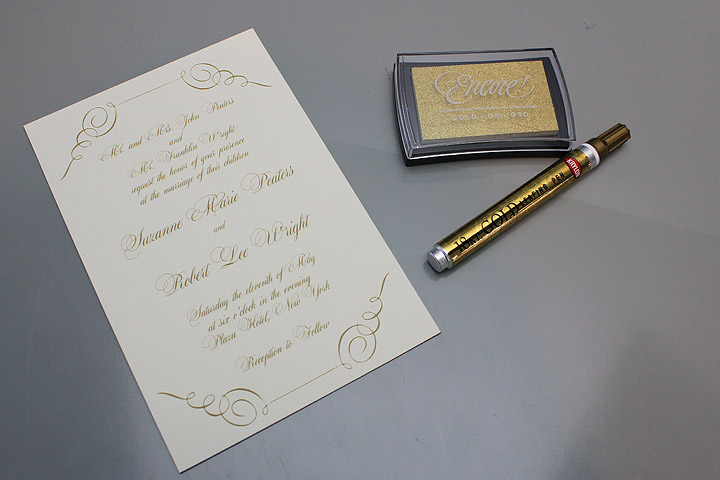
- Patterned paper in a color that matches your wedding - wrapping paper, wallpaper, or scrapbook paper would all work well
- Coordinating A7 envelope
- Gold leaf paint pen (14c Gold from Krylon) OR
- Gold ink pad (I used Encore Ultimate Metallic Gold)
Step 1: Download and Print
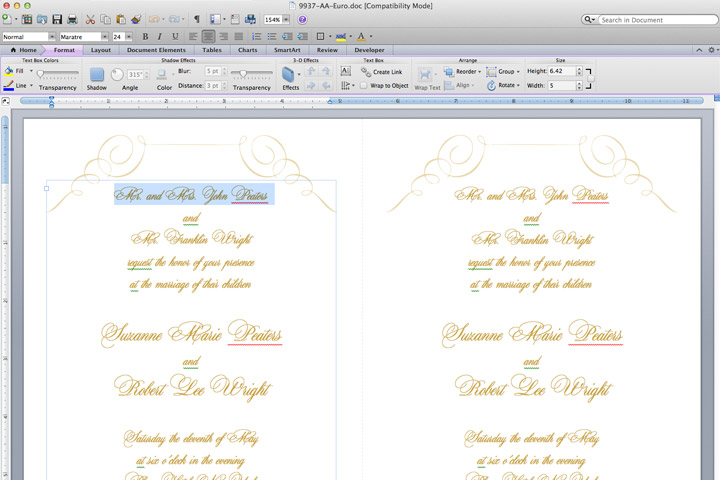
Download the template file, add your wedding details in MS Word, and print on white or cream card stock.
Step 2: Trim
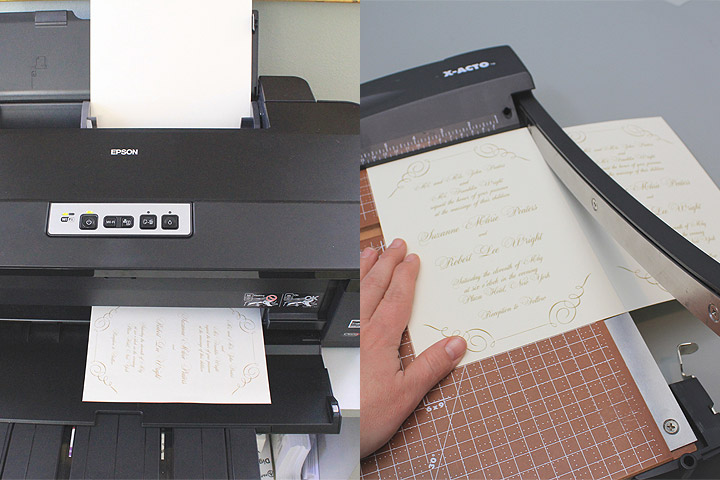
Trim along the template cut line with a paper cutter or scissors.
Step 3: Cut Chipboard and Decorative Paper
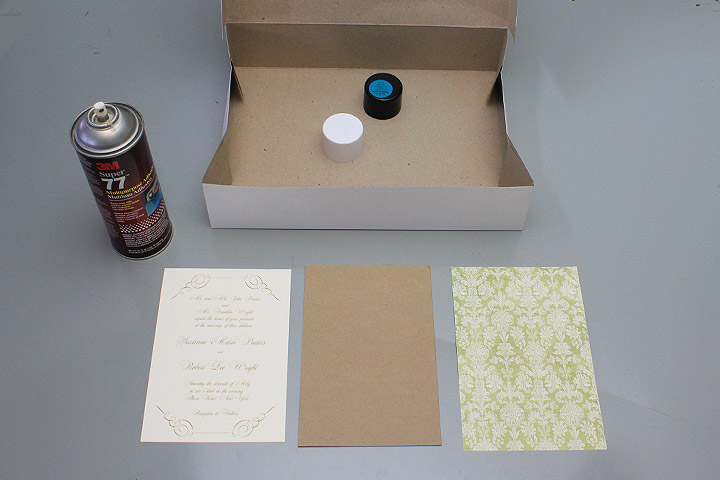
Cut a rectangle of chipboard and decorative paper slightly larger than the invitation. Make sure you have enough to go with each invitation.
TIP: A paper cutter will produce straighter cuts and will be faster as you can cut more than one sheet at once, but regular old scissors will also do the trick.
Step 4: Glue Invitation
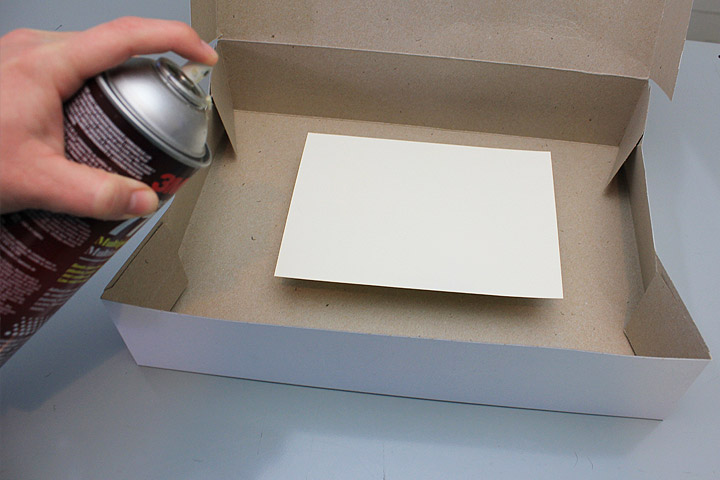
Now the fun begins. Spray adhesive onto the back of the invitation in a well ventilated area, using an old box to catch the over spray. Immediately adhere the invitation to the chipboard and smooth with your hands.
TIP: I like to place the invitation on the lid of the spray adhesive so that the invitation is raised off the box, and can easily be moved after coating.
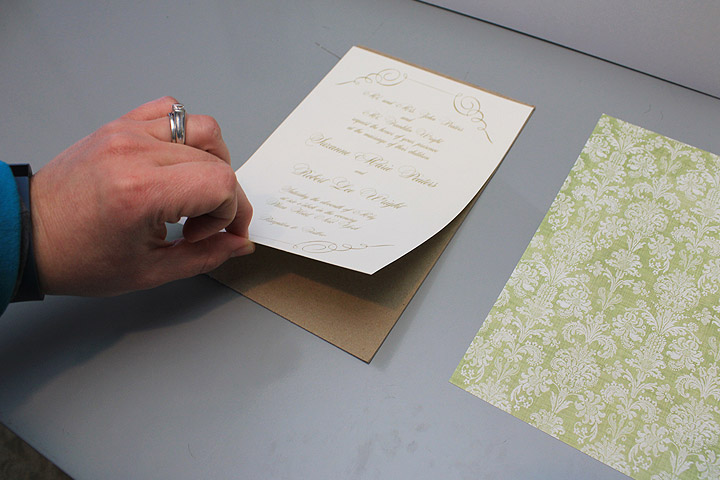
Step 5: Glue Decorative Paper
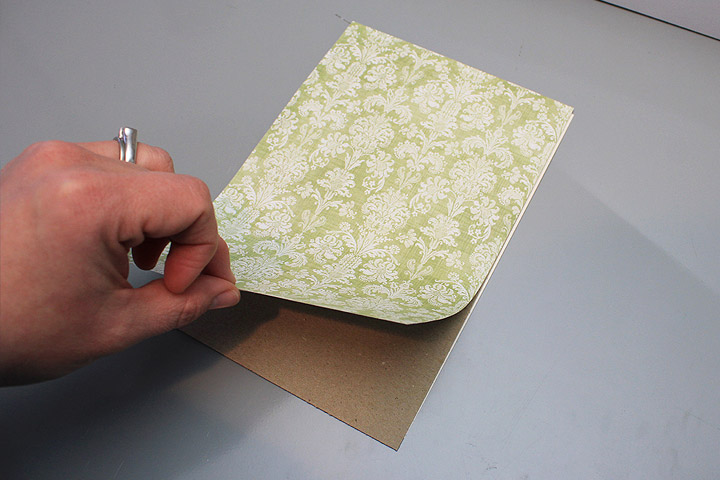
Using the same spray technique, cover your patterned paper with adhesive and immediately glue to the other side of the chipboard.
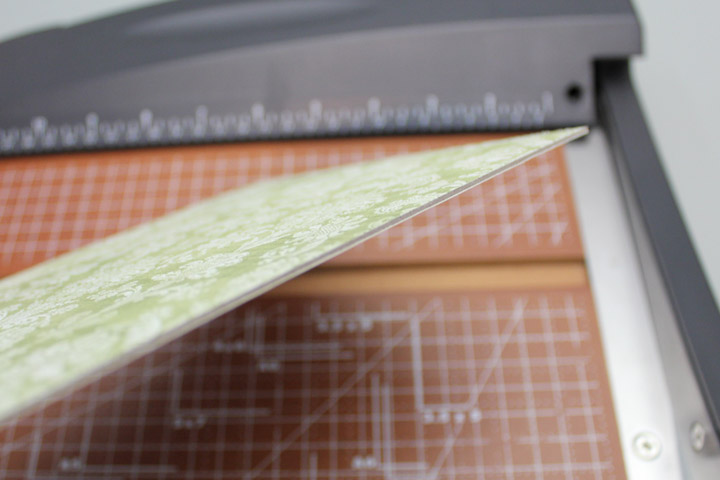
Step 6: Trim
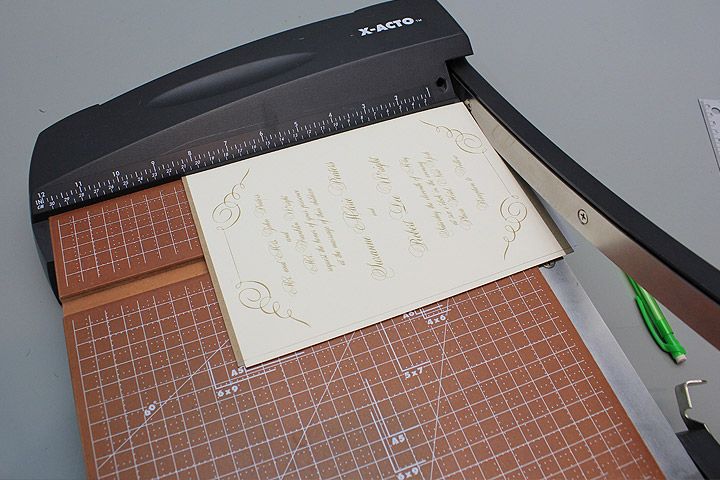
Now that you have a sandwich (invite, chipboard, and pattern paper), do a clean up trim on the paper cutter. I found it helpful to use a ruler and pencil to mark the edge before cutting. It is important that all three layers line up perfectly for the gilded edge to have the most impact.
Step 7: Gild the Edge
There are two methods to apply the gilded edge; paint pen or ink pad. I prefer the ink pad technique.
Paint Pen
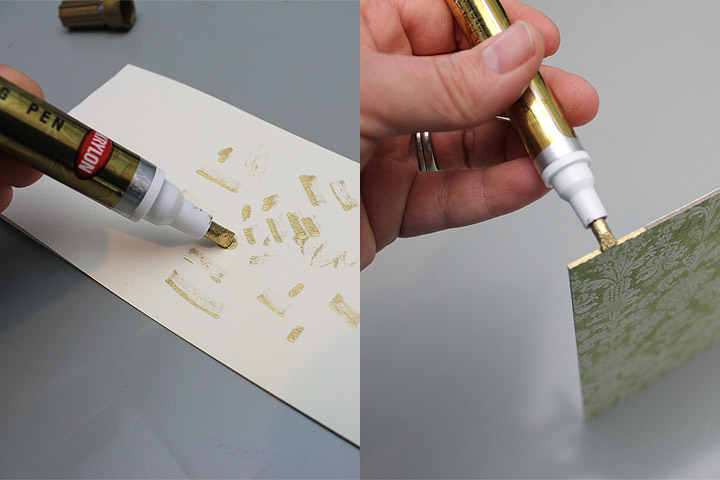
If you choose to use a gold paint pen, pump the pen first onto a sheet of paper to get the paint flowing. Mark along the edge of the invitation with the pen, making sure you get solid coverage on all four edges.
Ink Pad
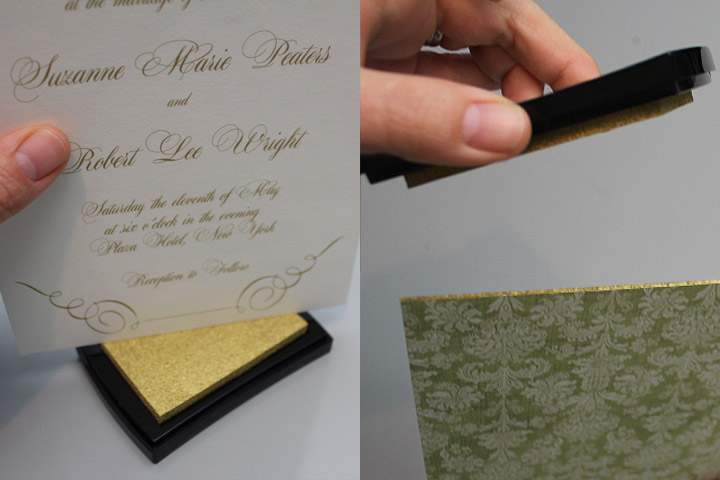
If you use a gold ink pad, in a blotting motion tap the pad to the edge of the invitation. It takes a few taps to get solid coverage.
TIP: If you really want to go to craft town, make coordinating envelope liners out of your decorative paper. For a free envelope liner template and instructions on how to create this easy craft, view my post here.