
Wow. Do I have a doozy of a DIY for you today. It's unique, sophisticated, so so pretty, and really easy to put together.
Sometimes in life you just nail it. That's today's DIY. I want to shout from the top of a mountain, "Look at this!".
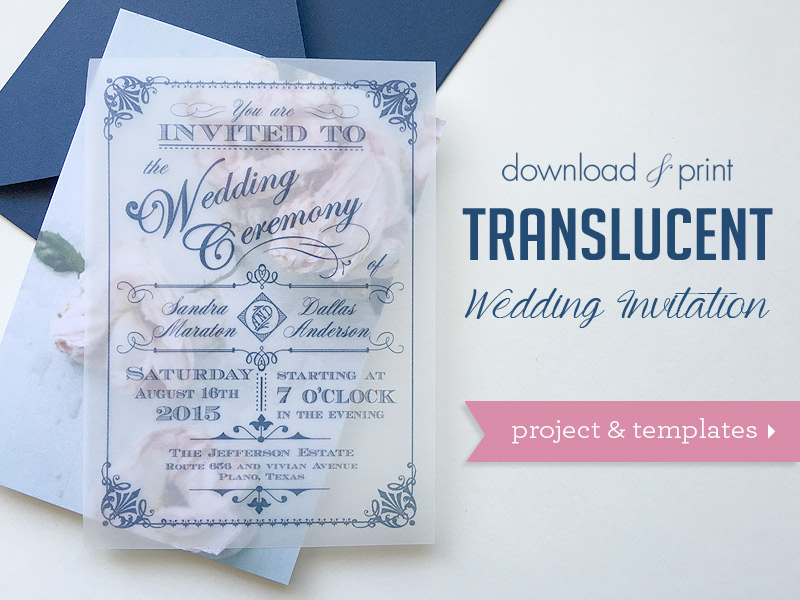
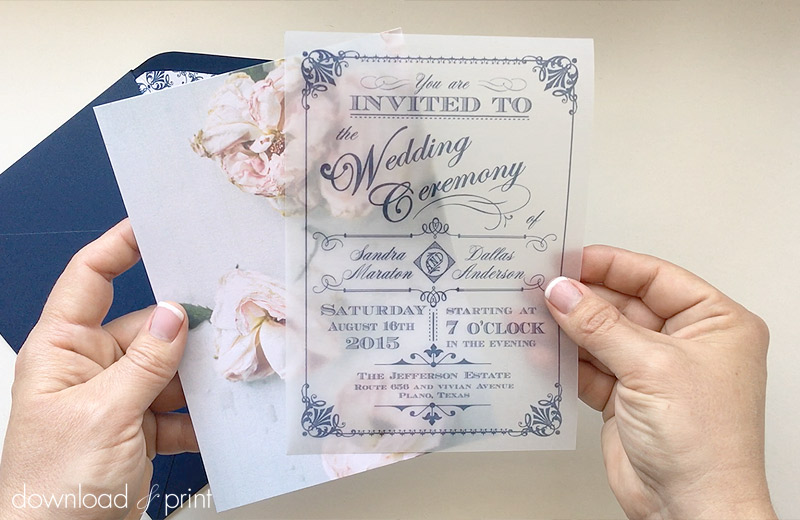
I know, I know... it's "just" a wedding invitation. Well I like to celebrate successes big and small, and this translucent invitation is most definitely a success.
The invitation is printed on gorgeous, shimmering vellum paper. A beautiful rose peeks through the translucent vellum, it's almost ethereal.
I found the rose image on Unsplash, an amazing resource of free (do whatever you want) high-resolution photos. If roses are not your vibe, find awe inspiring landscapes, architecture and botanical images to use with this project, and create an entirely unique look for your stationery. The rose image I fell in love with is from Russian photographer Daria Shevtsova.
If DIY's typically aren't your thing, this is the time to break out of your comfort zone and take a peek at the tutorial below. On a scale of 1 to 10 the crafting skills required are a 1, it's really that easy. And I think you'll agree the resulting invitation is truly breathtaking.
I've paired the rose background with our Ornate Vintage invitation in navy. It's got vintage charm and plenty of white space to let the background shine through.
View the ornate vintage Collection >
SUPPLIES:Download Rose Template
- Vellum paper
- Customize Free 5 x 7 Invitation
- Paper trimmer or scissors
- Printer
- Navy A7 envelopes
Step 1: customize online, save, Download & Print
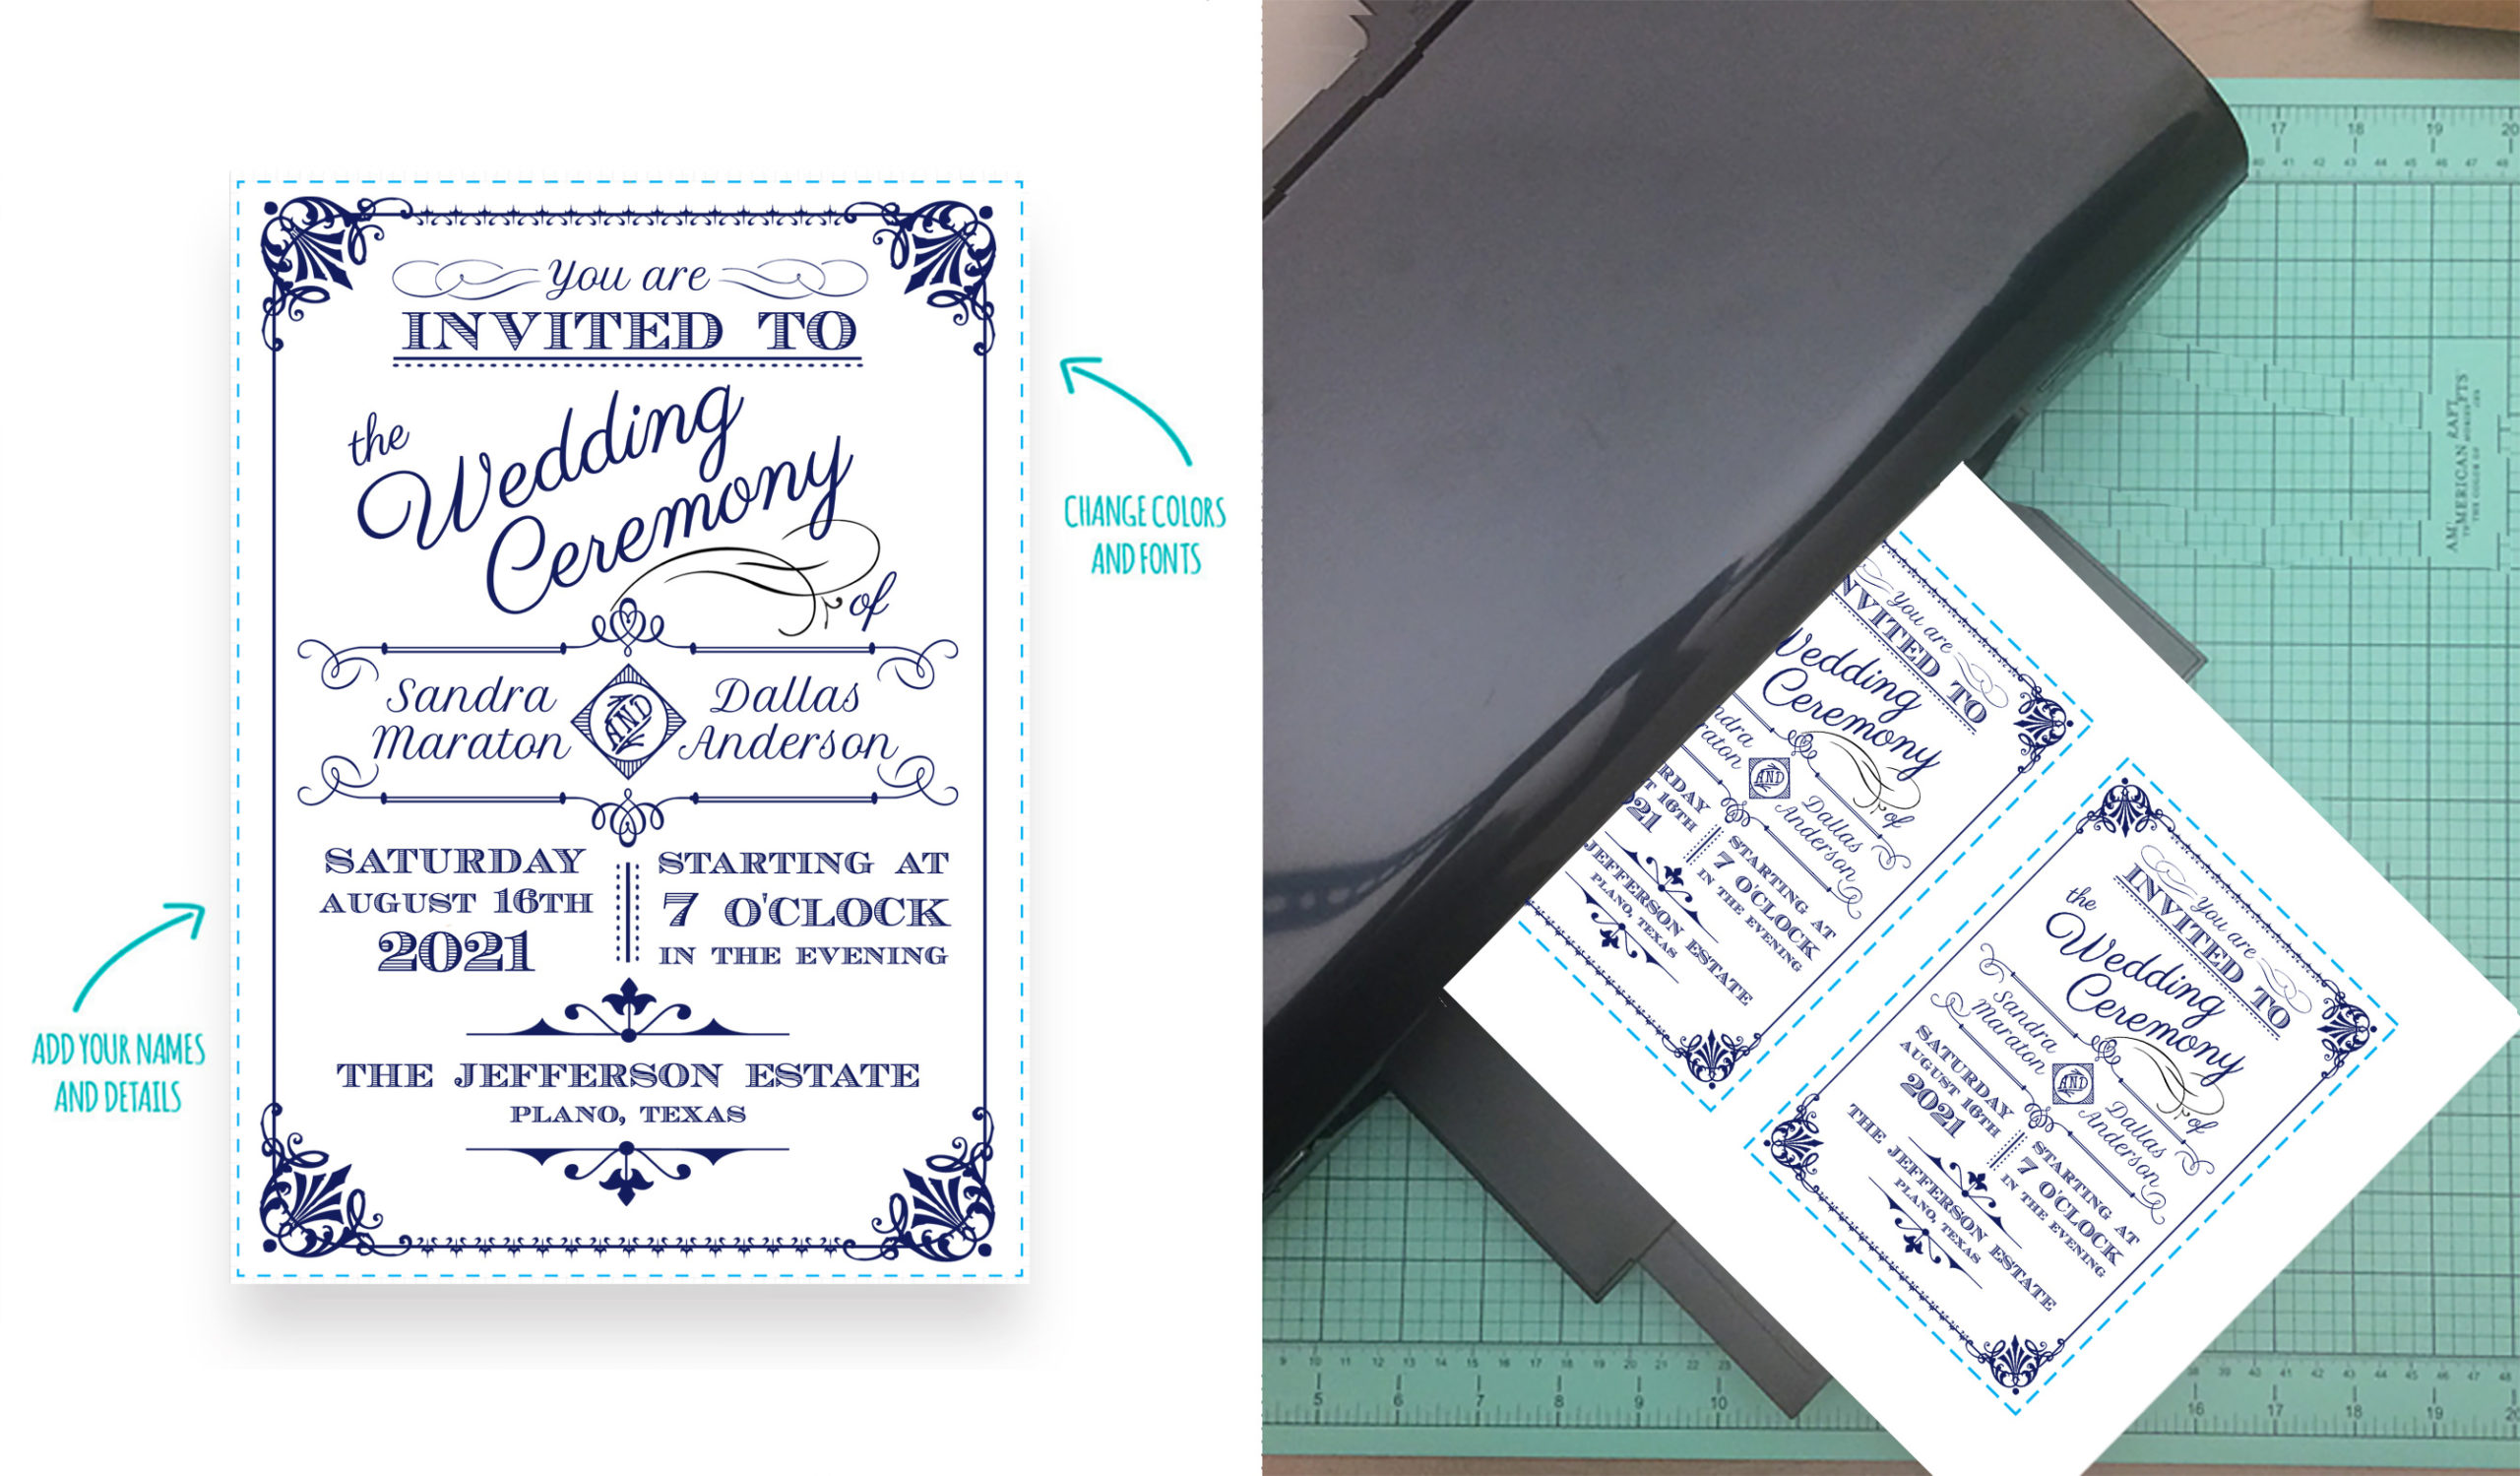
Customize the Ornate Vintage invitation online and change the color, fonts and text. Save your changes before downloading on to your computer.
Check and double check your spelling, dates and formatting. I recommend printing one copy, get another set of eyes on your invitation to check again for errors before committing to print them all.
Print the invitations on vellum paper.
If your printer has trouble with the vellum, try folding a thin piece of tape along the lead edge of the paper. Your printer may be able to better pick up the tape than the slippery paper. If your printer still proves fickle try taping a regular sheet of paper behind the vellum, again placing the tape along the lead edge of the paper. You can remove the tape and regular paper once the vellum is printed.
View the ornate vintage Collection >
Step 2: Print Rose Background
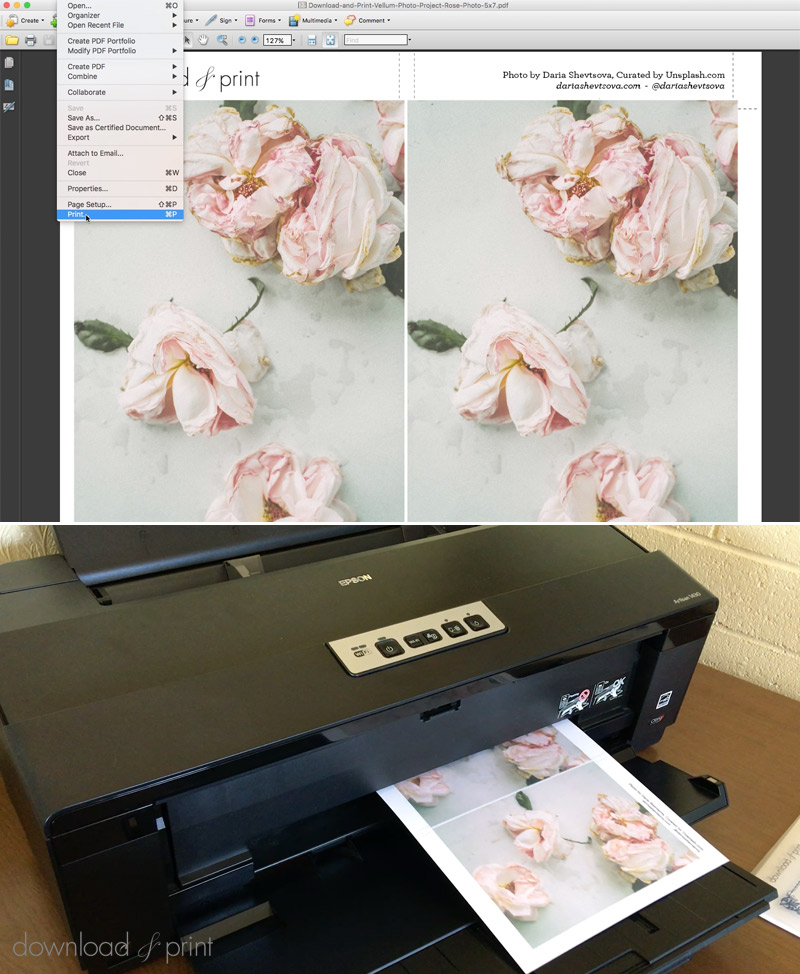
Download the free rose printable background and print on 8.5 x 11" card stock. Choose a heavy card stock to give your invitations form. Just make sure the paper isn't so thick that it jams your printer. Your printer should be good with any paper between 65 lbs and 90 lbs.
PRO TIP: You can also print the templates on A4 paper.
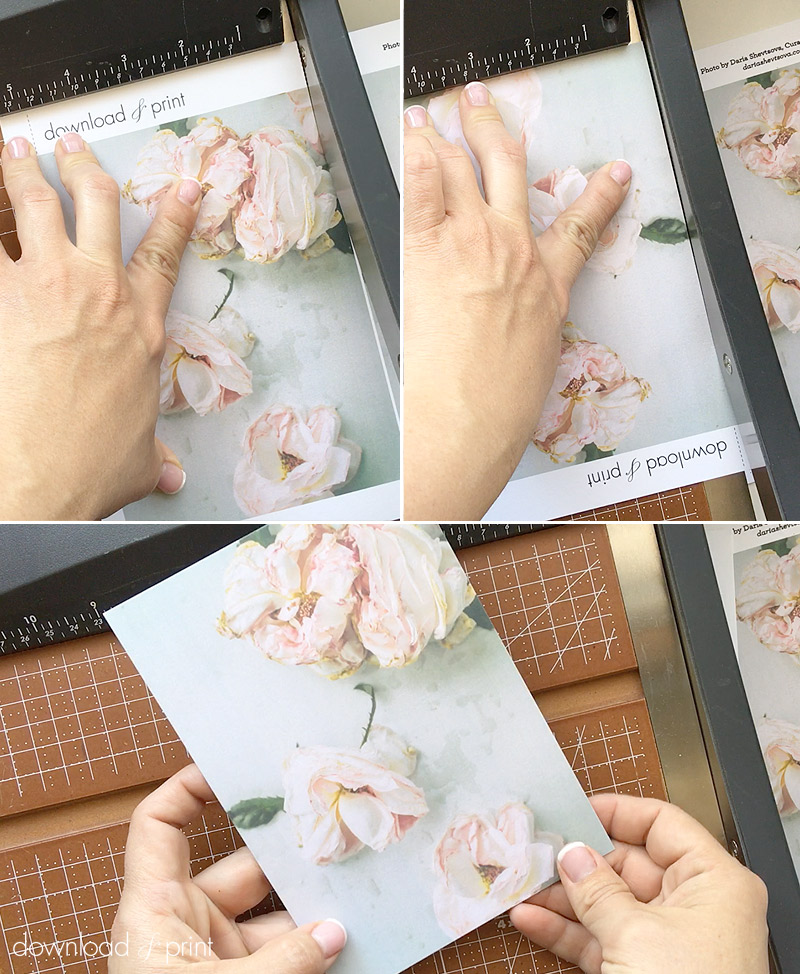
Step 3: Trim

Trim the vellum invitation and rose background along the dotted lines. The finished invitation size is 5 x 7".
I find this step goes quicker with a paper trimmer and I get straight cuts, however you can use scissors or an X-acto knife and ruler.
Step 4: Assemble
Layer a vellum invitation over the rose background. *Gasp* It's so pretty!
With template love,

(Although all the products listed in this tutorial are products I personally use, I will be compensated just a tiny bit if you make a purchase through some of the links provided. Thanks for supporting small biz!)