
Polka dots are fun. That's about all I need to say before I launch into this tutorial!
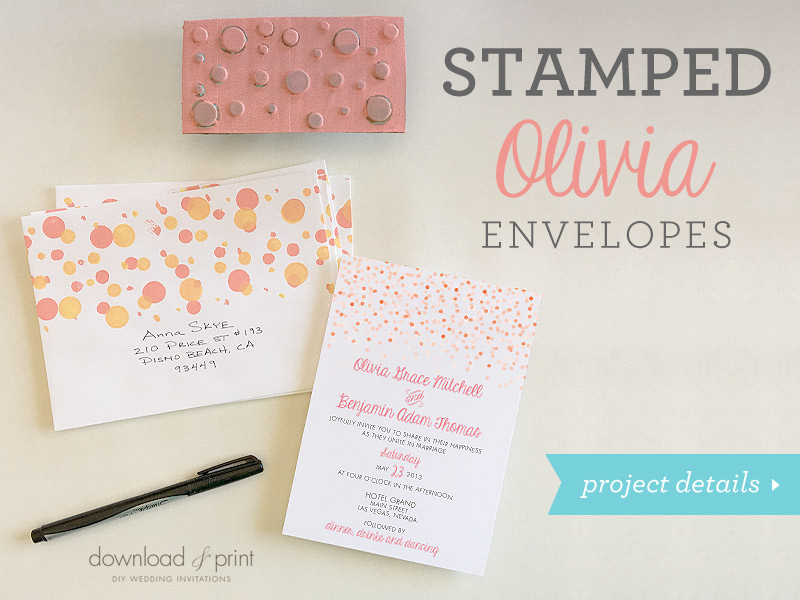
I had such a good time printing geometric envelopes last week that I'm at it again with a slightly different take on the DIY stencil. This time I'm not cutting shapes myself, I used craft foam dots which are a dime a dozen at your local hobby store. I wanted to tie in with our Olivia invitation collection, because, well... polka dots are fun!
The original invitation suite was inspired by the glow of bright city lights and I think these printed envelopes uphold the modern charm.
I used acrylic paint in the same color family as the invitation, trying to match the colors as closely as I could without spending any time creating custom paint hues. I bought paint in a few different shades of pink before I found one that I was happy with.
Let me tell you, the color on the lid of the paint does not always match the color of the paint that comes out of the bottle, which doesn't necessarily match the color of the paint when rolled onto a stencil and stamped. There was a little trial and error involved before I settled on colors.
The Olivia Collection can be customized online to match your wedding colors! You can change the fonts and text online too and download and print at home.
SUPPLIES:View Olivia Inviation Collection >
- Cardboard box
- Adhesive foam dots - various sizes
- Acrylic paint in two colors
- X-acto knife or scissors
- Envelopes
- Small paint roller
- Smaller roller tray
- Wooden spool
- Hot glue
Step 1: Cut Cardboard Stencil
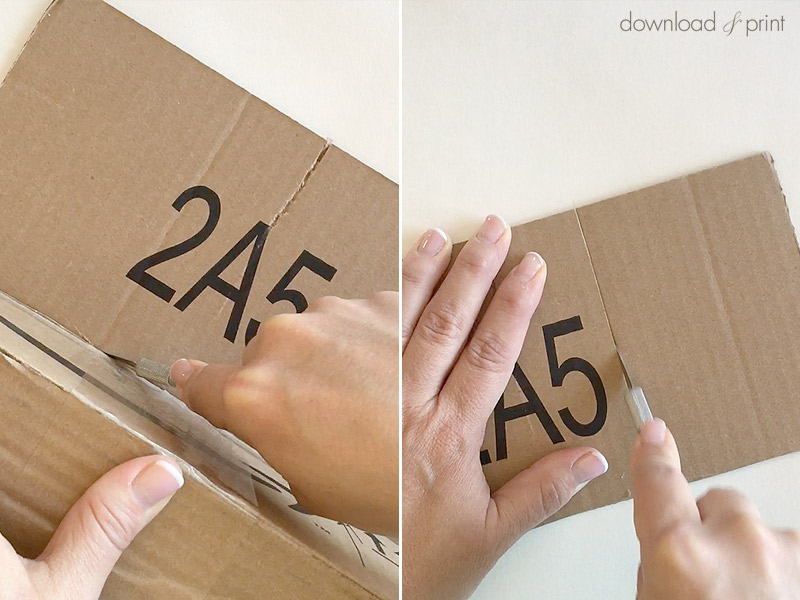
Cut a flap from an old cardboard box (thank you Amazon). I'm printing on 5 x 7" envelopes to coordinate with the Olivia invitation, and I cut my cardboard to 4 x 6".
Step 2: Add Dot Pattern
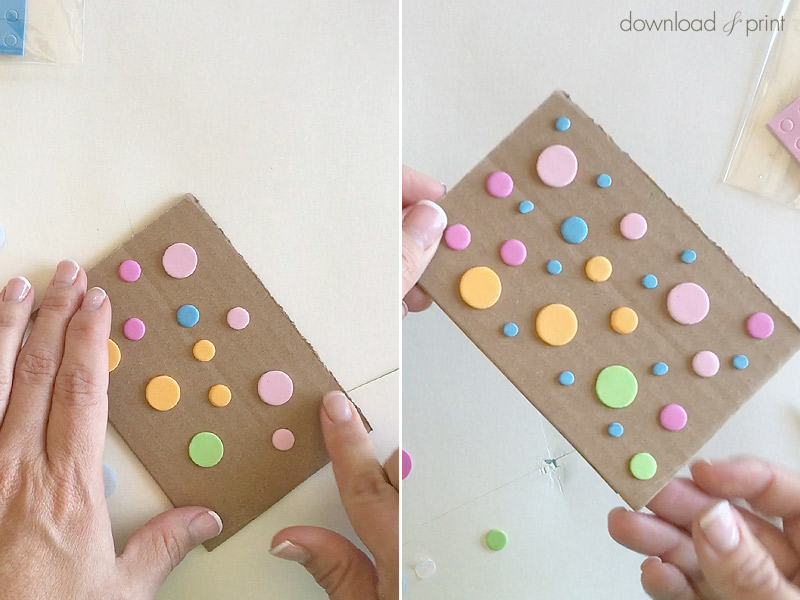
Stick craft foam dots to one side of your cardboard rectangle. I'm using three sizes of dots to create a random pattern.
If you aren't into dots, see how I created geometric printed envelopes using craft foam and this same printing technique.
Step 3: Add Handle
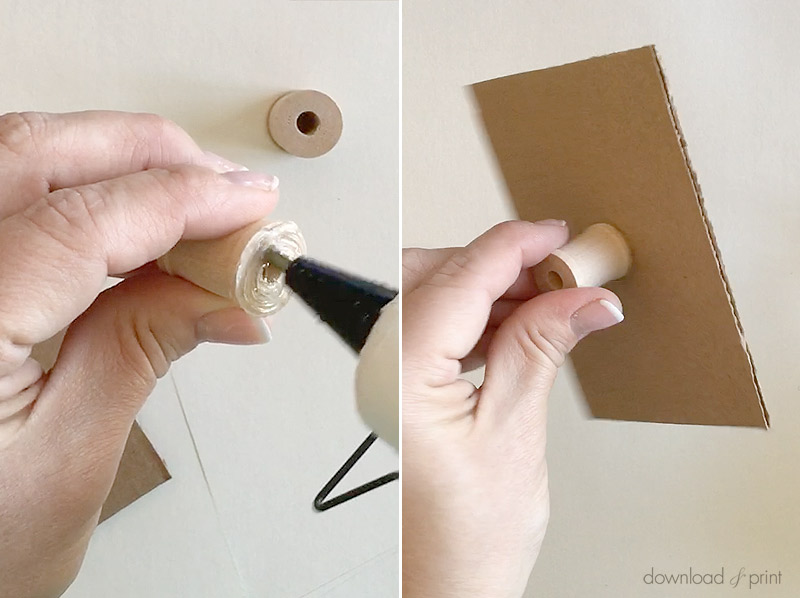
Use hot glue to stick a wooden spool to the opposite side of your cardboard stencil. This will make maneuvering the stencil much easier. You'll thank me later.
Step 4: Print First Color
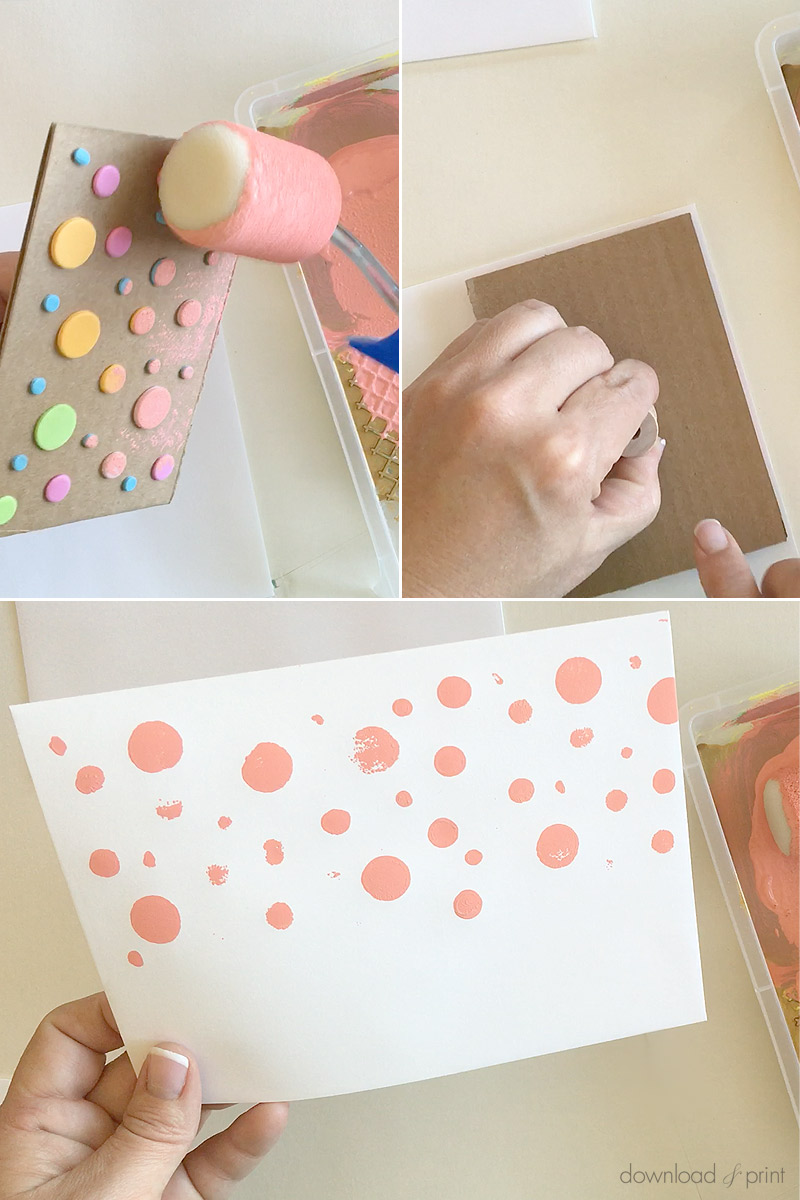
Roll acrylic paint onto the stencil. If you are using two colors print the darker color first.
Get a nice even cover of paint on all the dots.
Press the stencil onto an envelope. I chose to print dots across the top of my envelope.
Re-roll paint onto your stencil and stamp again to cover the entire area that you want printed.
I do recommend adding paint to your stencil between each press. I found that if I tried to get two presses out of my paint the second print was much lighter and just didn't look all that great.
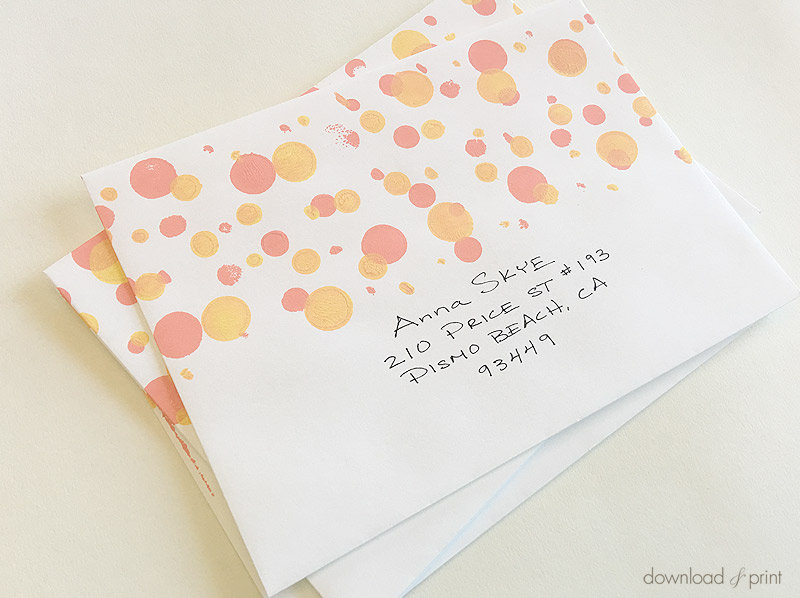
Print this color onto all your envelopes. You'll now have a collection of pretty dotty envelopes.
Step 5: Print Second Color
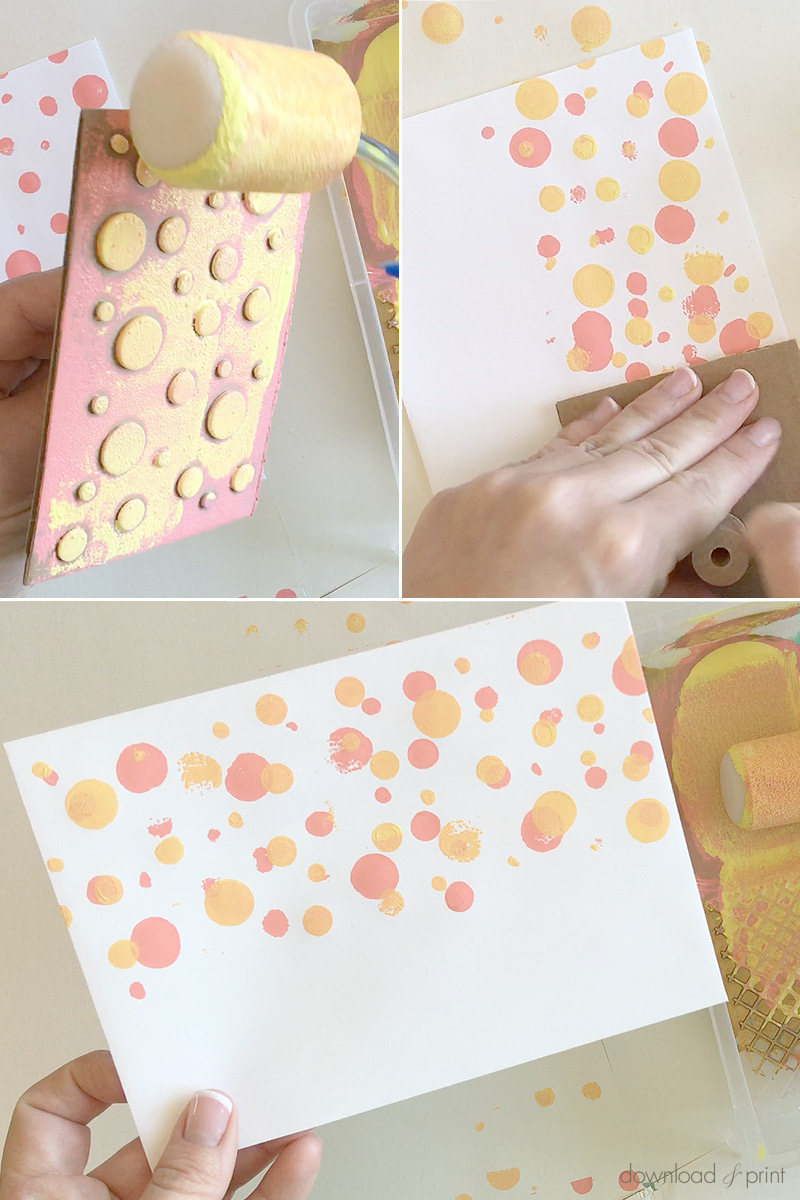
Use the same stencil and roll on your second, lighter, color.
Stamp your envelopes over the first color dots, overlapping the dots to create a random pattern. I turned my stencil around and started on the other end of the envelope to make sure my dots didn't line up.
Add the second color dots to all your envelopes.
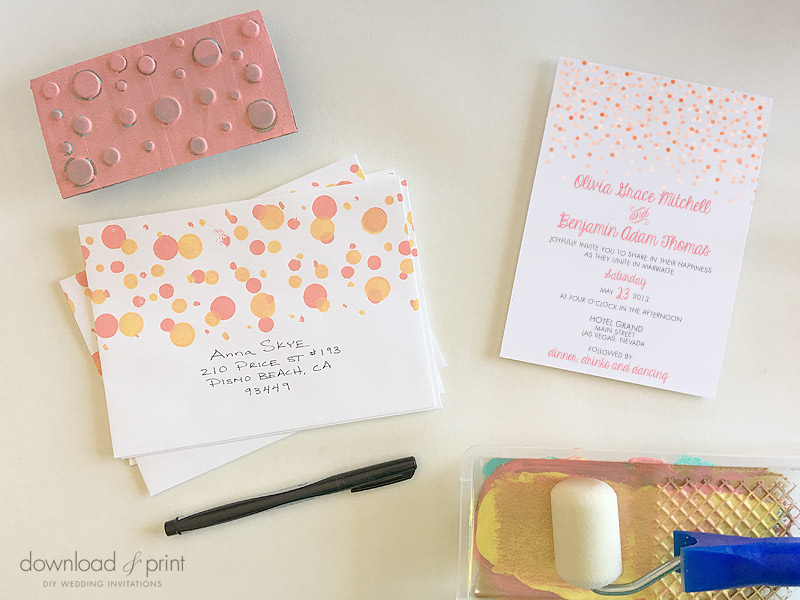
Wait 2 hours for the paint to dry before addressing your envelopes. If you are worried about your chicken scratch ending up all over the envelopes get my free envelope addressing template and take the guess work out of evenly spaced handwriting.
YOU MAY ALSO LIKE THESE DIY ENVELOPE TRICKS:
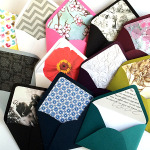
Wrapping Paper Liners
View Tutorial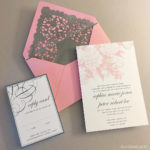
Doily Envelope Liner
View Tutorial
Addressing Template
View TutorialWith template love,

(Although all the products listed in this tutorial are products I personally use, I will be compensated just a tiny bit if you make a purchase through some of the links provided. Thanks for supporting small biz!)