
Although a scan through Pinterest may lead you to believe that colorful bohemian weddings are all the rage, me thinks traditional elegance still stakes claim as wedding's reining theme.
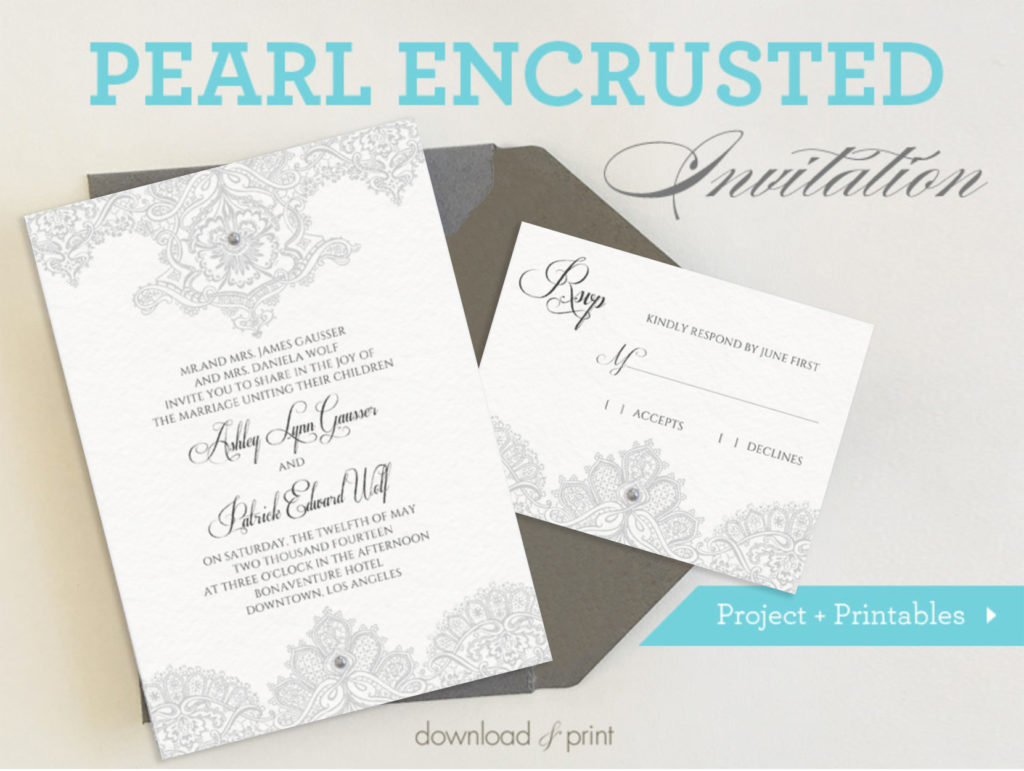
Some things will just never go out of style. A white dress, bouquet, something borrowed, first dance, layered cake, pearls and lace. I'm taking comfort in the elegance of our Pearls & Lace Invitation Collection.
I'm going to play up the pearls part of the Pearls & Lace DIY wedding invitation and add just a tiny amount of bling. This DIY is super inexpensive and quick to pull off, yet adding pearl accents transforms a simple invitation into something quite special.
The Pearls & Lace collection is one of our most popular downloads, it comes in seven colors from bright turquoise to the ethereal silver you see in this tutorial.
I like to think you're adding a hint of sophistication in the pearl. Whether you have a vintage wedding planned or you want to keep things gorgeous and classic, the Pearls & Lace collection is sure to elicit some ooohs and ahhhhs when it arrives in the mail... no doubt like the ooohs and ahhhhs that came from me when I finally managed to get off my feet!!
View Pearls & Lace Collection >
SUPPLIES:Buy Template
- White or cream card stock
- 4mm stick-on pearls
- Tweezers
- Paper trimmer or scissors
- Template
Step 1: Customize online • save & download
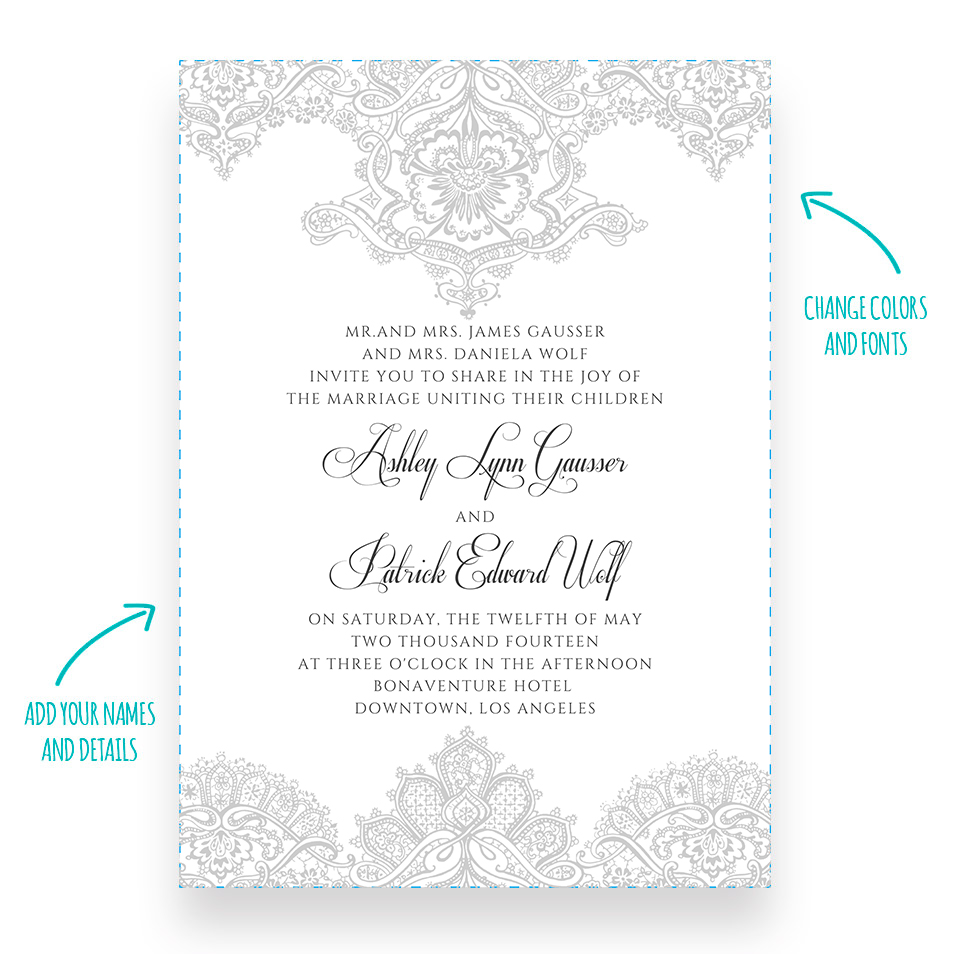
Change the colors, text and fonts directly online to match your wedding theme. Save your changes and download your invitation on to your computer. You're ready to print!
I'm also using the RSVP card, enclosure card and envelope liner.
Step 2: print & trim
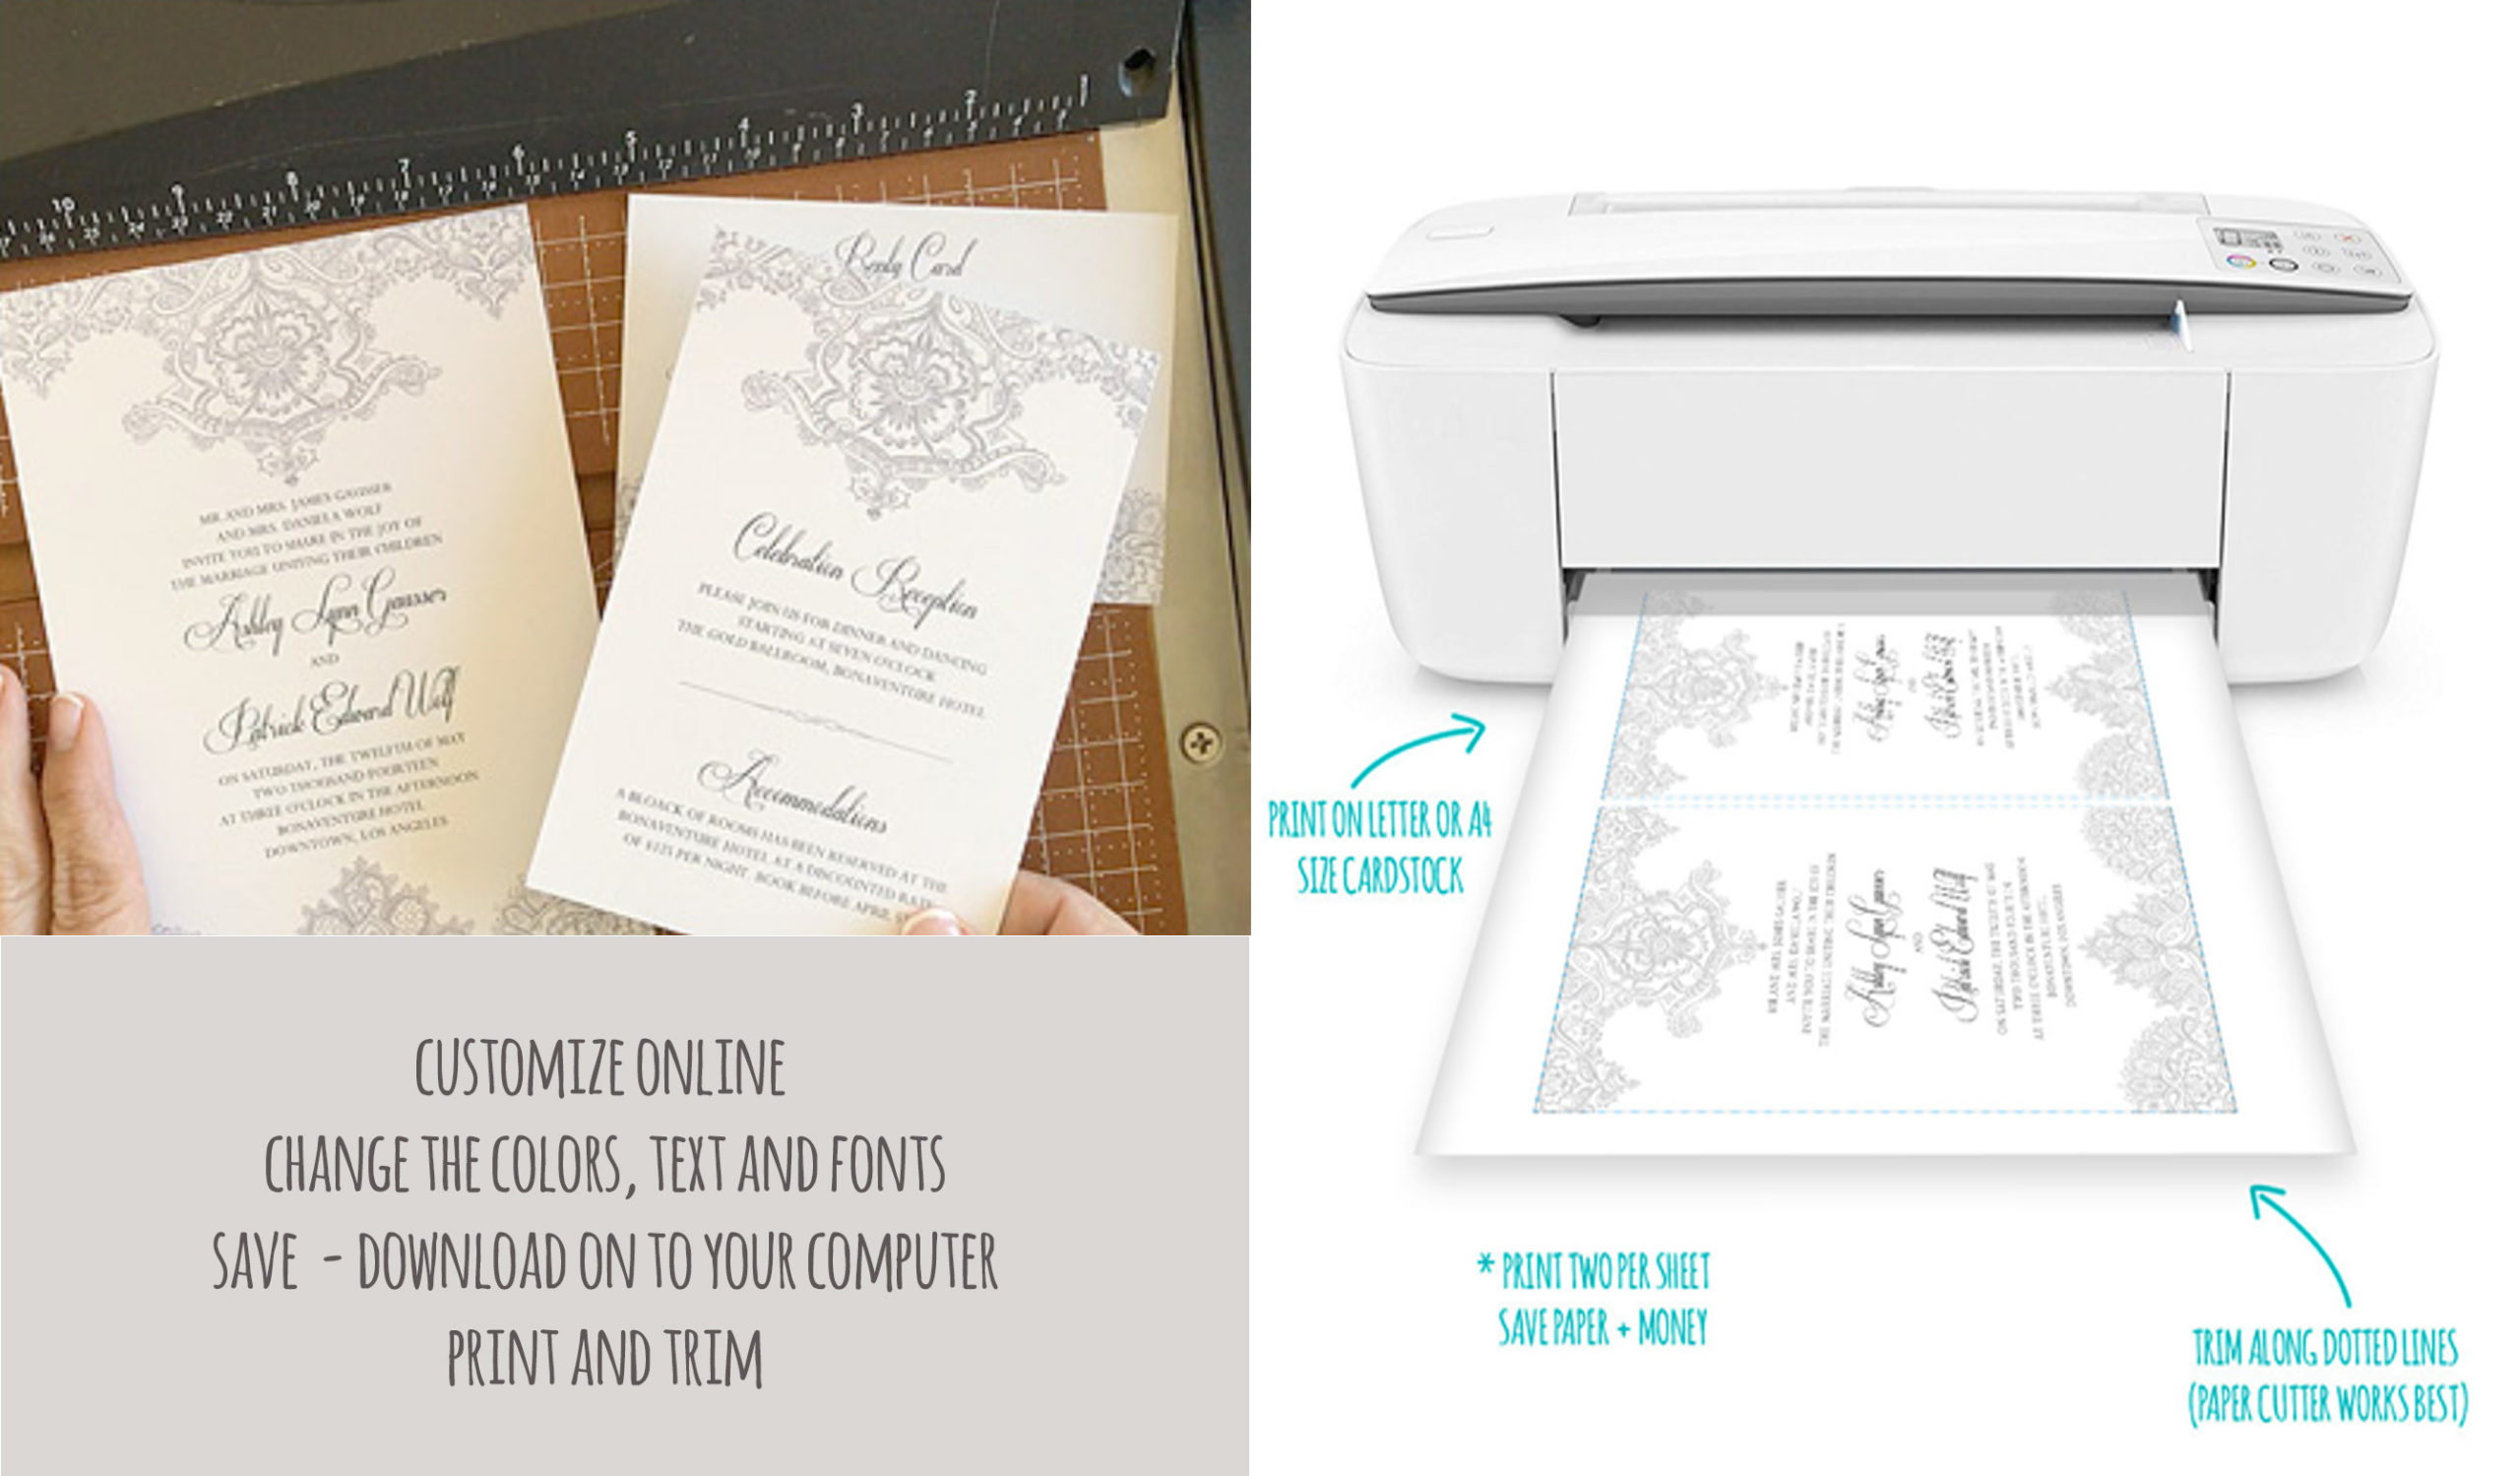
Print the invitation on 8.5" x 11” card stock. We like paper between 65 lbs and 90 lbs as most home printers can handle this paper weight. If you want to use heavier paper do a test print first.
Trim the invitations along the dotted lines using a paper cutter or scissors.
View Pearls & Lace Collection >
Step 3: Add Pearls
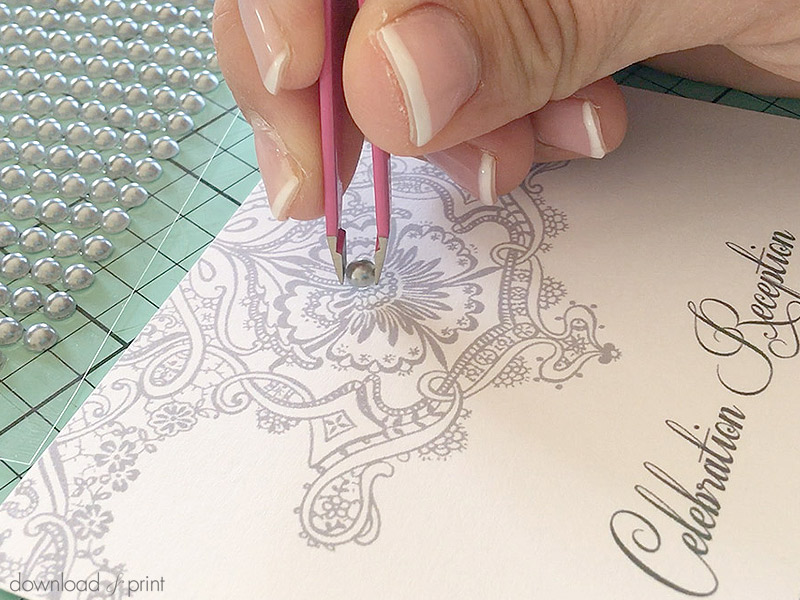
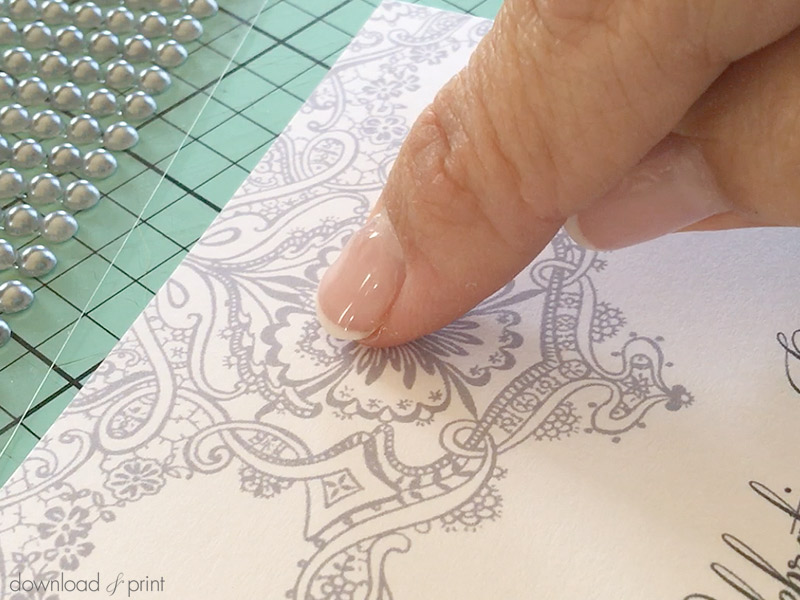
Place a stick-on pearl at the center top and center bottom of the invitation. Place a corresponding pearl on the enclosure card. The easiest way to position the pearls is with tweezers. They are small and fiddly and I found that tweezers made the process go so much more smoothly.
Press down on the pearl with your finger to get a good adhesion.
I'm using the silver invitation with matching grey pearls. You can choose any color, so pick the color pearl that coordinates with your wedding day theme. Classic pearl will match any of the invitation colors, and is particularly elegant with a taupe color invitation.
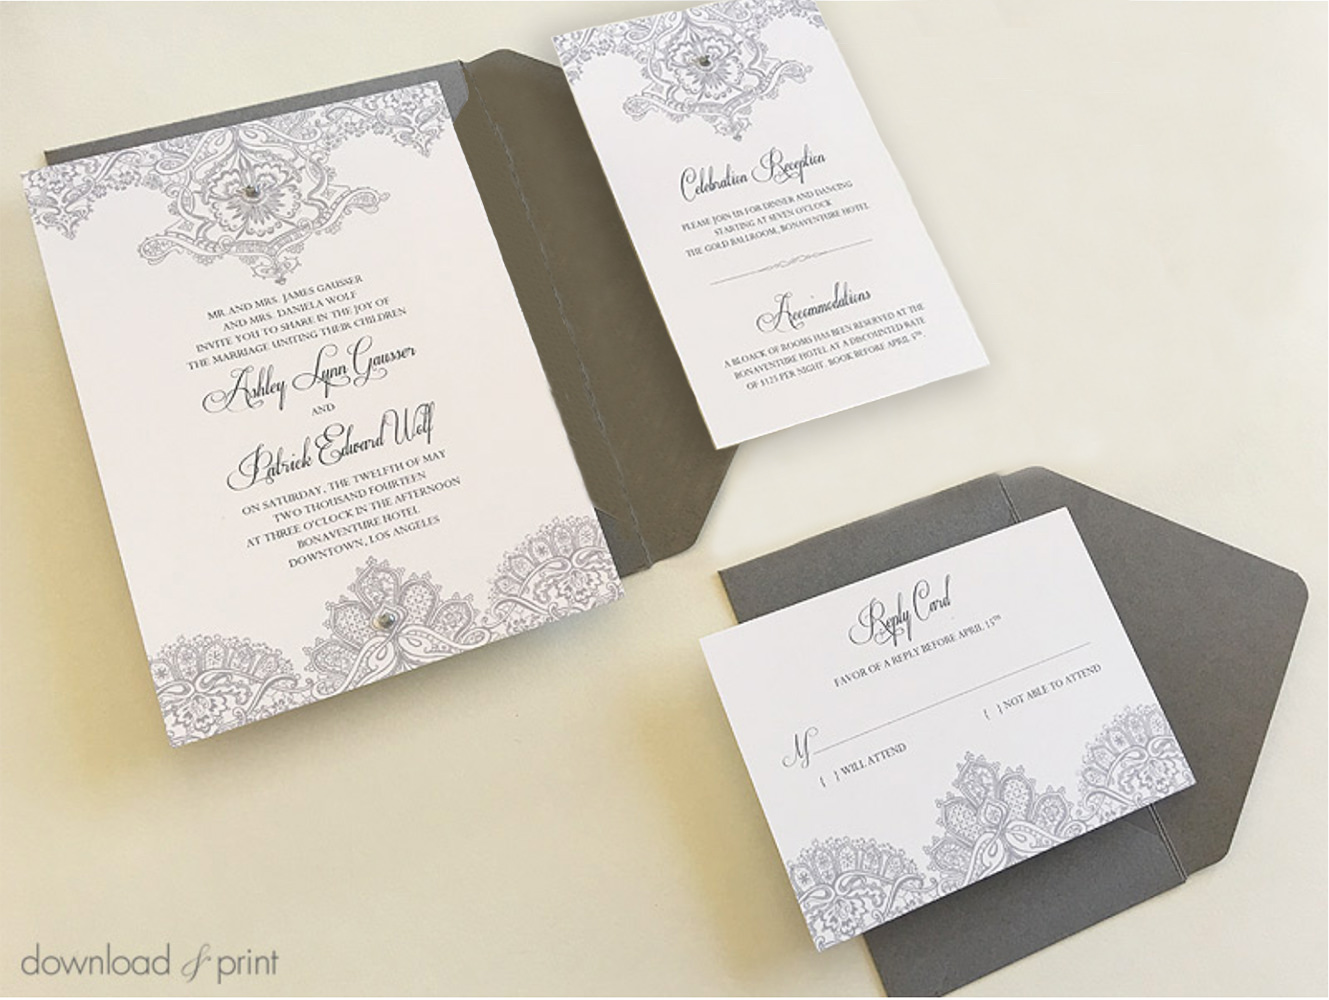
For classic and understated elegance you can't go wrong with the Pearls & Lace invitation. The pearl accents are an inexpensive and quick addition, yet are just enough bling to turn the invitation into something special. Enjoy!
View Pearls & Lace Collection >
YOU MAY ALSO LIKE THESE DIY WEDDING INVITATIONS:
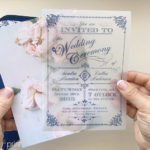
Translucent Overlay Invitation
View Tutorial
Embossed Monogram Pouch
View Tutorial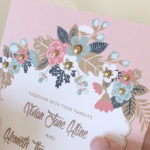
Gilded Gold Vintage Invitation
View TutorialWith template love,

(Although all the products listed in this tutorial are products I personally use, I will be compensated just a tiny bit if you make a purchase through some of the links provided. Thanks for supporting small biz!)