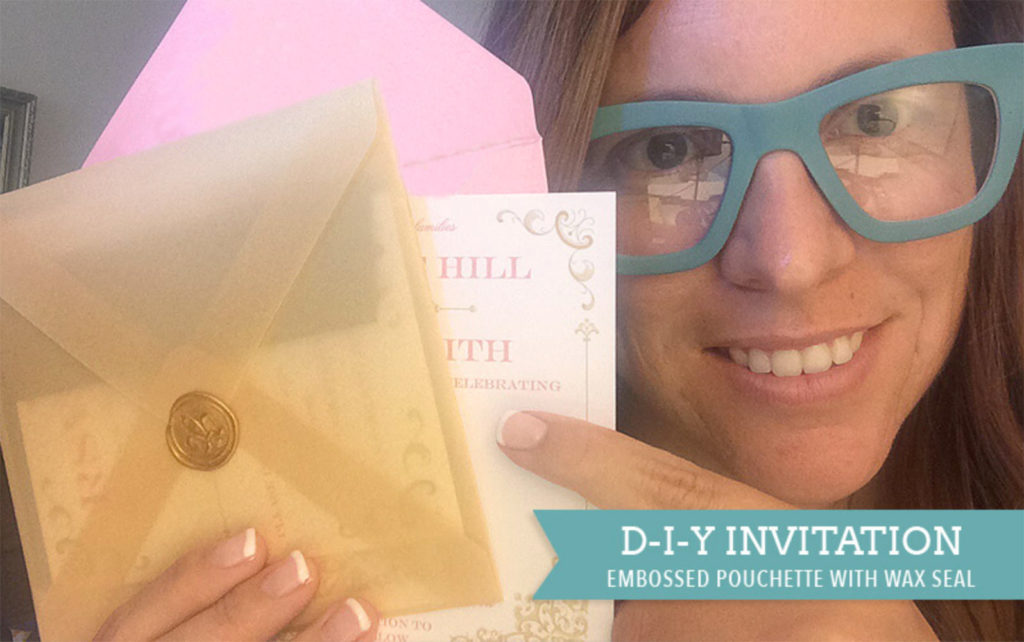
My heart is a flutter. Today's project shimmers and shines, and has details so fancy you'd think you were looking at a super expensive invitation. Ha!
It's got all the elements of a classic Download & Print wedding invitation DIY. Time-honored wedding colors, gasp-worthy presentation, budget-saving beauty and simple steps that even the most un-crafty can handle with ease.
The Vintage Iron & Lace invitation has been a popular download here for quite some time. The original project I came up with to go with this design was a faux wrought iron pocket, made with a paper doily and can of spray paint (you can find the link to it at the bottom of this post). It was genius. And a lot of you agreed with me as the project shot off the charts on YouTube.
Lots of you wanted to see this design in pastel colors, so the pink and gold version was born. Woohoo! And to make this even cooler, you can customize the colors online and insert your wedding colors.
These softer colors needed a pocket that was light and airy. Wrought iron didn't give off the right vibe. Enter shimmering, magical colored vellum. It's like wrapping your invitation in a fairy's blanket.
Follow along with the tutorial below to learn how to make the vellum pocket, emboss it to match the design on the invitation, and add a monogrammed gold wax seal. The result is dreamy and way easier to make than you are thinking right now. As long as you are willing to put in the time this metallic pouch is within your skill set.
I love the project and I hope you do too.
customize & Download Pocket Template >
SUPPLIES:Customize Embossing Template
- Square Invitation
- RSVP Card
- Free embossing template
- 8.5 x 11" white paper (we like paper between 65 lbs and 90 lbs)
- Envelope punch board
- Mod Podge Metallic Melts
- Metallic gold vellum
- Embossing stylus
- Wax seal stamp
- 6" square gold metallic envelopes
- Pink 4-bar RSVP envelopes
- Felt sheet
- Glue gun
Step 1: customize online, save, Download & print Templates
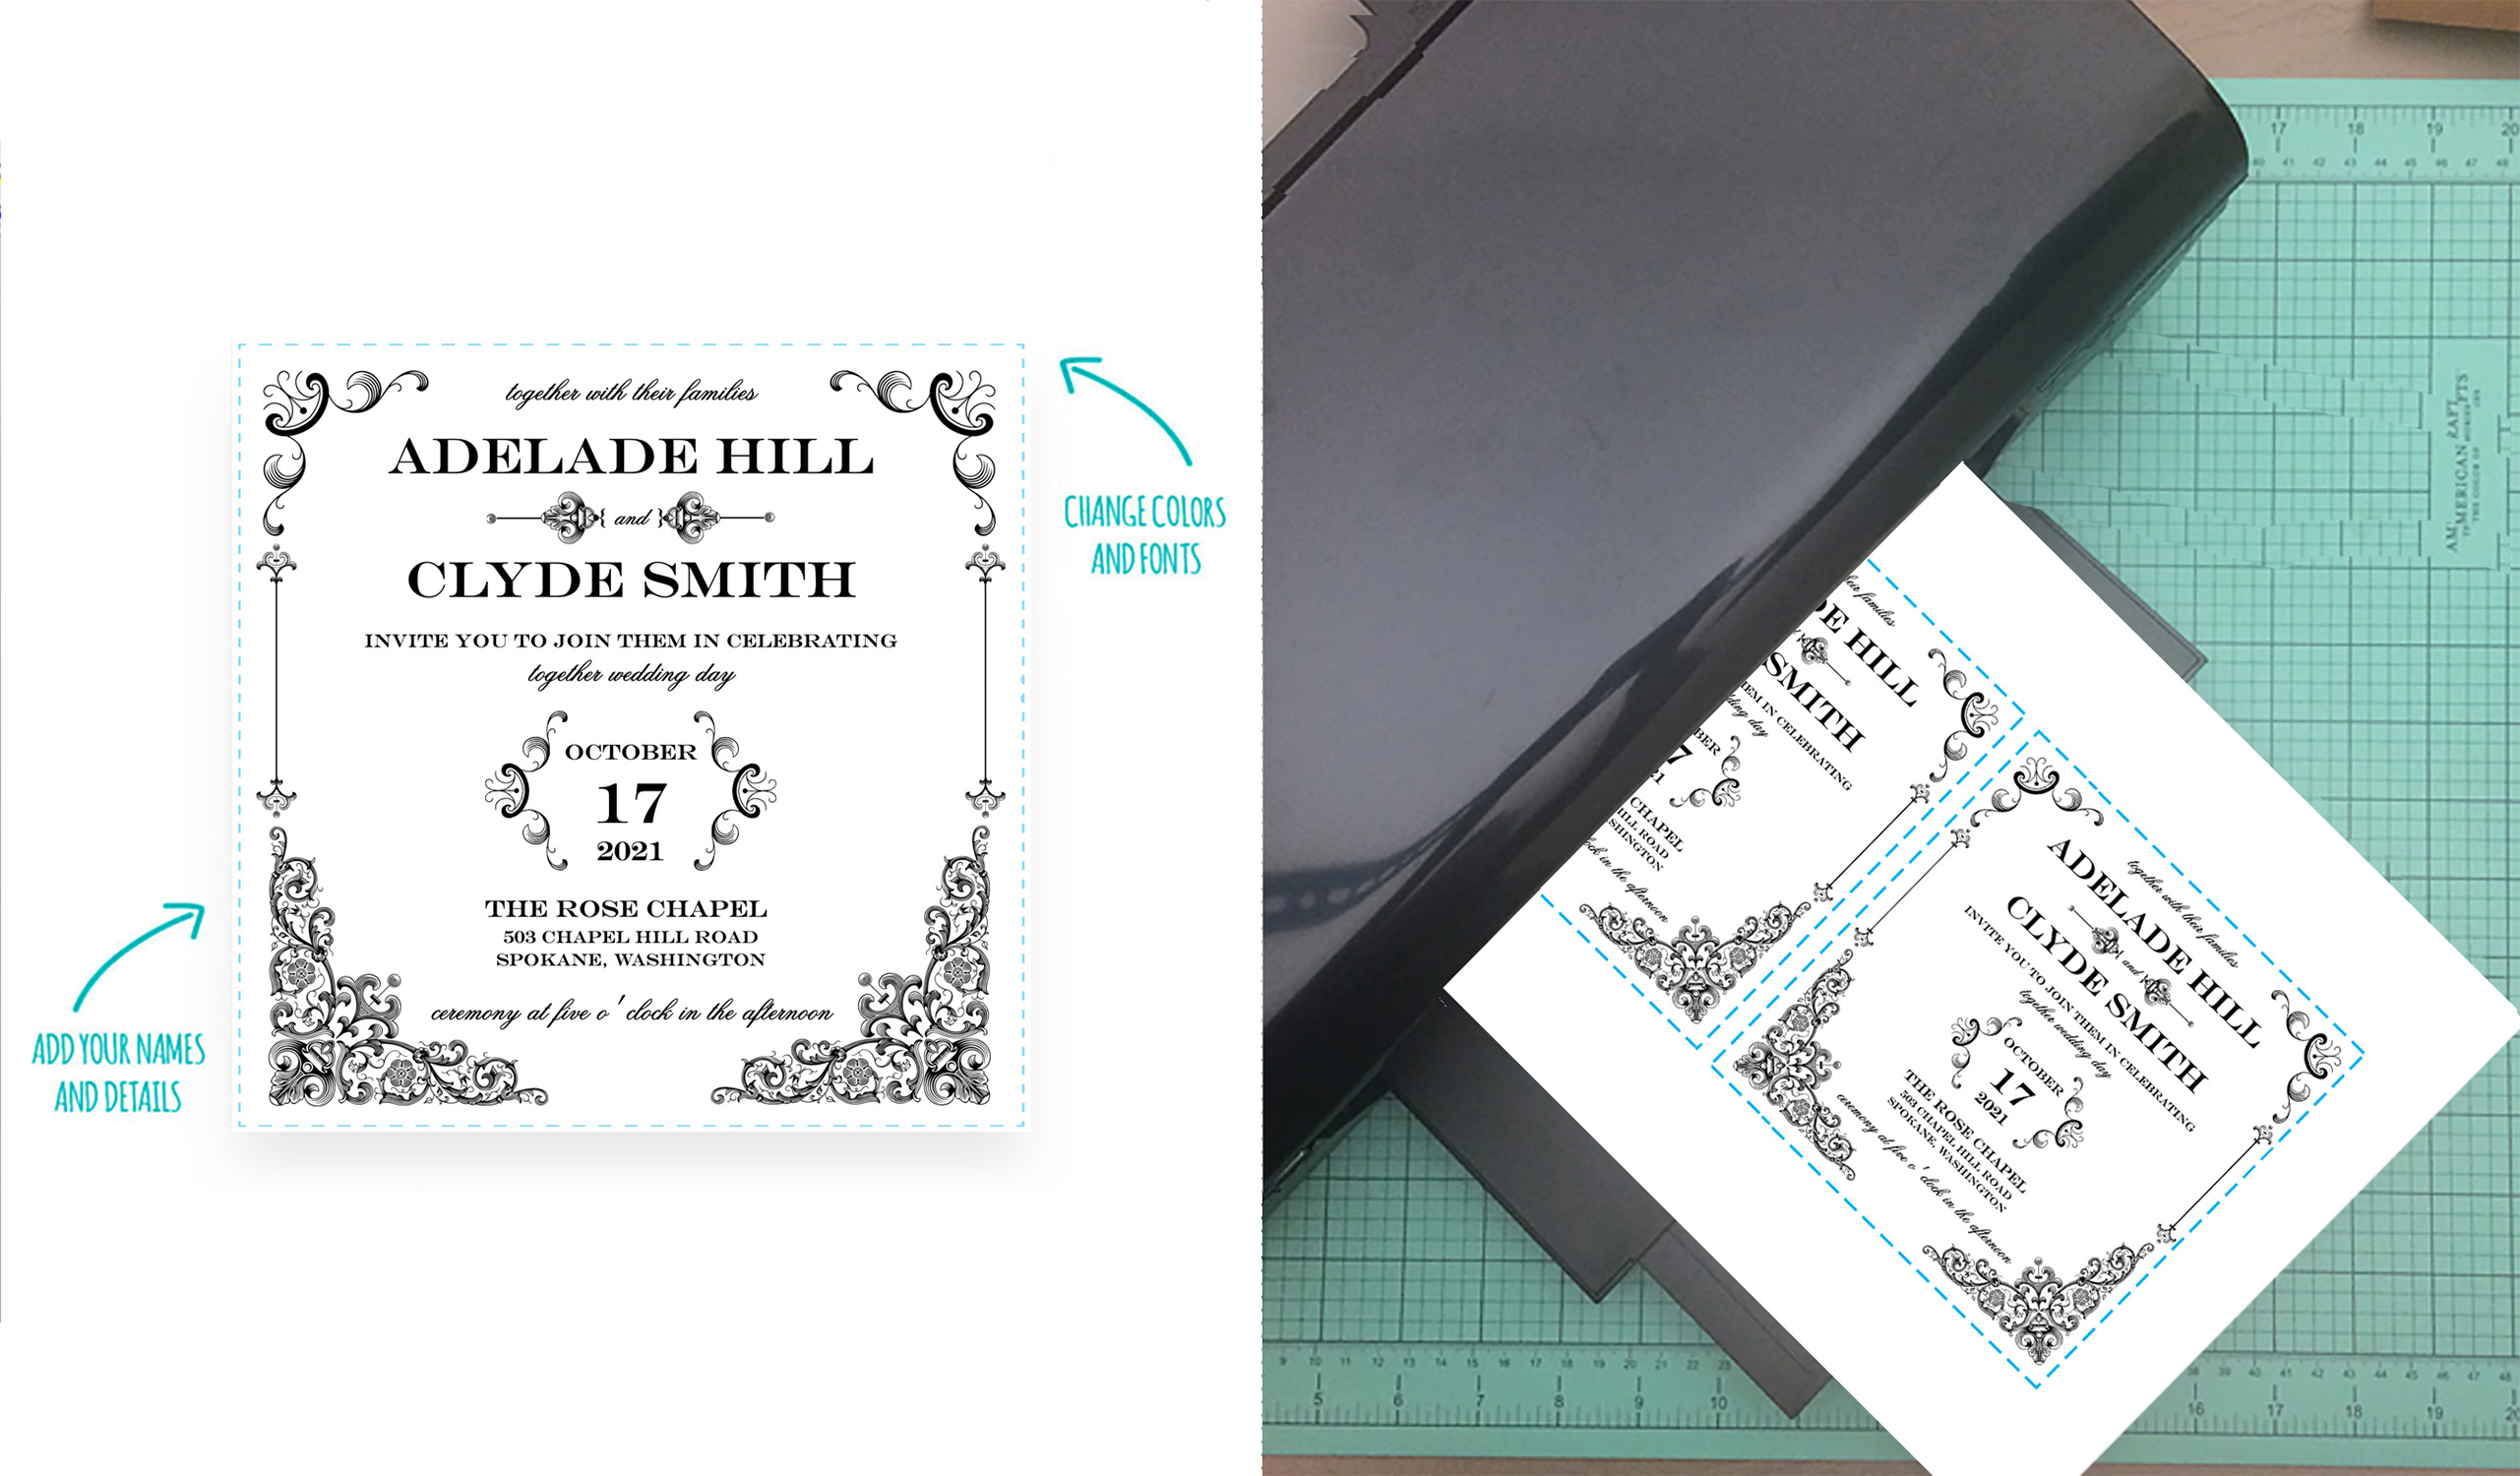
Customize online the free square invitation and RSVP card from the Iron & Lace bundle, and the free embossing template. Add your wedding details and change the colors and fonts. I used #c6a245 for the gold frame and #eb8c8c for the pink text in the video sample. Of course you can use any colors that work with your wedding palette.
Remember to change the letter on the embossing template and make sure the letter is reversed, it needs to print as a mirror image. Save all of your changes before downloading on to your computer.
Double check the text! Check twice (or 3, 4, 5 times), print once.
Print one copy of the embossing template and as many copies of the invitation and RSVP as you plan on sending out.
For the invitation and RSVP card, we like paper that is between 65 and 90 lbs in weight. This is thicker than regular copy paper for a more luxurious feel, but not so heavy that it will get stuck in your home printer.
Trim the invitation and RSVP along the dotted lines using a paper cutter or scissors.
Step 2: Cut Vellum to Size
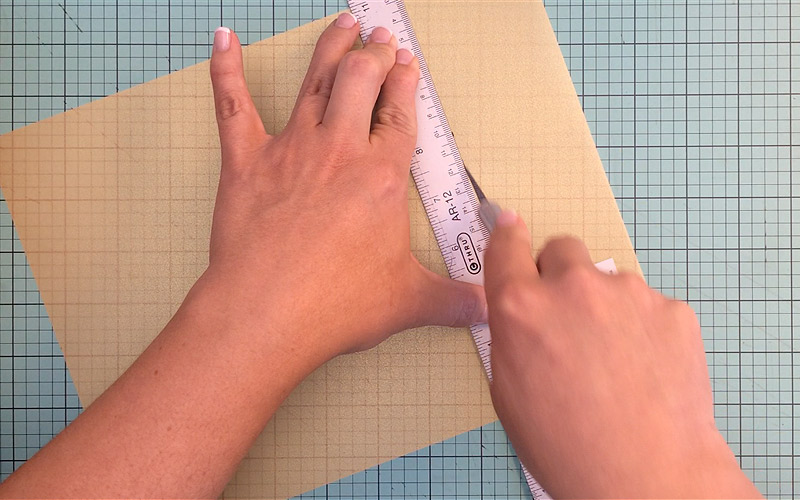
Cut each vellum sheet into a 8.5” square. The paper is 8.5” wide, so mark along the long edge and cut. I’m using a ruler and X-acto knife, but you can cut with a paper trimmer or scissors also.
Step 3: Create Pochette
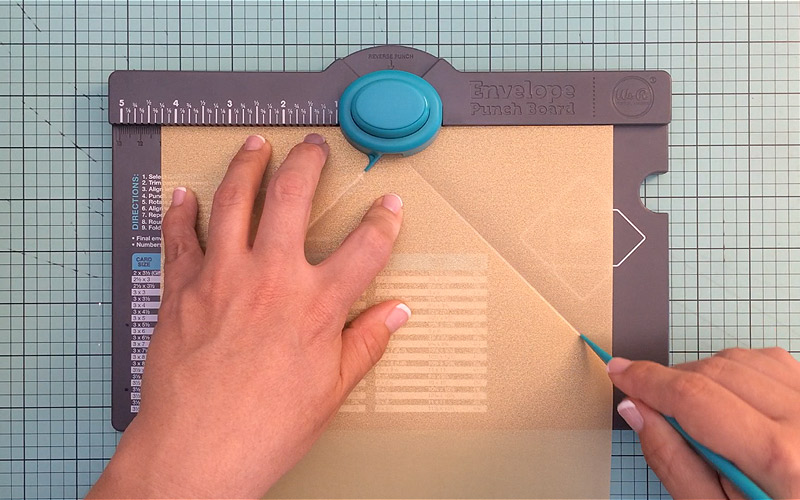
I used this nifty little gadget called an envelope punch board to create the pochette. I already had it on hand and find myself using it all the time, but I am in the invitation business. The board is around $15 on Amazon and worth the investment if you plan on making these vellum pouches. However, if you are anti single-use gadgets (believe me, I understand, I fiercely protect my kitchen from them), you can simply fold in each corner of the vellum. Always score a line first before folding, it will make your edges much sharper.
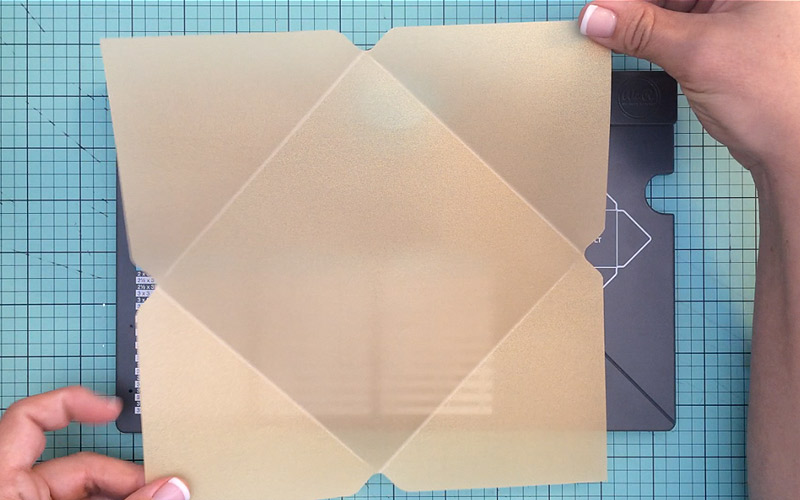
If you plan on using the punch board you will create a 5.5” x 5” pochette. Line up the left side of the vellum at 4 1/8, punch to create the notch at the top, and score along the right flap. Turn the vellum counterclockwise and repeat. You will do this four times to create each flap. It couldn’t be easier. You can also use this gadget to create your outer envelopes if you want to save a bit of cash and don’t mind the extra work. Create a 6” square outer envelope.
Step 4: Get Ready to Emboss
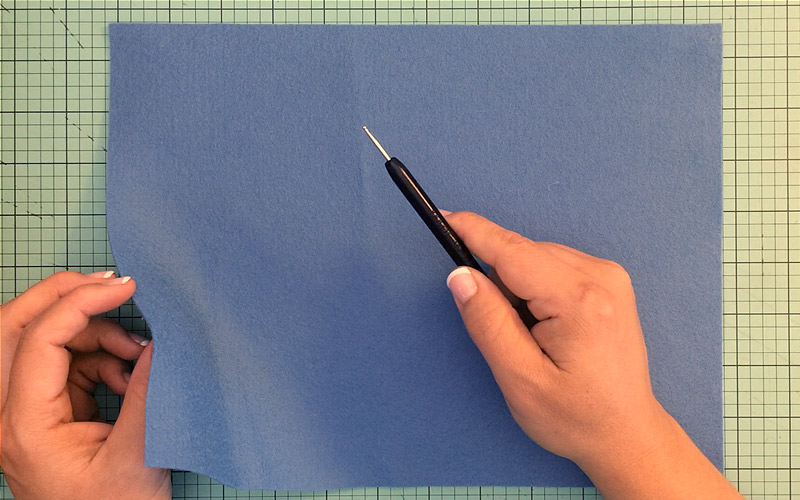
The trick to getting a nice crisp indentation is having a spongy surface to work on. I find working on a piece of felt gives me a good result, and it’s something I usually have lying around my house.
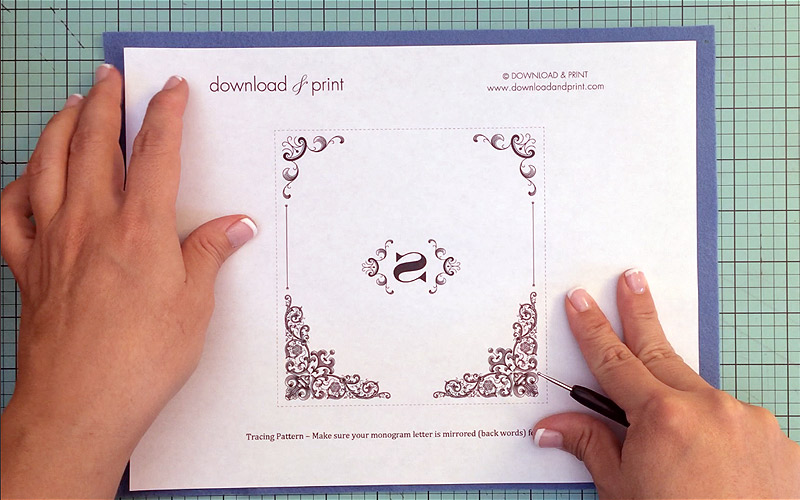
Place your embossing template on the felt sheet.
Step 5: Emboss the Pochette
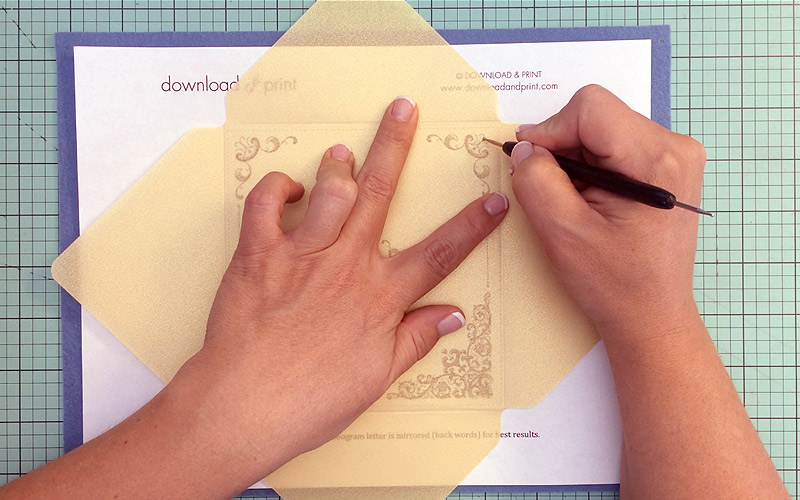
This is much easier than it first appears. Place a vellum pouch over the template and eyeball it to line it up evenly. Make sure the pouch flaps will fold up toward you. Grab the embossing tool (an essential item) and start tracing. Don’t be daunted by the intricate scroll work, you don’t need to trace every line perfectly. In fact, if you try to trace every line you’ll end up with one big embossed blob. Just trace the main elements with a firm pressure.
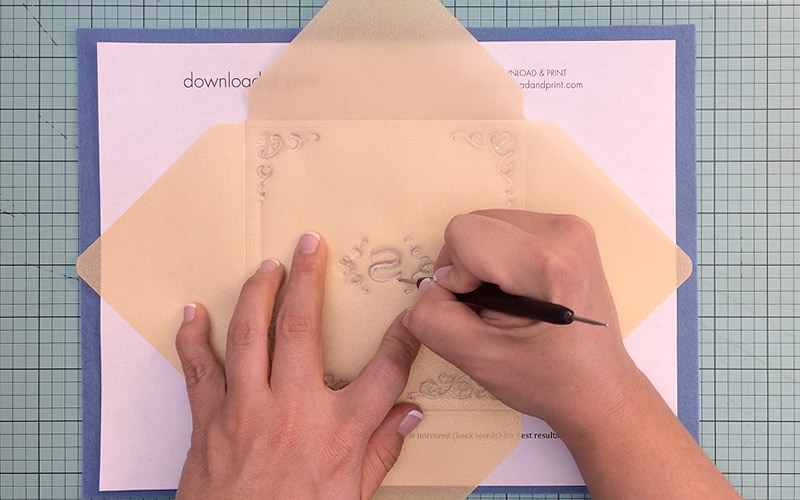
I liked to start around the edge, then move onto the monogram.
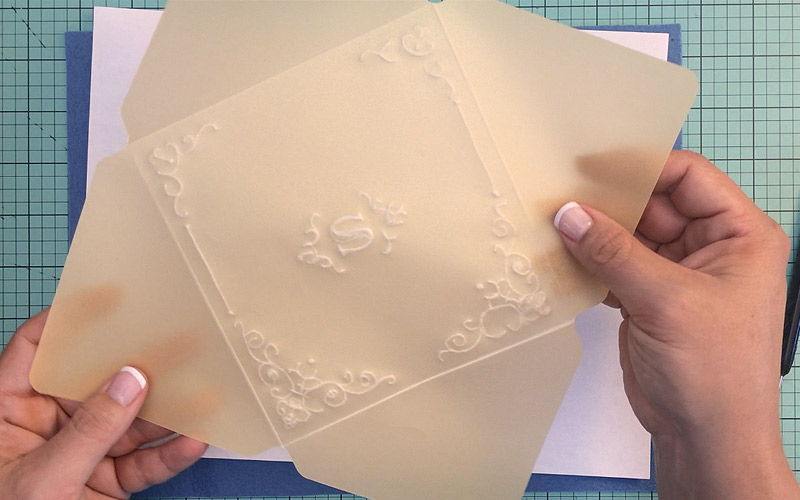
As you can see my lines aren’t perfectly straight and I haven’t traced every line, but I love the result. Find the balance that you like between detail and speed.
Step 6: Stuff Pochette
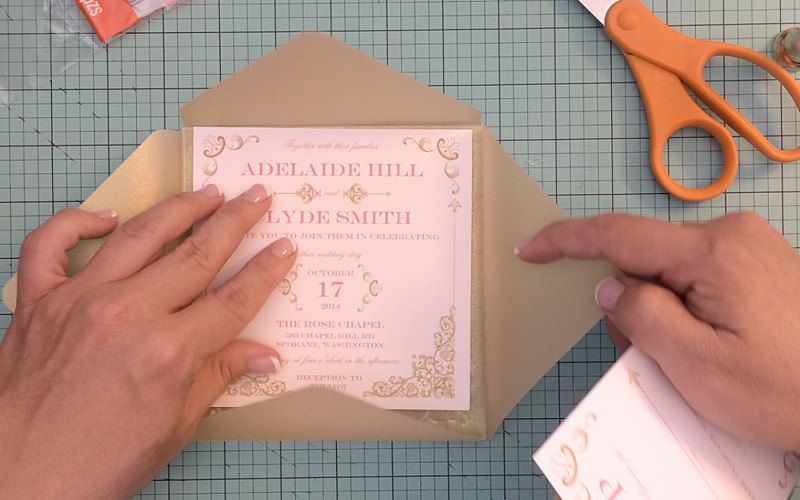
Place an invitation face up into the pochette, along with an RSVP card and return envelope. If you are using an enclosure card, map, song request etc., also include these. You are about to seal the pouch so everything must be inserted now! Fold in the side flaps, bottom flap then top flap.
Step 7: Close with Wax Seal
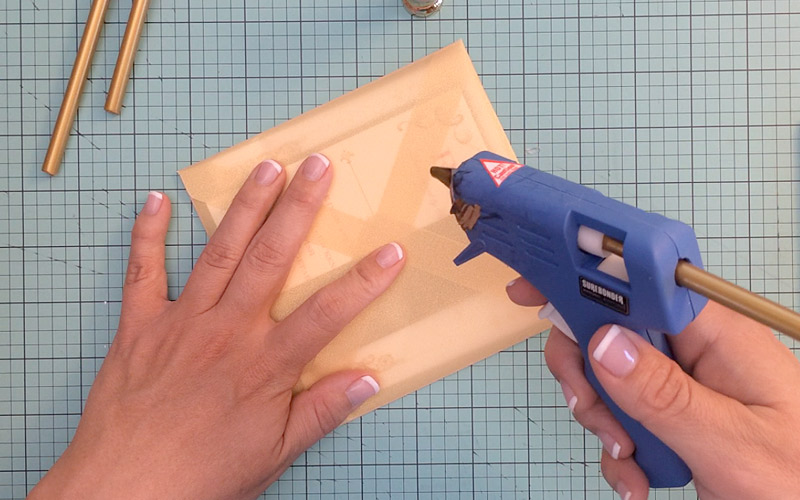
Insert a Mod Podge Melt into your glue gun. I have a mini glue gun so I cut the melt in half lengthways.
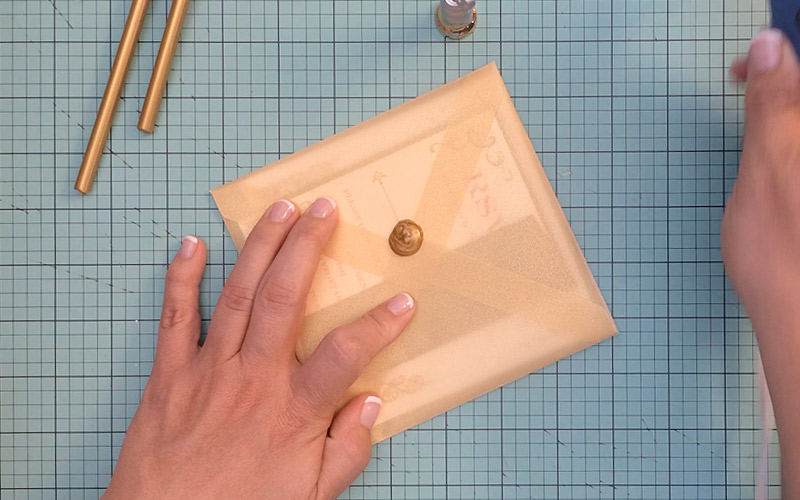
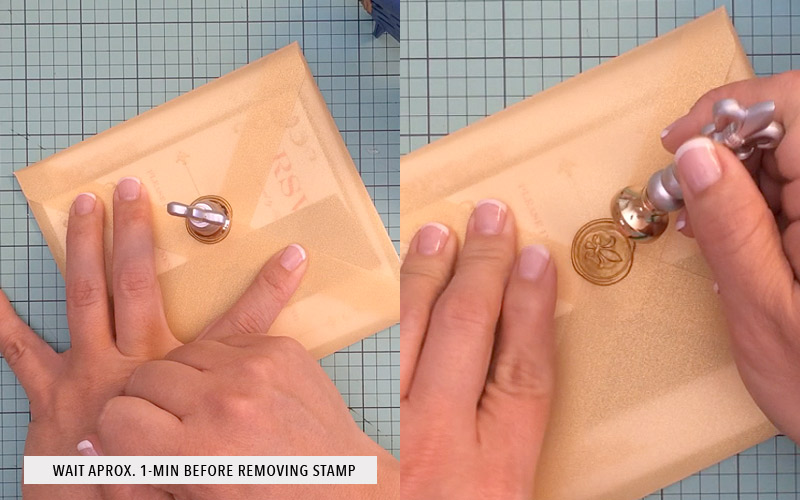
Give the melt a minute or two to warm up then squirt a nickel size circle onto the vellum to seal the pouch shut.
Sit the wax seal stamp on the hot “wax”. You don’t need to press down, just leave the stamp sitting on the wax for about one minute before removing.
Step 8: Finish and Admire
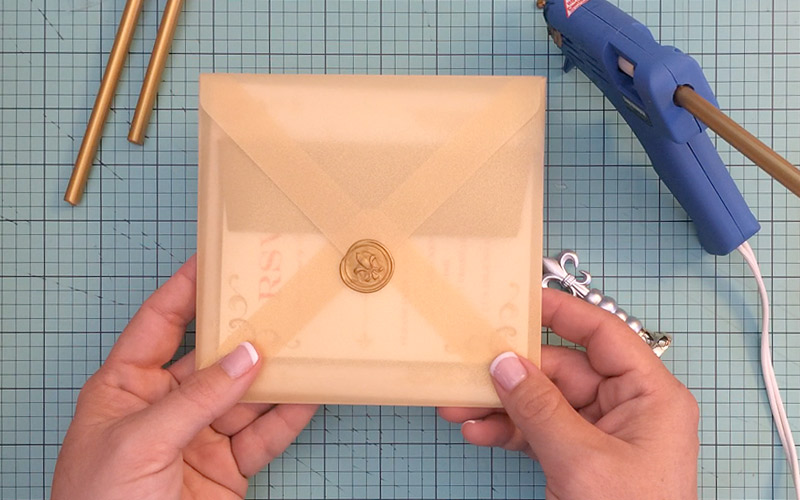
The entire pochette fits in a 6” square envelope for mailing. Square envelopes will require higher postage so check with your local post office for the exact cost if this is of concern.
I think this is such an elegant invitation package. The custom embossed details and gold wax seal add such luxury, no one will ever guess you DIYed the whole thing. The Iron & Lace bundle comes with 17 coordinating templates so you’ll have all the paper goods you need for your wedding day.
If pink and gold don’t coordinate with your wedding colors the bundle also comes in black, purple and navy. Vellum can be found in these same colors so you can create a truly one-of-a-kind invitation to wow your guests with. This project embodies the Download & Print philosophy, that a little bit of elbow grease goes a long way to spare your pocketbook, with truly beautiful results.
customize & Download Pocket Template >
YOU MAY ALSO LIKE THESE WEDDING INVITATIONS:
Wrought Iron Pocket
View Tutorial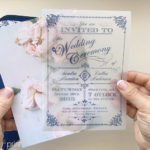
Translucent Invitation
View Tutorial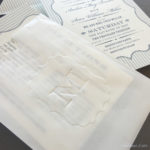
Embossed Monogram
View TutorialWith template love,
(Although all the products listed in this tutorial are products I personally use, I will be compensated just a tiny bit if you make a purchase through some of the links provided. Thanks for supporting small biz!)

