
If you are a fan of delicate lace and plan on incorporating this into your DIY wedding, you may well have come across my Pearls & Lace template in your search for the perfect invitation to DIY. As soon as I released this invitation it became an instant hit at Download & Print, consistently ranking #1 or #2 in downloads. I originally released the invitation with delicate stick on pearls highlighting the lace, you can see that effect here. I think it's an understated elegant look, with the tone-on-tone lace and paper and the pearls. To coincide with the release of the Pearls & Lace set in our I-can't-believe-I-get-that-many-templates bundle, I've given the design a bit of va va voom. The black lace makes for a stark contrast with the off-white paper, and the doily backing card is most certainly a statement piece.
The doily edge on the backing card was created with a Vintage Doily Martha Stewart Crafts Punch Around the Page Set. Imagine how excited Conan the office dog is when I get home from an entire day out of the house, his tail erupts in a blur of happiness and his little booty shakes. Well that's how excited I was when I came across this punch. I may have done some booty shaking of my own. The punch accentuates the lace design on the invitation perfectly. With a capital P.
I used the punch on the backing card paired with a custom sized invitation and you can download it HERE. You can also use the punch on the envelope flap, or to make a belly band to wrap around the original invitation, or any paper good you are using in your wedding. Don't go overboard with too many doily edged pieces together. Remember that less will keep this invitation elegant.
view the Lace & pearls collection >
So lets get to it. You can follow along with the video tutorial below, or scroll down for the written instructions and pictorial.
SUPPLIES:Customize the Free Invitation Here
- Invitation: Customize Online, Save, Download & Print
- Scissors or paper trimmer
- 8.5 x 11” black card stock, or the color of your choice
- Martha Stewart Crafts Punch Vintage Doily (you have options to choose from if the diecut used here is no longer available)
- A7 Natural White Envelopes
- Printer (my printer of choice)
- Double sided tape
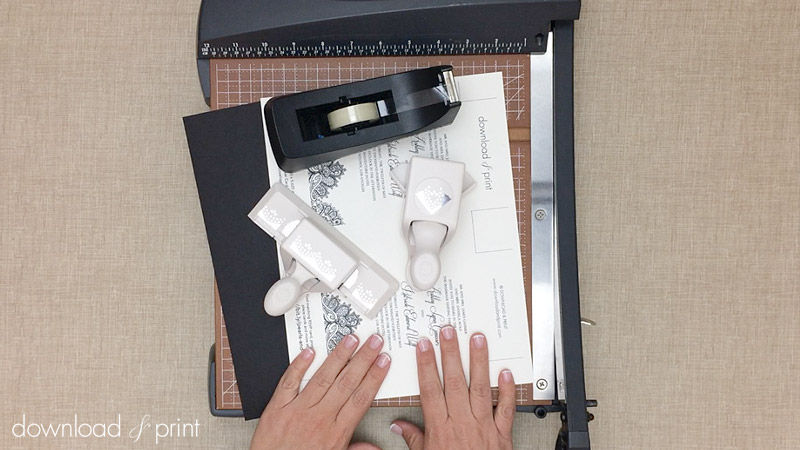
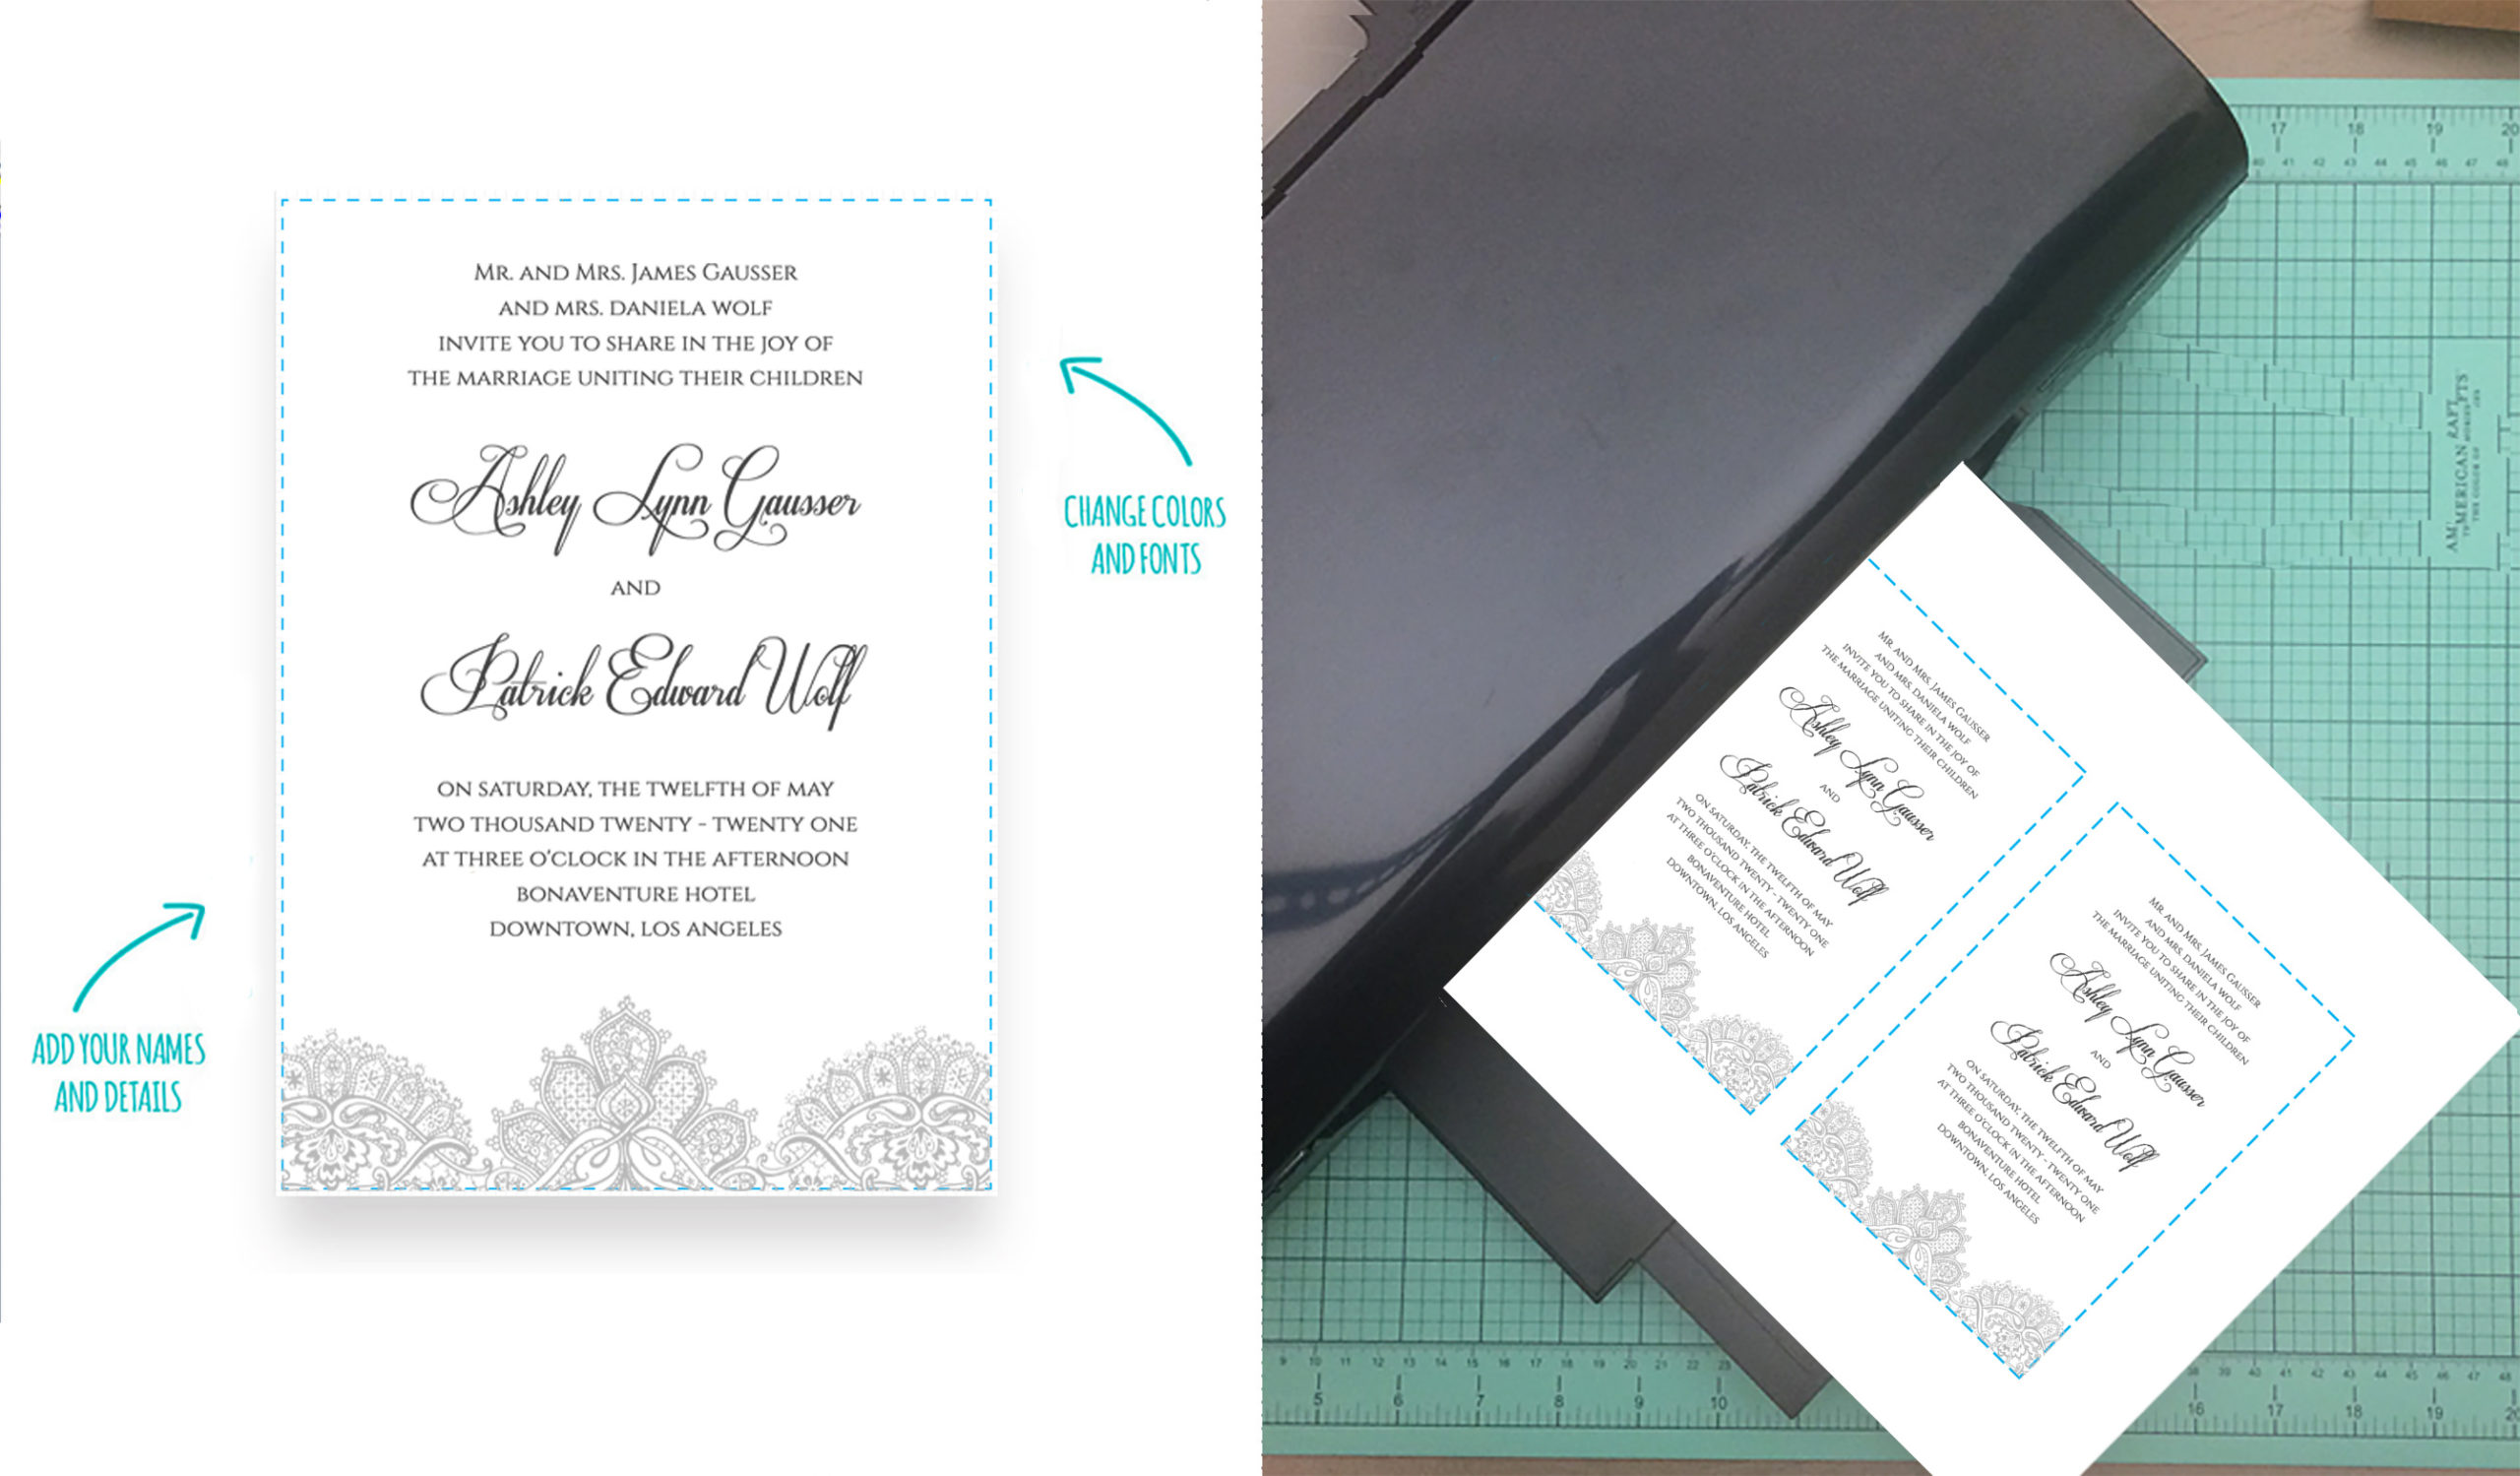
Step 1: customize online, save, download & print
Customize the invitation online or go the whole shebang and get the 17-piece collection that includes programs, a menu, enclosure card, thank you card, place card and more. View the entire collection here.
Save the invitation file with your custom changes and download it on to your computer.
Print off one invitation and check for formatting and spelling errors. Have someone else double check for you. I promise, you'll thank me later.
When you are happy with your invitation do the full print run. I like to use paper between 65 and 90 lbs. This is heavier than standard paper but not too thick that it will jam your printer. For the most luxurious invitations use the heaviest card stock that your printer will handle. I'd go with white or off-white paper for this design.
You can also send the file to an online printer or take it to your local FedEx Office store for printing.
Step 2: Trim the Invitation
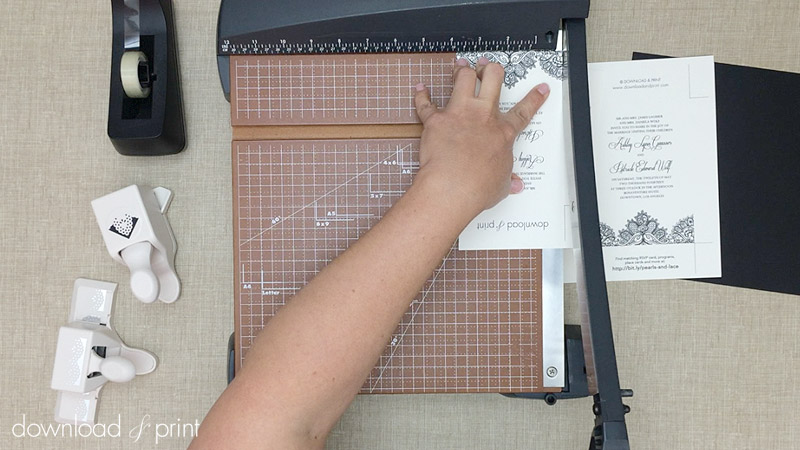
Using a paper trimmer or scissors, cut along the dotted lines. A paper trimmer will produce straighter cuts and will be faster, you can trim more than one sheet at once. Scissors will do the trick though.
Step 3: Trim the Backing Card
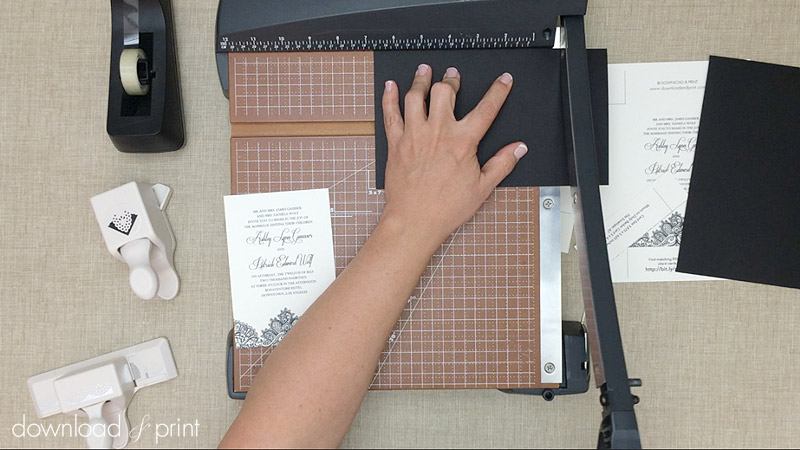
Trim the backing card to 5 x 6.75”. If you use a paper trim you can measure using the ruler on the trimmer. If you use scissors you will need to measure and mark with a ruler and pencil and cut along your marks. Once you have one cut you can then use this as a template to cut the rest to size.
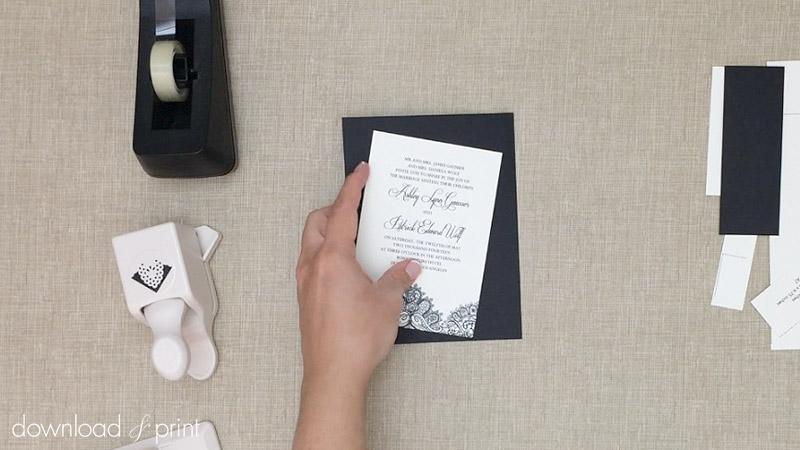
All the paper pieces are now cut out. You will have invitations trimmed to 3.875 x 5.625" and backing cards trimmed to 5 x 6.75”.
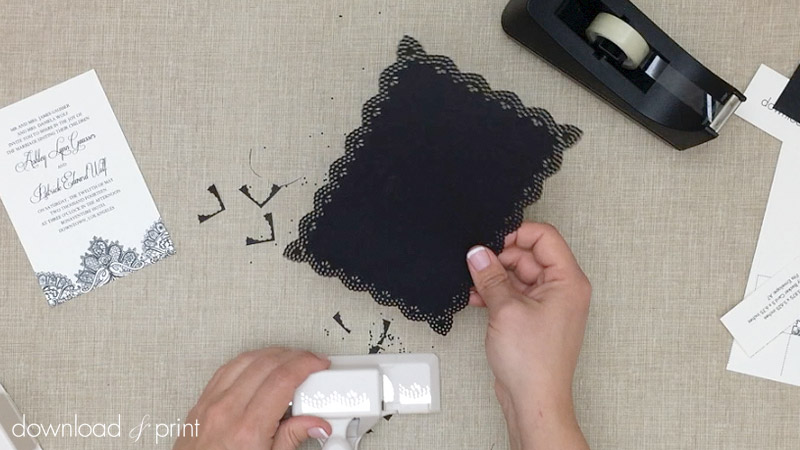
Step 4: Punch Corners
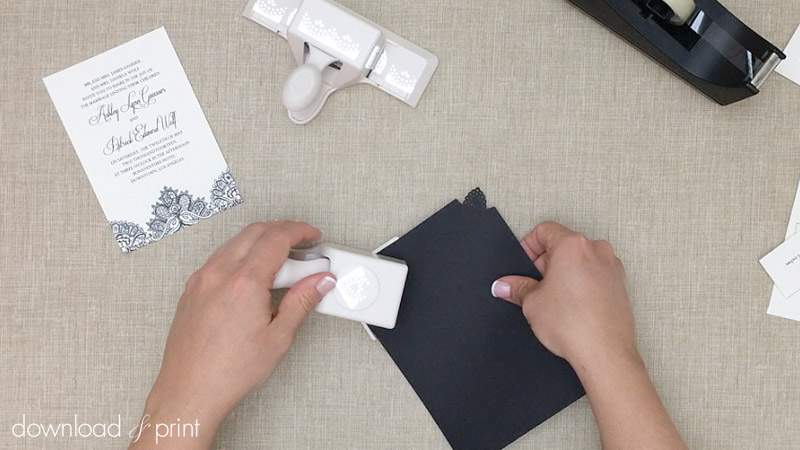
Use the corner punch to punch the corners on each backing card.
Step 5: Punch the Straight Edges
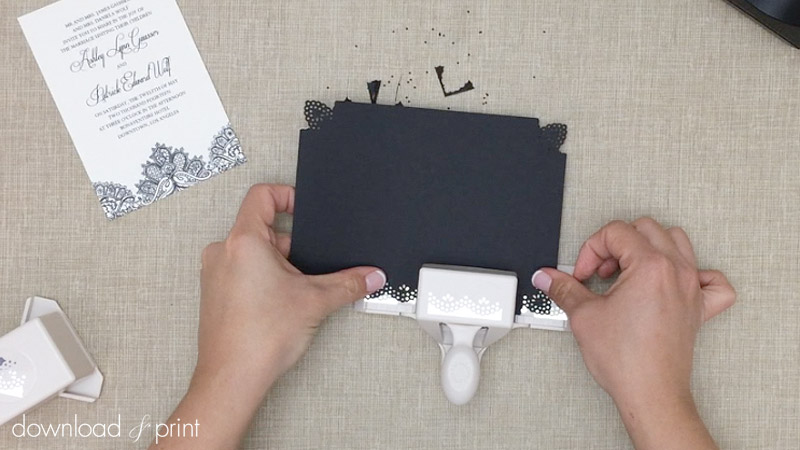
Use the long punch to punch along the straight edges. Use the guide on the punch to line up the doily indentations neatly.
Note: If you use a different punch set you may need to adjust the size of your backing card to accommodate the size of the punch. You don’t want any half punches throwing off the symmetry of the design.
Step 6: Attach Invitation
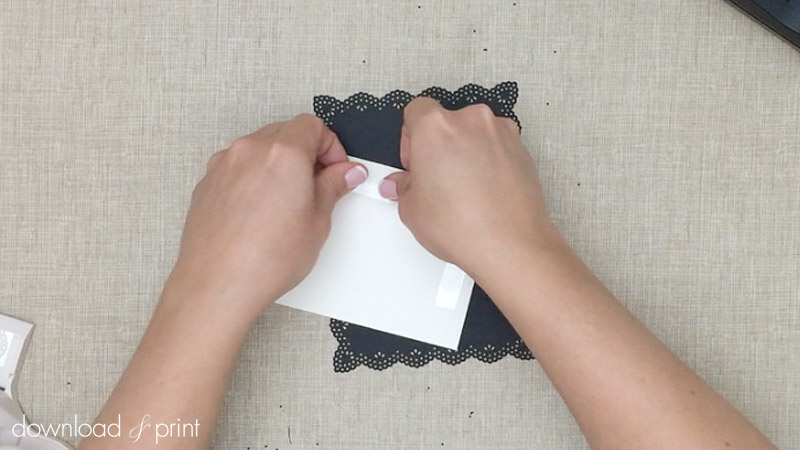
Adhere short strips of doubled sided tape around the back edge of the invitation. You don’t need a ton of tape! Press the invitation firmly onto the backing card, eyeballing it to make sure it’s centered and straight.
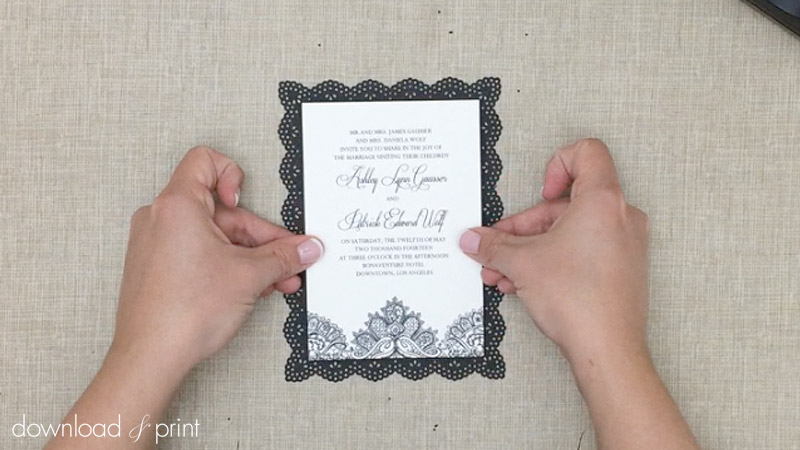
You now have a gorgeously detailed wedding invitation that was made on the cheap, ahem, I mean made on a budget. Now use the punch to detail the envelope flap and pop everything in the mail.
(Although all the products listed in this tutorial are products I personally use, I will be compensated if you make a purchase through the links provided.)