
Today's project is in honor of the smell of coconuts, rolling waves, and sand between your toes. Think of it as a mini island getaway right here at your computer... though probably without any of the beachy images I just conjured up. I know, I know, not the ideal getaway, but if you're reading this there's every chance you are planning your nuptials at the beach, so you'll be at the beach soon. Woohoo!!
If you find yourself reading this and you do not have a beach wedding to plan, I'm sorry about the lack of beaches in your future but excited to say you can ditch the beach theme on this project and tie it in with the fabulous wedding you are planning. It's a win/win.
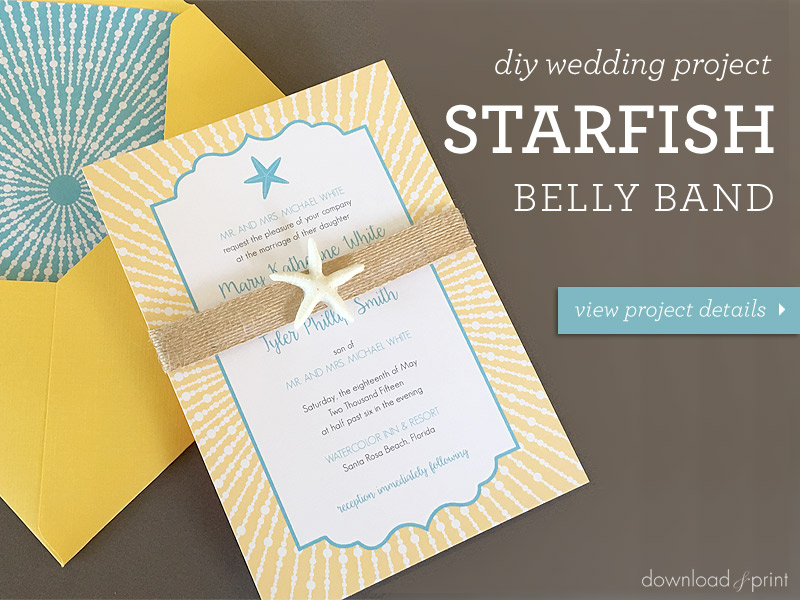
Let me show you how to make an elegant starfish belly band. This simple band adds texture, dimension and interest to your invitations, plus keeps your enclosures tucked neatly together.
It's been a while since I've put out a beach project despite having the fabulous Katherine invitation collection to work with, so I bought the Sea Life molds from Mod Podge and used the starfish to tie in with the starfish details on the paper goods. However, use a mold that ties in with your invitation. And don't feel like you need to stick with a burlap ribbon. The world is your oyster my friend, but the belly band does not need to be your starfish (groan).
The quick video tutorial (with cute music this week) shows you everything you need to know, or scroll down and follow along with the pictorial.
SUPPLIES:
- Mod Podge Sea Life mold
- Mod Podge Melts - Milk Glass White
- 1" burlap/jute ribbon - no wire
- Mini high temperature glue gun
- Invitation suite - I used the Katherine collection in yellow and aqua
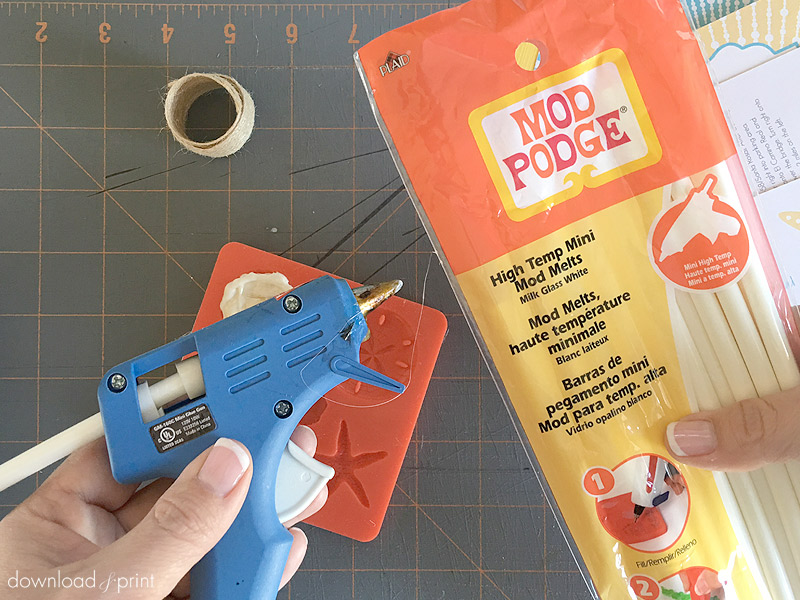
Step 1: Create Starfish
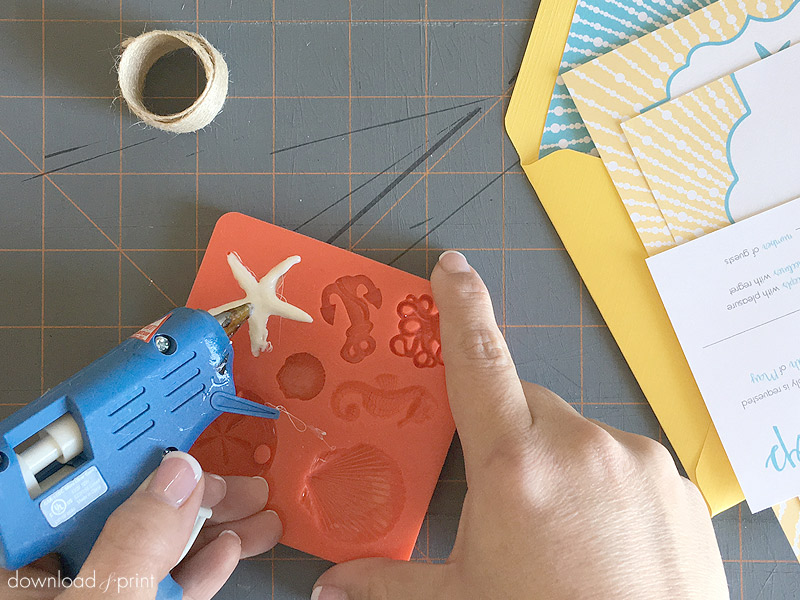
Load a Mod Podge melt into your glue gun and when it's warm, fill the starfish mold. Fill every nook and cranny and try not to make the top too lumpy.
Mod Podge make a gun specifically for the melts called the Mod Melter, but I found more control with the glue gun. The melts will work in any mini-glue gun designed for 5/16-inch diameter glue sticks.
Step 2: Remove & Trim
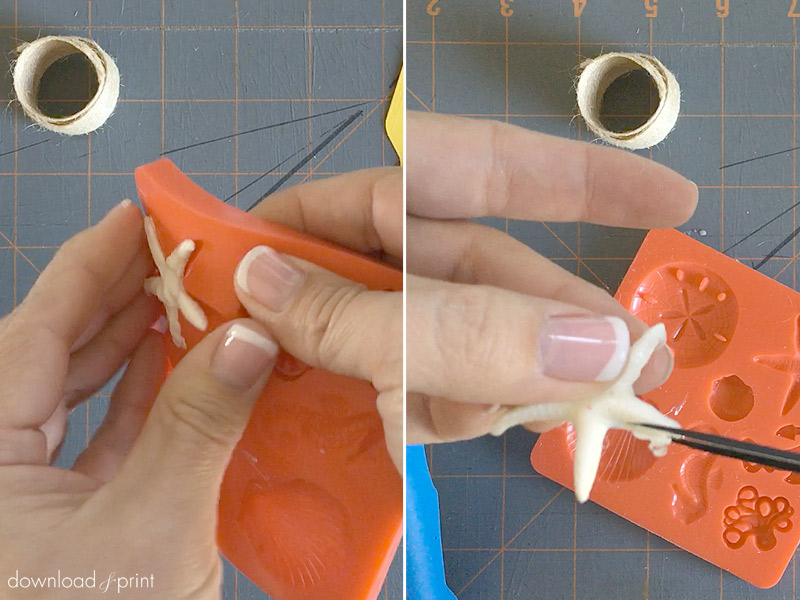
Wait 2-3 minutes for the starfish to harden, then remove it from the mold. Give the starfish a quick trim to neaten it up, cutting off any loose threads and unsightly knobs.
Step 3: Wrap Band
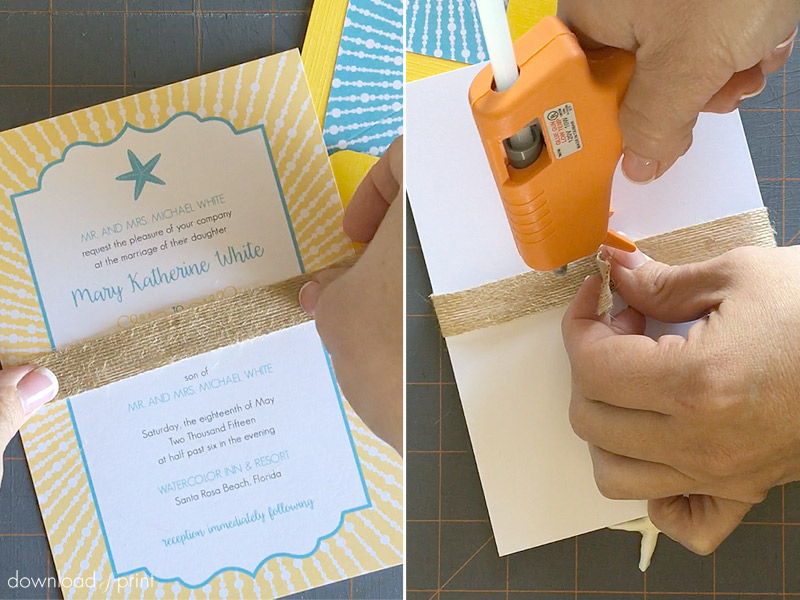
Wrap a length of burlap ribbon around your wedding invitation, and adhere at the back with a dab of hot glue. Don't try to seal with a Mod Podge melt... use glue!
Step 4: Glue Starfish
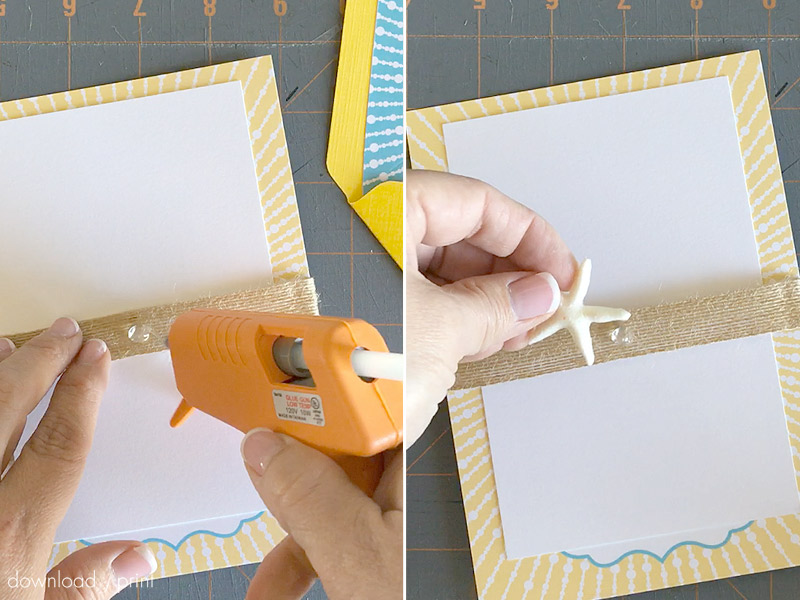
Use another dab of hot glue to stick the starfish to the front center of your belly band.
Pro Tip: The hot glue will seep through the jute and onto your invitation, so use a piece of scrap paper behind the ribbon while gluing. When the glue dries the paper is easy to remove.
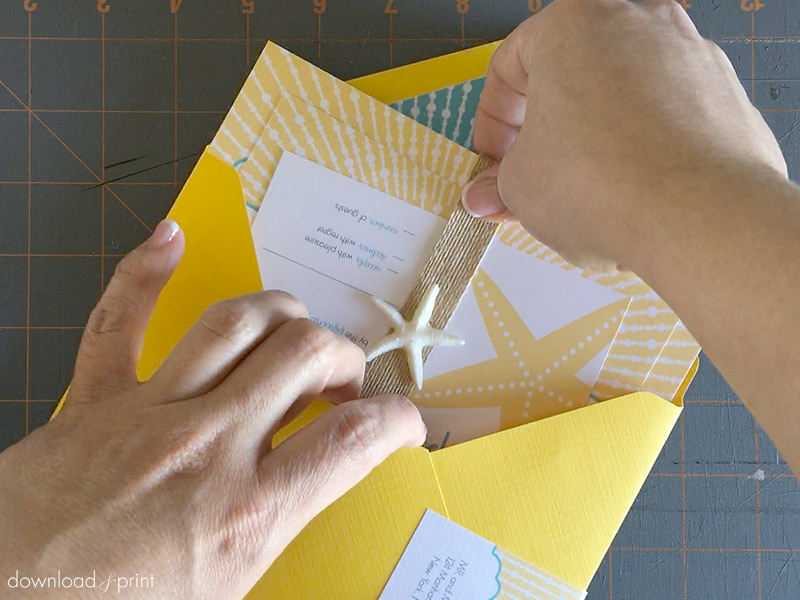
Step 5: Add Enclosures
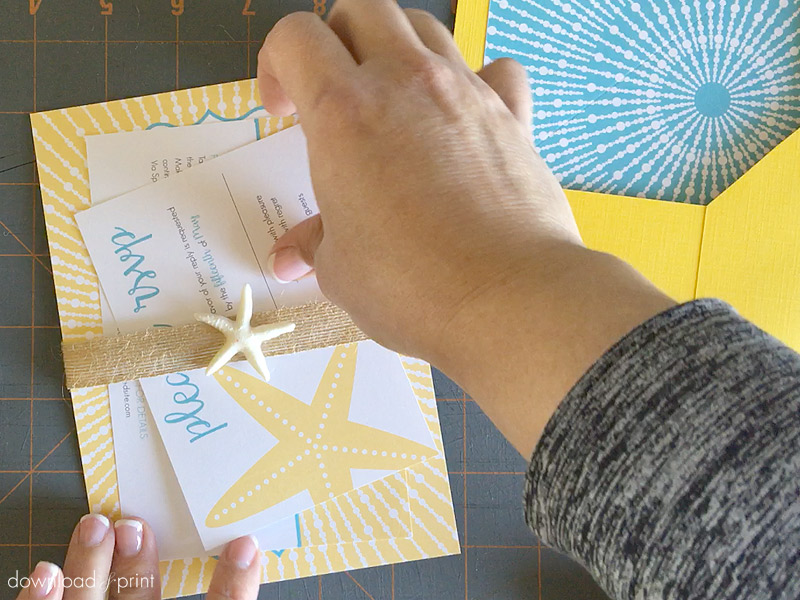
Slide your RSVP and envelope, and enclosure card if you have one, into the belly band in front of the invitation. Stuff the package into an envelope and it's ready to pop in the mail.
Yes, the starfish is durable enough to go through the mail!
With template love,

(Although all the products listed in this tutorial are products I personally use, I will be
compensated just a tiny bit if you make a purchase through some of the links provided. Thanks for supporting small biz!)